A frugal wanderer. Agriculturist. Lover of life and people. Adventure seeker. A typical human being who tries to live a healthy life and is occasionally lost in time and space.
Love is in the air.
If you are close to giving up on love, this is the sign to keep holding on.
I know it hurts a lot. An unbearable and excruciating pain. Every day is a struggle to get out of bed because you just want to cry all day.
It’s exhausting mentally, emotionally, and physically. You just want the memories to get washed off by the tears, but it seems that each morning is just the same amount of pain as yesterday.
Tomorrow won’t be ok.
Or not even next week.
Then maybe today was better.
Guessing that you are starting to feel the slow healing and smiled a bit.
And then you saw the cause of your pain and you go back to day 1.
You may cry each night for a month and everything may seem like a never-ending cycle.
But it’s not.
In time, you’ll heal.
Be patient with yourself.
Acknowledge the pain.
You are enough. There is nothing wrong with you. It’s just not yet your time.
But I hope you get well soon.
While you’re in pain several thoughts will come into your mind like maybe love is not for you and then you’ll start building thick walls around your heart to not let anyone enter ever again. Depending on how things ended, sometimes after the healing process is done, you’ll have the tendency push away the love that you most certainly deserve.
And it’s normal. It’s part of our life that makes living exciting.
Yes. It is easier said than done but trust me, you lost that love to give way for another one. The one that you’ll be thankful everyday why things didn’t work out. It will look magical how everything seems so easy and almost perfect.
You’ll be scared because the flow is very smooth. You will think it’s too much from what you’d prayed for. But, you deserve all the love the world offers.
So, don’t give up on love. Ok?
Back in college, I had this microbiology class where we made tempeh. Basically, it’s fermented soybean. I really liked it and when I started working with soybeans, I remembered that dish and was so curious if I can make one. Google to the rescue. I was successfully to make one!!! And realized that it’s so easy and cheaper than buying meat. Below is the summary of the things I did:
Prepare your ingredients: 2 cups of dried soybean, 3/4 teaspoon tempeh starter, 4 tablespoon vinegar.
Wash the dried beans in water and overnight. Dehull it if you don’t prefer the taste or texture of the hull.
Cook for 45 minutes in boiling water. Drain and dry it well the next day (it should be dry to touch).
Add the vinegar to the dry soybean and mix it very well (this will prevent the unnecessary microorganism to grow).
Add the tempeh starter and mix it well to the soybean.
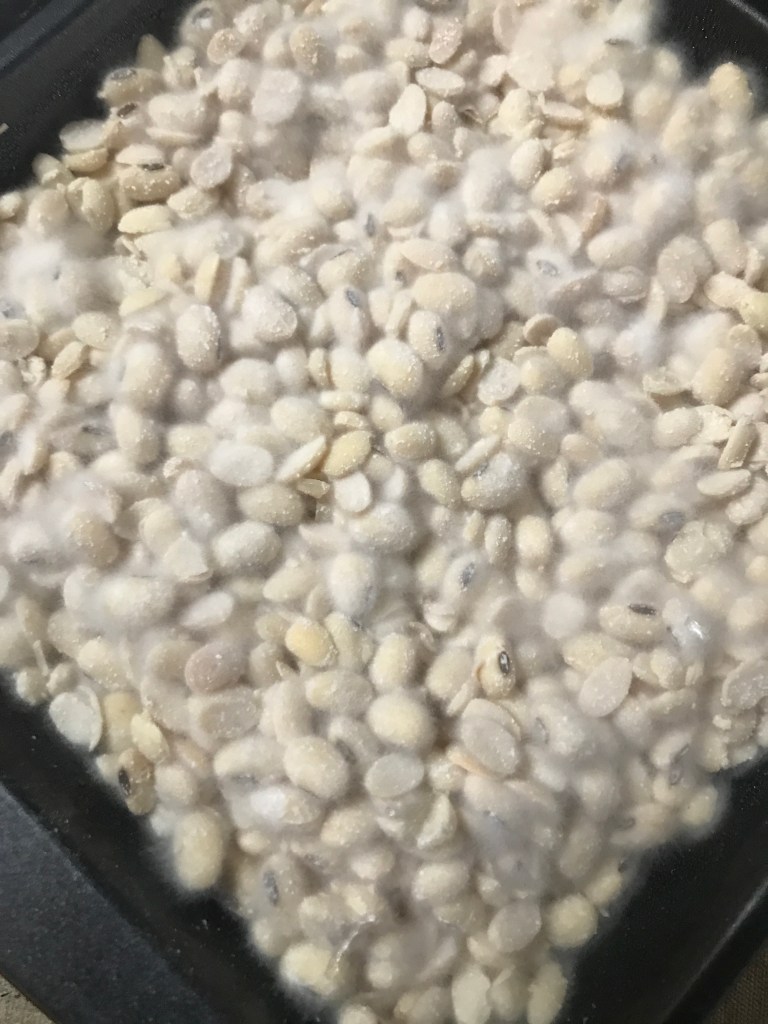
Get a ziplock and poke it with a stick to create holes so the starter can breathe. Put the mixture in the bag. Incubate for 48hours under 35 deg Celsius or 90 deg Fahrenheit.
Don’t be scared. The cotton texture on top is normal, sometimes if it is incubated so long it will have black spots.
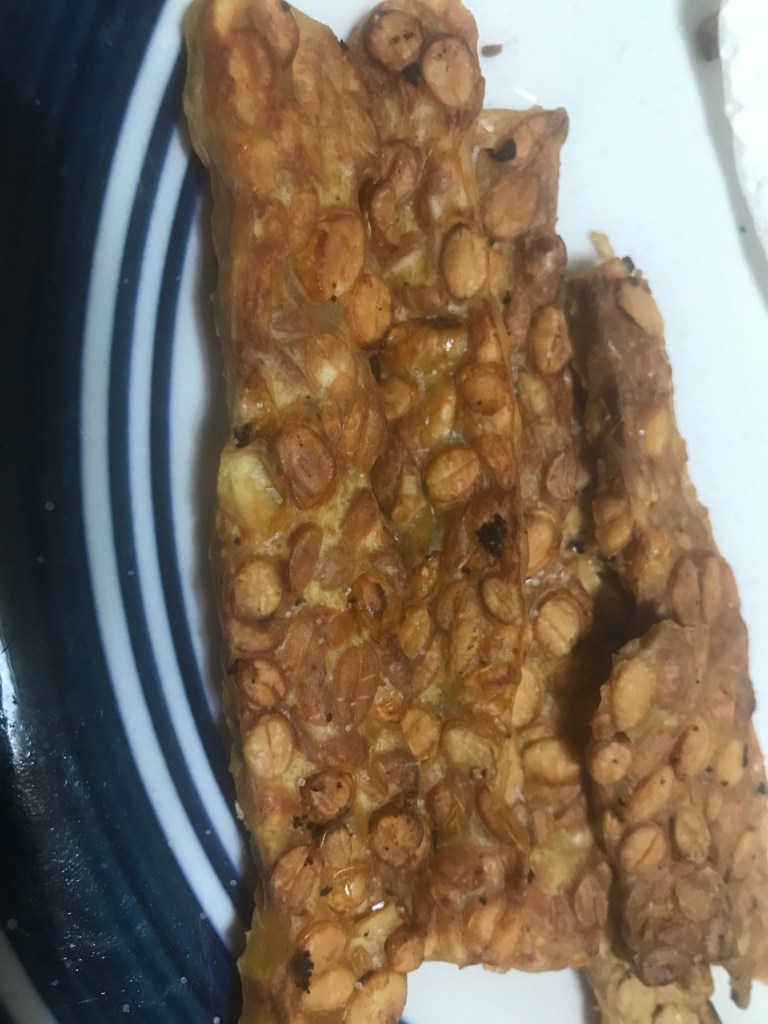
You can put them in the fridge if you won’t cook them yet to prevent sporulation (gives black dots in the tempeh). Then cook it whatever way you want. I just like frying it and adding salt (just like the image below).
Henly and Partners recently published the countries with the most powerful passport. And which got the top spot? No other than Japan! It’s inevitable to not get jealous because my country’s passport even requires a visa for 1-day transit to to go out of the airport in a lot of countries! It’s sometimes frustrating and challenging to get all those paperwork done for someone like me who doesn’t like doing paperwork but very into traveling. But don’t let that stop you from aiming to go to places! Let this guide you on getting your Japan visa.
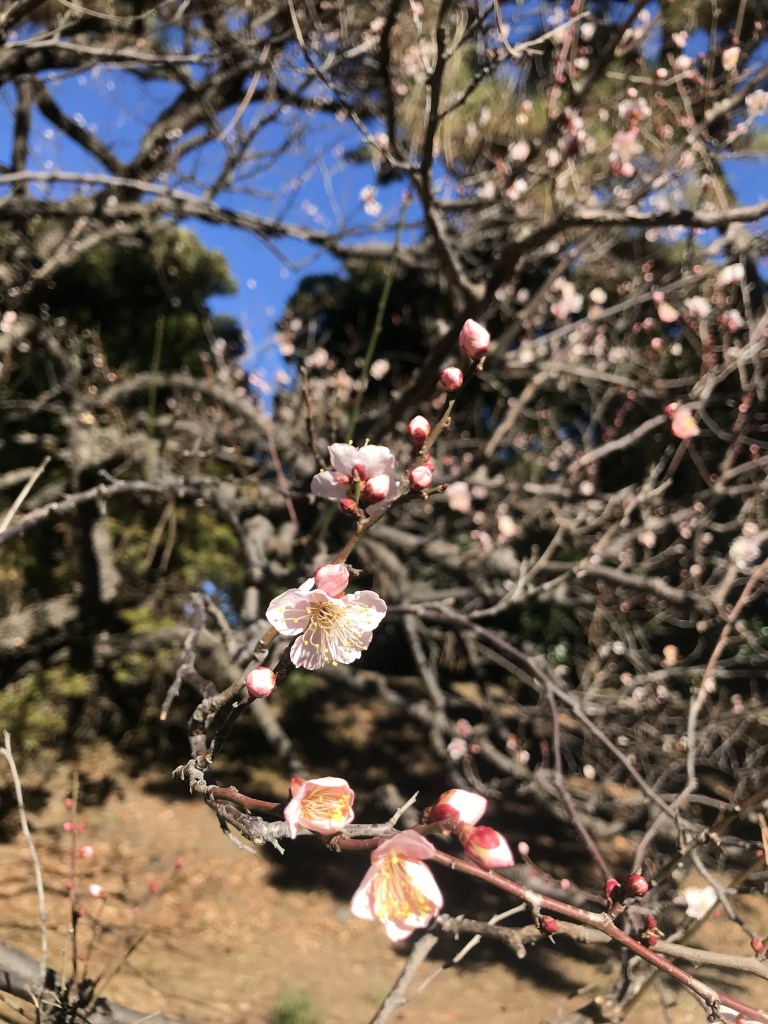
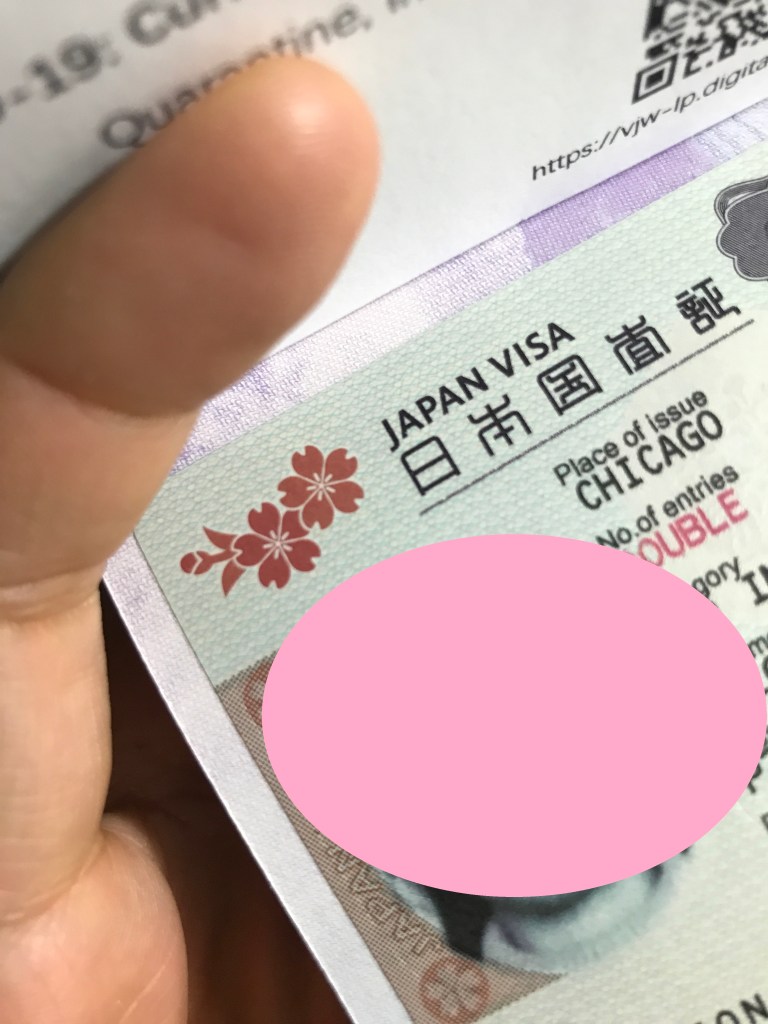
Japan’s sakura being featured in animes when I was a kid has always lured me to go to Japan. Ticket price is not cheap but the most intimidating part is getting a visa. I don’t know where to get that bank statement that will prove that you can stay in Japan (they say you need at least PhP 100K in your bank account for a week’s stay. Not sure about this but you can find other sources). Guess what? I only had PhP15K but was able to get a double-entry visa!
My journey in getting one wasn’t too bad. How did I do that? Agriculture! In my previous posts, you’d see how I was able to go to places without breaking the bank (cos I don’t have a bank to break to begin with. lol) by being in the field of agriculture. So, agriculture brought me to the US and the fact that I’m in the US I think helped me get the double-entry transit visa.
It was a bit last minute cause I was busy with things. I got a round trip ticket to the Philippines for a quick vacation and the ticket had a 20-hr layover in Nagoya going to the Philippines and 12-hr layover in Narita going back to the US. I was not planning to go out of the airport so I won’t have to process any papers. But then I said to myself, why not give it a try. I didn’t even go the Japan embassy in Chicago (the embassy that process visa for people residing in the state where I’m staying), I just sent everything by mail! But make sure to have all the required documents before sending them!
The documents I sent are the following:
original valid passport with available visa pages
completed visa form application
2″x2″ recent photo (taken within the last six months with my full name on the back side)
flight reservation/itinerary (basically the round-trip flight information)
hotel reservation for the 20-hr layover (in my case, the layover in Nagoya)
proof of your U.S. immigration status
clearance from the country that you are planning to enter after Japan (I didn’t need this bec my final destination was my country)
valid I-20 (if you’re studying)
bank statement (I think my account had only $300. LOL)
prepaid self-addressed return envelope (there’s an express which was 3x the price of the usual priority mail but 1-2 days faster, if you’re not in a hurry, the cheaper one is fine)
visa fee (if it applies in your country, for Philippines residents at the time I applied it was free)
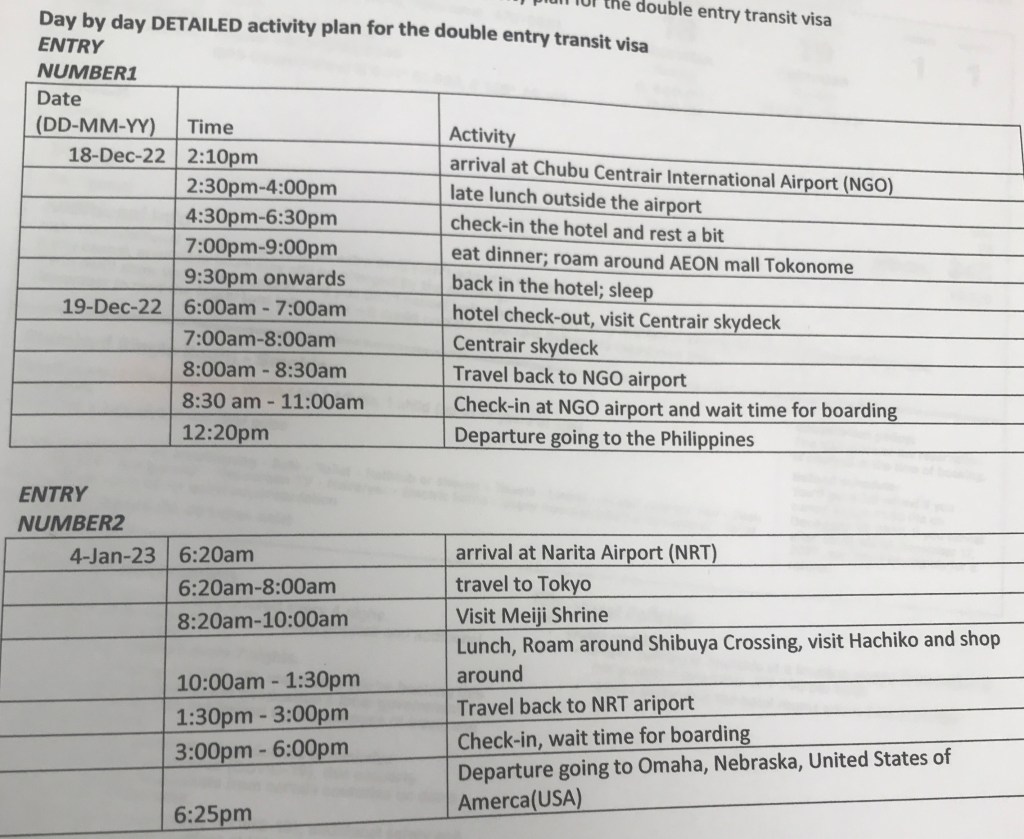
schedule of stay where you describe day by day DETAILED activity plan in Japan (see the one I made below)
If your layover is more than 12-hr, it is imperative to have a hotel reservation issued by the hotel or travel agency in Japan. If you have all the requirements mentioned above, you just have to mail them and wait for it to get back to you.
How long did it take to get my double entry visa? If I mailed the complete documents, it would just be a 5-7 business days from the date they received my papers.
NOTE: In my case, I did not initially have a hotel reservation and schedule of stay so they had to mail it back to me with a checklist of missing documents. So make sure you have the COMPLETE requirements.
Funny story when I resubmitted my documents, I looked at the tracking online and saw that it was sent back to me back like 3 days after and I felt like it was so fast and assumed that I got denied. I didn’t have enough time to reapply if that would be the case, so I had to message my friend that I was sad because I got denied. But then when I physically got the envelope, I felt that it only had my passport and immediately opened it. Taddddaaaaaa!!! Approved!!!
Most blogs I saw said that the time it takes to get processed would be at least 10 business day so I advise you to apply a month before your flight especially if you’re planning to do everything by mail.
When I was thinking I got denied, I said maybe there’s another way. I heard that in some countries they give transit visa in the airport. While searching, I came across on this Japan Shore Pass which says that I may be able to obtain a Japan Transit Visa on arrival if I have a travel ticket within 72 hours. I don’t know how this one works because before I could do a thorough research, I already got my visa. If anyone knows how it works, feel free to share it with us.
It was worth it and rewarding. Fighting for something you really want.
Sinigang is my comfort food especially during the rainy/colder season. It is a sour soup made of vegetables and meat of your choice (you can use shrimp, pork, beef, fish, chicken). Unripe tamarind is the commonly used ingredient to make the sinigang sour. Other people use calamansi instead of tamarind. Nowadays, people usually use the instant tamarind soup mix because it’s cheaper and easy to use.
I won’t be detailing how to make one because you can find several youtube videos and/or blogs to learn how to make one. My goal here to look at the sinigang and the commonly used vegetables from different versions of it.
Below are the commonly used vegetables in sinigang. They are in Tagalog-English-Scientific name order.
The photo above was my take on my own sinigang (because in the country I am right now, the veggies mentioned are rare to find). I used asparagus and mustard instead of string beans and kangkong. Enjoy your hot sinigang in this bed weather situation. I would love to hear how they are called in your place and other vegetables you add in your sinigang in the comment section.
Puerto Galera is situated in the island of Oriental Mindoro, Philippines. It is one of the closest and easiest to access beach/dive resort from Manila. I honestly didn’t travel from Manila to Puerto Galera as we are from Laguna. If you’re coming from Manila, you only have to find a way to go to Batangas Pier. They say that there are bus routes in Cubao that will take you to Puerto Galera.
How to go to Puerto Galera from Laguna?
Our point of origin was in Bay, Laguna. Here are the step-by-step guide on how we were able to go to Puerto Galera (it was a last minute so some random tips and tricks so you won’t do the same mistakes that we did. LOL):
STEP 1: Ride e a jeepney going to Crossing, Calamba terminal. Hop off at the terminal and find a jeepney going to Turbina (one is a jeepney route going to Tanauan, Batangas) or ride a tricycle for P100 as special ride to Turbina (if you’re on a budget and a backpacker, I suggest you to ride the jeepney which will only cost P15).
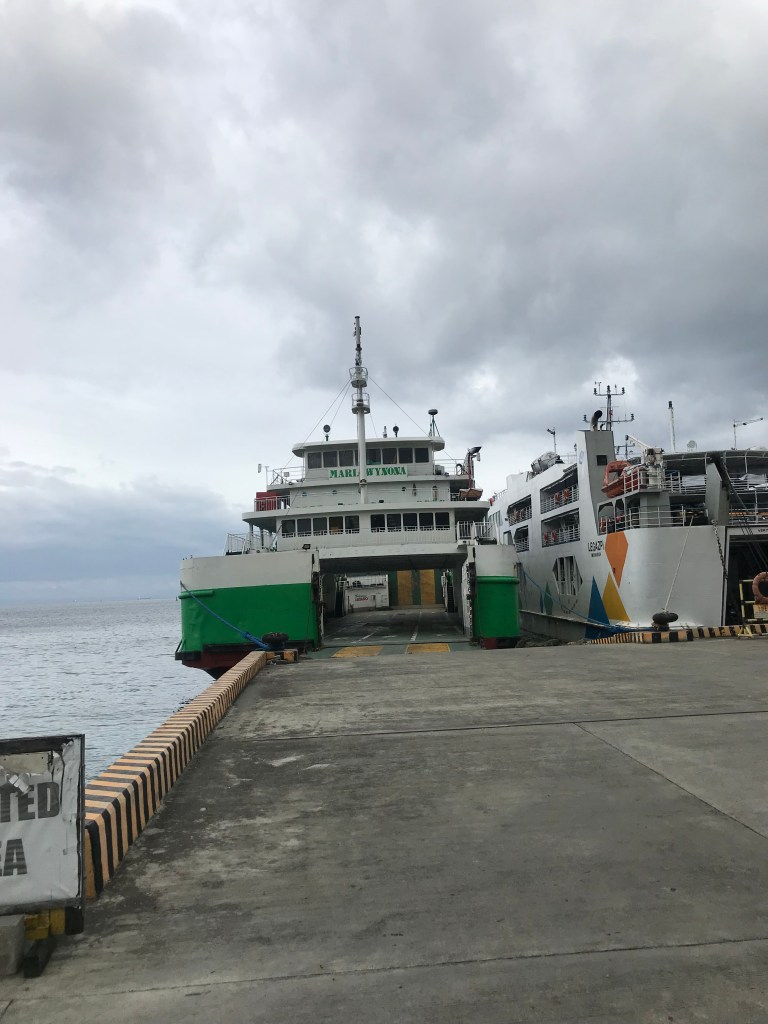
STEP 2: When you reached Turbina, ride a bus going to Batangas Pier – this will cost you P145. The bus will stop close to the terminal where you will get your ferry ticket. TiP no.1: don’t give in to people harassing you to buy stuff or book you at a higher cost. Planning is the key.
STEP 3: Get your ferry ticket (~P600/pax) going to Puerto Galera and pay P30 terminal fee – prepare your ID when getting the ticket. REMEMBER: Last trip would be at 2pm so be sure to be there before that time. Since we were not able to catch the last trip, we took a trip to Calapan (make sure to be there before the last trip of public jeepneys and vans) because we were not able to catch this trip as well (don’t follow this so you won’t spend more), we rode the tricycle going to Galera for P2000.
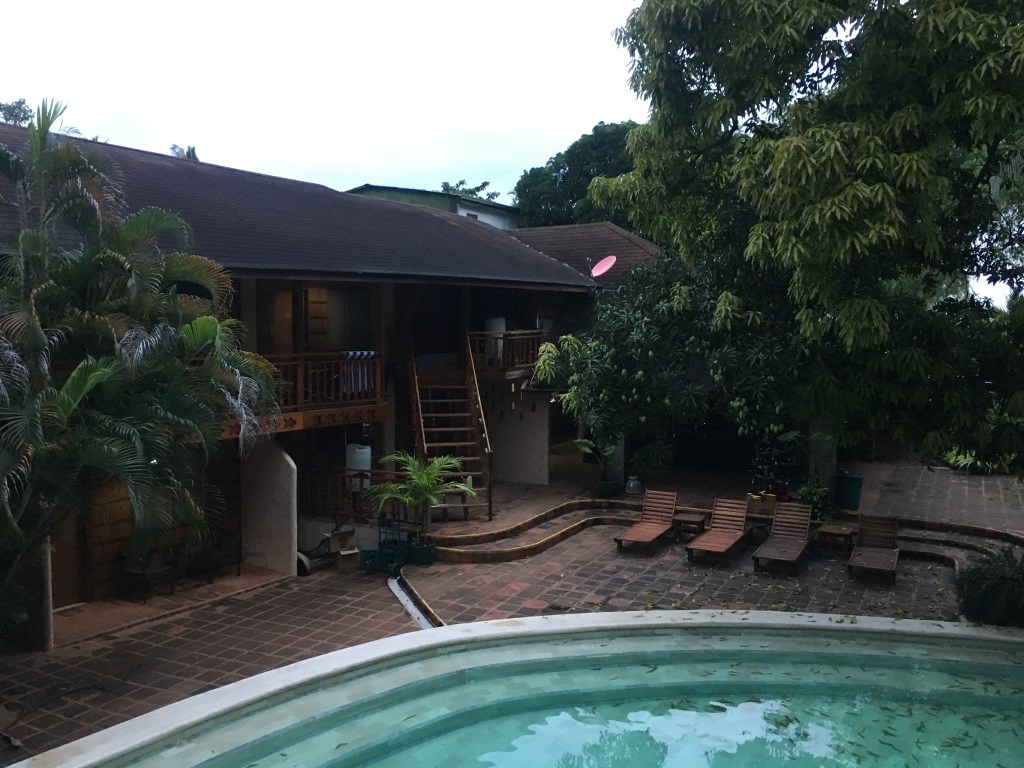
From the terminal, you go to the resort that offers scuba diving (most of the resort offers one). In our case, we booked days before online El Galleon resort (I highly recommend this – for me it has a relaxing ambience, although food is a bit pricey, but you can opt to go to town to look for cheaper alternatives).
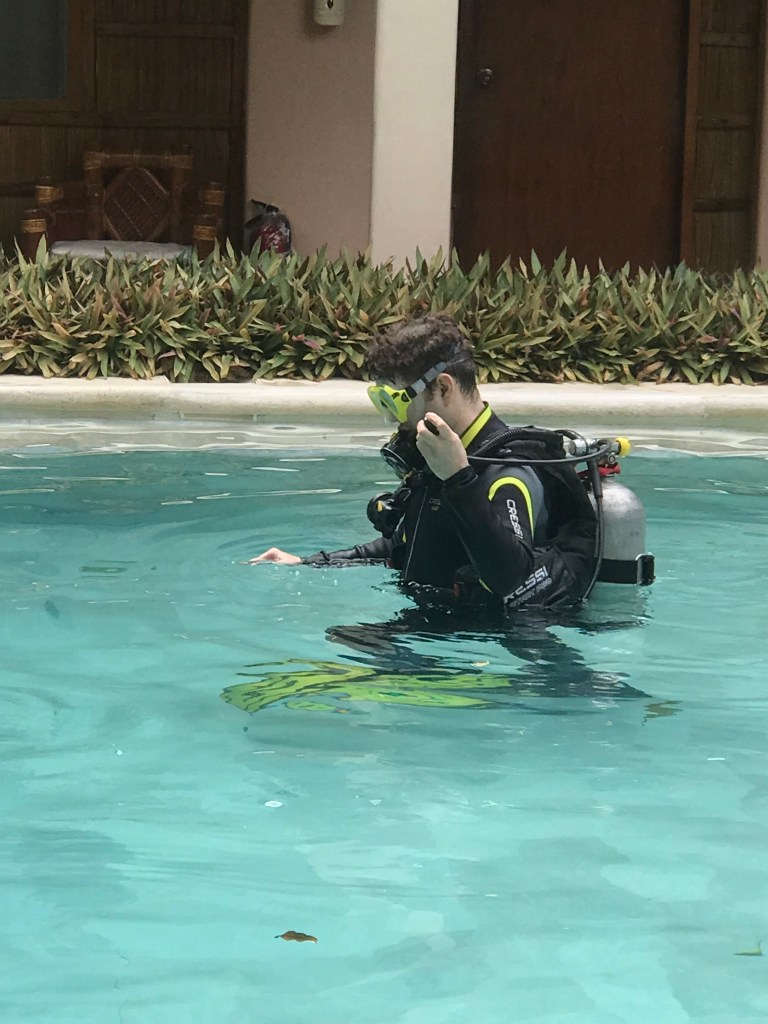
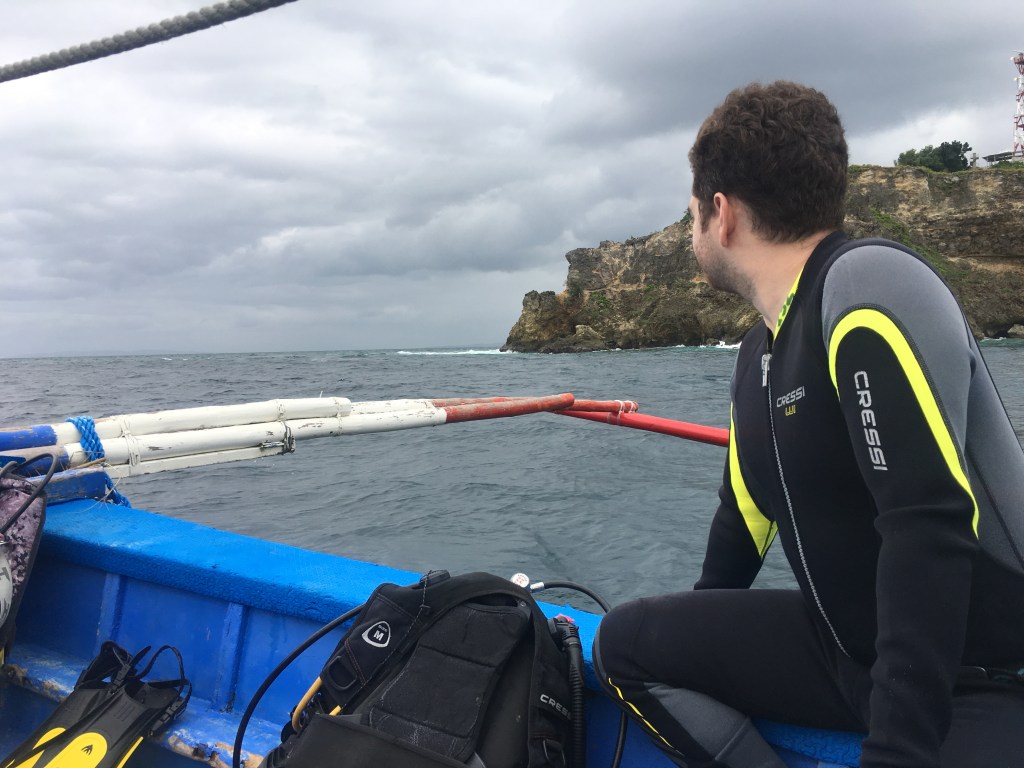
It was my first scuba diving experience. I’d been wanting to do this for the longest time but find it expensive especially when you have a base salary. After saving for this activity, I took the chance. It cost me around P7500 all-in, the initial training, gears, oxygen tank and boat ride to the dive site.
You will have to practice basics in the pool like what are the common sign language, how to equalize properly, what to do when you accidentally removed the regulator or when water filled your goggles under the water.
After that, you can go directly to the ocean. If you’re a beginner like me, an instructor will make your life easier and he will just carry you throughout the dive. But, if you are a certified diver, you just have to be close to your pact under the water.
I didn’t have a camera fit for diving so you have to see for yourself the wonders that living organisms deep down the sea offer you. Different fish colors, starfish, sea snake, and corals in different shades, hues and colors. Words and pictures won’t be enough to describe it. Experience it yourself. It was worth a try.
Remember that you have to allocate at least 24 hrs before flying again after the dive. You can also enjoy a white beach close by the dive resorts after your dive.
Time flies so fast. In 26 days, we will welcome 2023. How many years have you been writing your New Year’s Resolutions but ends up failing? Mine? It’s countless. I don’t know about you, bu t I’m guessing that I’ve been doing it wrong.
It takes 21 days to build a habit they say. So, what if we start our new year’s resolutions at least 21 days before 2023? Here’s mine:
Day 1-21 (Dec. 5): Since I started this today in the middle day, I was not able to wake up at 6:30am
__ MAKE MY BED
__ Meditate
__ EXERCISE for 10mins
__ Read a page in the Daily Stoic
__ TAKE A COLD SHOWER
__ Drink a glass of warm water
__ REVIEW TIME BLOCKING
__ Follow at least 70% of the schedule
__ SCHEDULE/TIME BLOCK FOR TOMORROW
__ Journal
__ Read a book chapter
__ Sleep at 11pm
Feel free to copy this template and let’s do this together. Here’s a Google sheet you can download, edit and print. Let me know your success rate! 😀
I used to travel a lot in different islands of the Philippines until the pandemic hit. It’s difficult to travel plus the risk of acquiring the disease stopped me from traveling for almost 3 years now. But, now that traveling has becoming easier and vaccines/boosters are available, we can now book our flights. Out of all the places I went to, the following 4 places are the top ones that will come into my mind without looking at any previous photos or browsing the names of the places, and will highly recommend to people who are planning their vacation.
Enchanted River
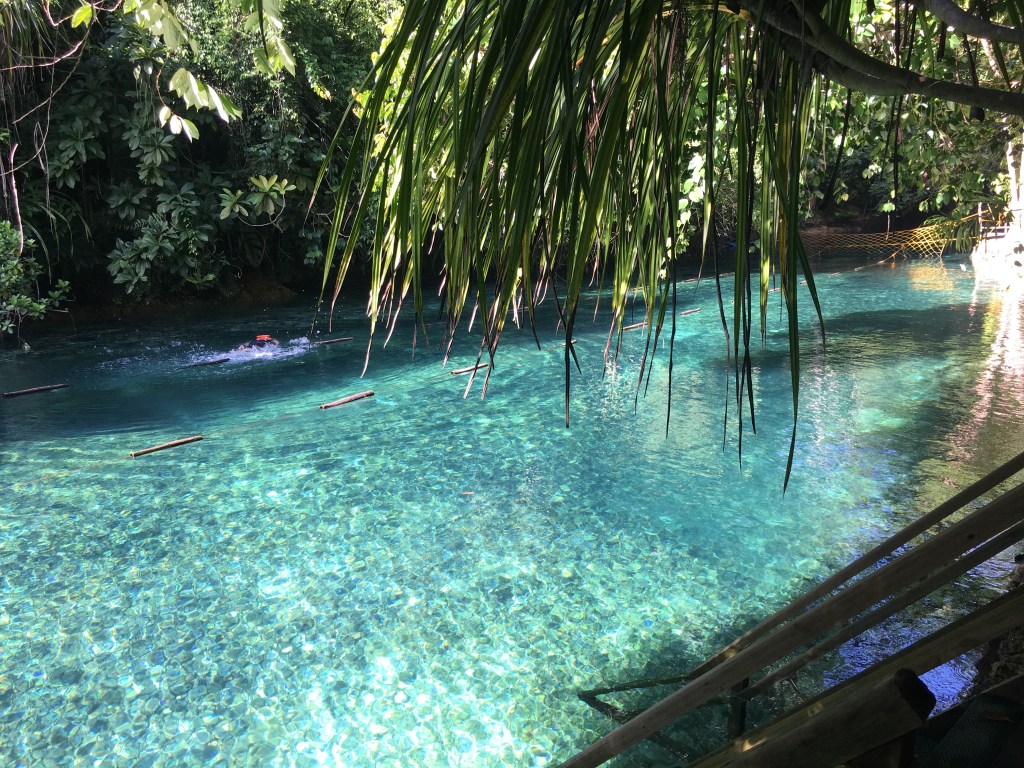
It will be like your first love that will never die. Once you visited it at the right calm state and weather you can stay the whole day enjoying the place.
2. Puerto Galera
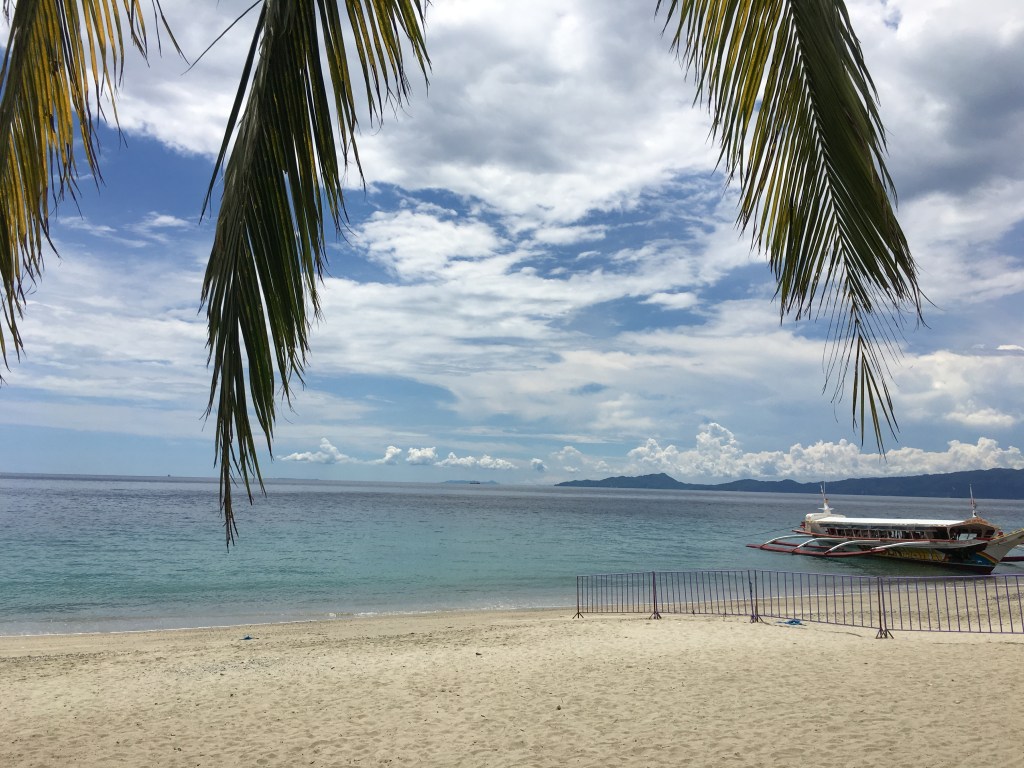
If you live in Manila and looking for a close place to have a beach night life, then this one is for you.
3. Gigantes Island
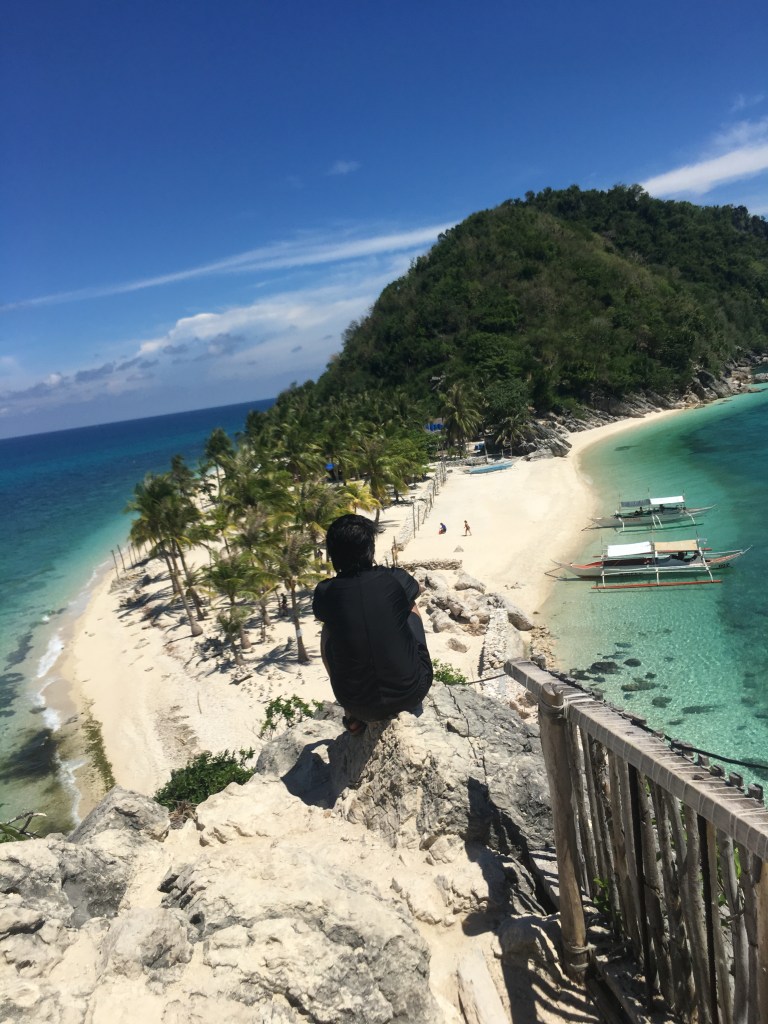
The best thing about this one that makes it a top destination to go is the P2 per piece scallops and cheap seafood! Another thing that makes it memorable for me is its unique shape you’ll see from the top – the combination of sand area and small hill.
4. Samal Island
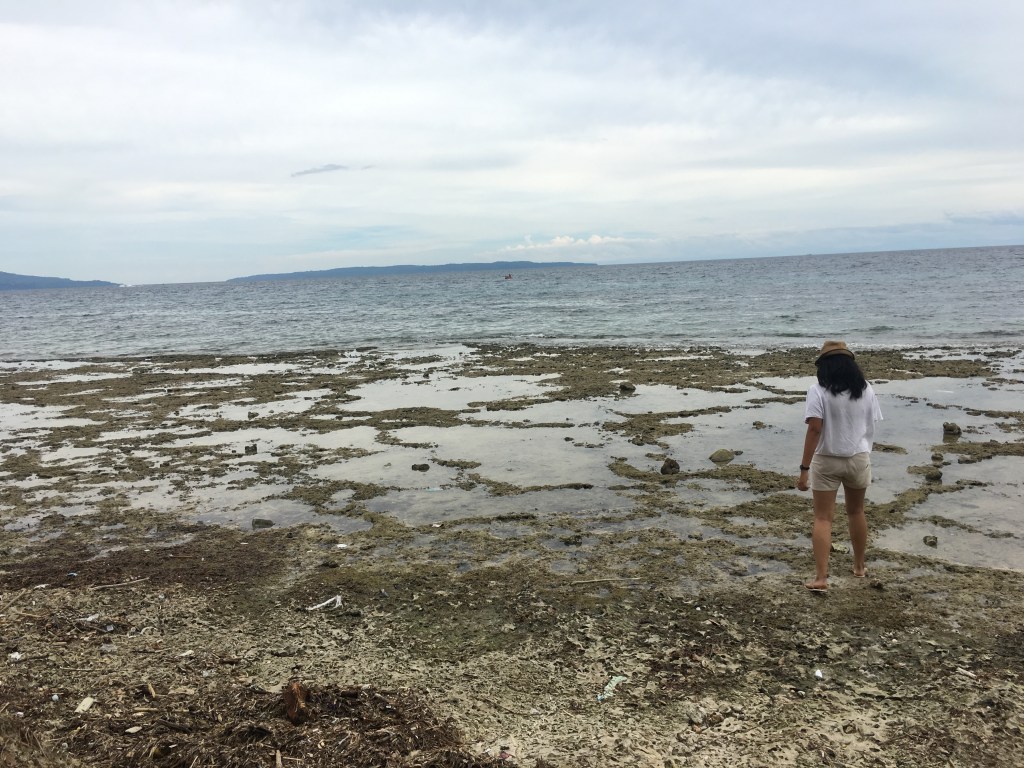
The thing I like the most in this island is that during low tide, you can walk on it!
Wherever you plan to go, plan very well. Here are some points to remember when planning. Do not choose places that are too far if you’ll just have 2 days or less. Look ahead of time if the place is open on the specific date that you wanted to visit. Check the most favorable weather to get most of it from the destination. Since covid is still around, travel with caution, wear mask if it’s too crowded or in an enclosed space. Happy travel!
Nakaluwagluwag this girl and went to New York. But wait! I did not pay the full price of going to New York! HOW? PM is the key. LOLjk. I was doing an internship in another state and had some days off that I used to go here. I was able to visit several places in New York City in just a day with less than $200 budget!
I am a frugal traveler not by choice but by means. LOL. In short, walang pera pero gusto magtravel. So, to make this work, first, you have to plan a day or week ahead your travel and prioritize the places you wanted to allocate your time the most. Second, wake up early (so sleep early the day before your trip). Lastly, try to make the most of your time and try to stick to your planned schedule and budget.
HERE YOU GO! I hope it will help your day tour planning in the city of dreams.
MORNING: Statue of Liberty
6am – Wake up time
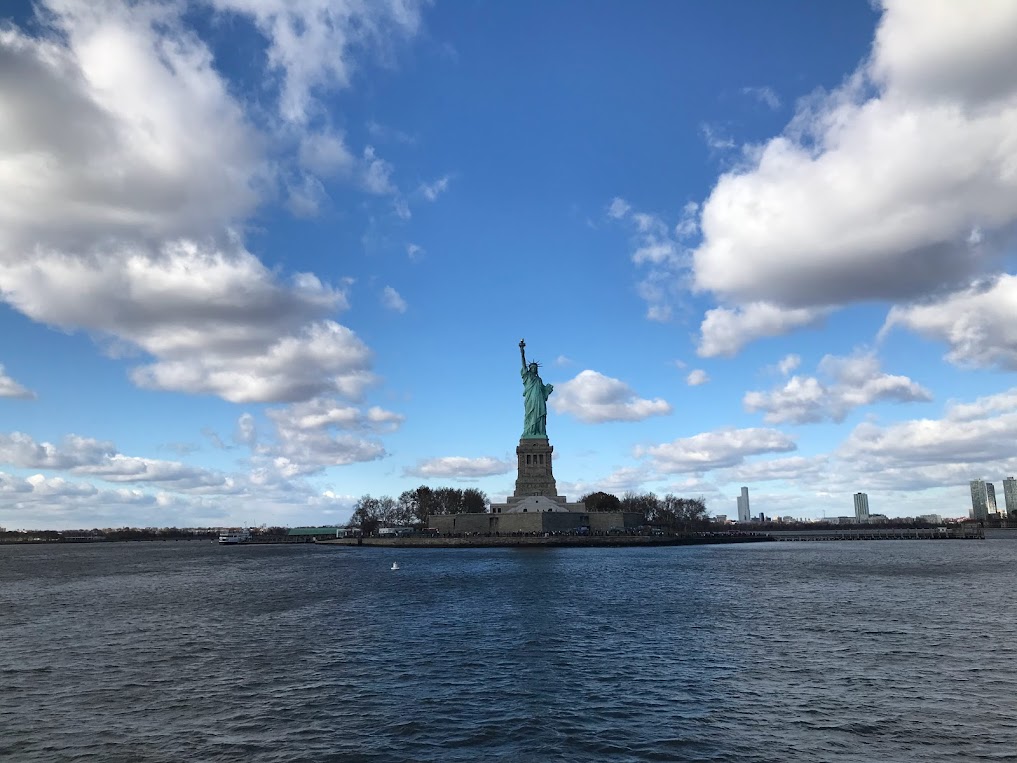
6:00-6:30am – Travel time to the port going the statue of Liberty (they have ports at New Jersey or New York, so depending on where you are staying is where your starting port). I was staying in my friend’s place at New Jersey so it took us around 30 minutes to travel to the port going to Liberty Island. BOOK YOUR TICKET ONLINE (Ticket price: $32 for a round trip ticket). You can stop by Ellis Island before heading to Liberty Island.
Liberty Island
An hour or two would be enough to roam around the islands. If you decide to stop at Ellis Island, you have to allocate an hour more since you will have to wait for the next boat ride that will take you to Liberty island. Seeing the statue was surreal. ❤
10:00-10:30am – cruise time from the island to Cape Liberty Cruise Port (MAKE SURE TO CHECK THE SCHEDULE OF THE BOAT so you don’t have to wait for the next one)
10:30-11:00am – travel time to Brooklyn Bridge (by car)
AFTERNOON: Brooklyn Bridge, Manhattan Bridge, The National September 11 Memorial Museum
11:00-12:30pm – LUNCH TIME (you may want to look for a good restaurant and get some real food before the adventure commence again because there will be a lot of walking)
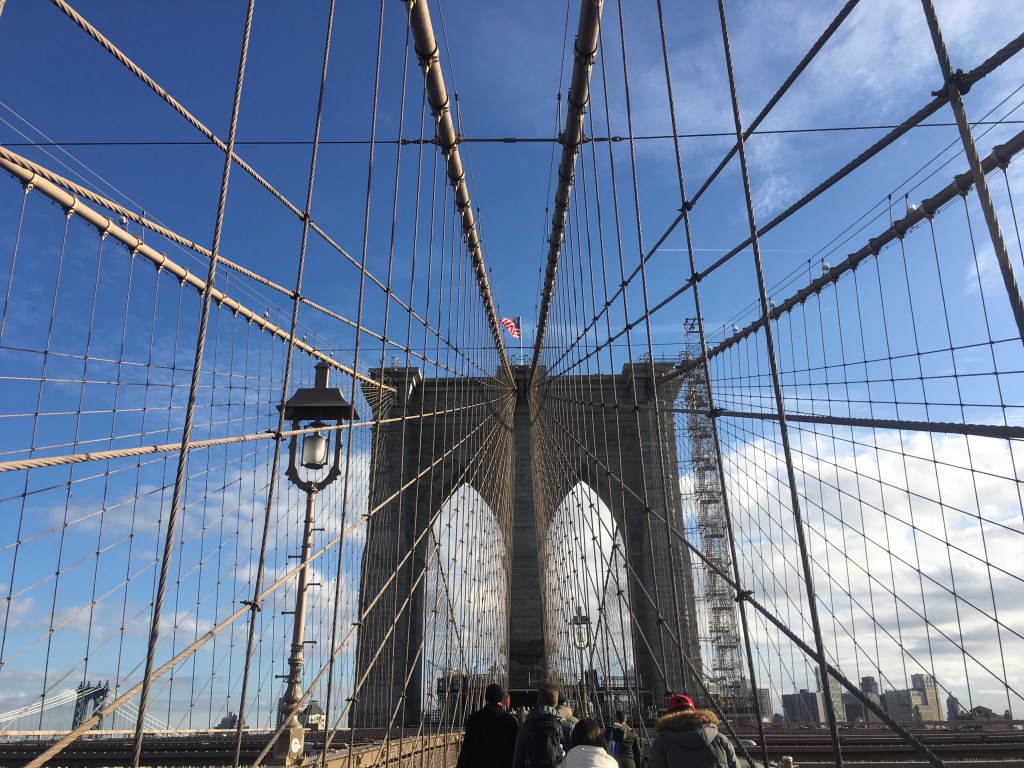
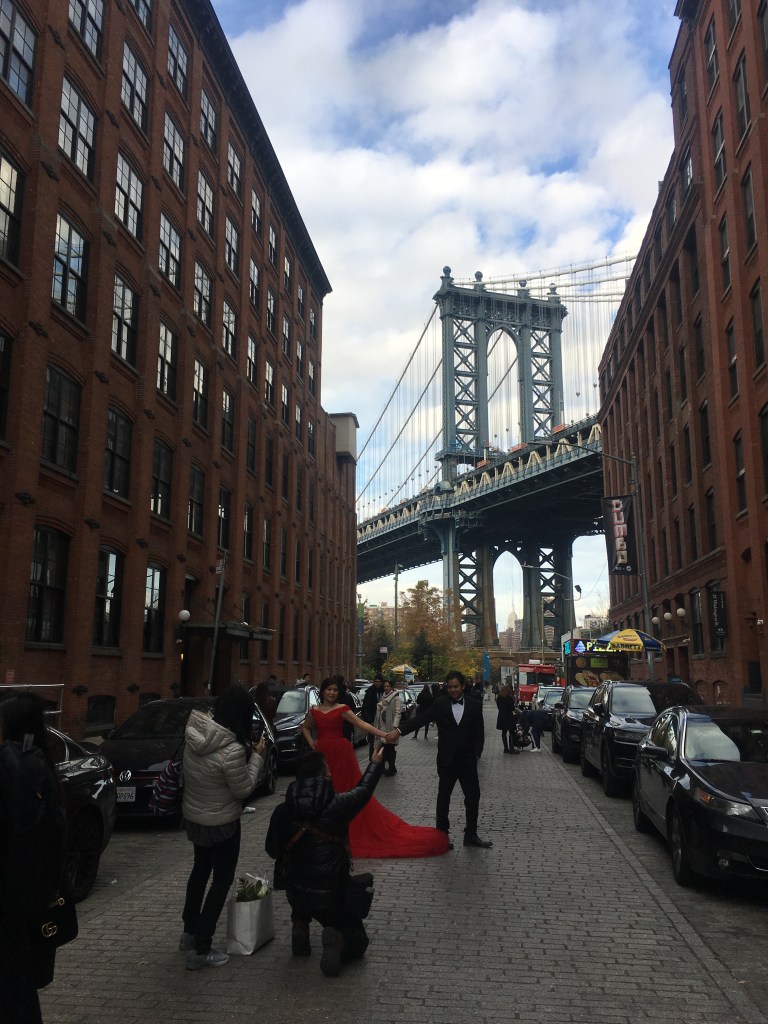
1:00pm-3:00pm – walk and take pictures at Brooklyn Bridge then get more walking and go to Manhattan Bridge and feel the cinematic view in both bridges
Brooklyn BridgeManhattan Bridge
3:00-5:00pm – MET museum (for big art fans 2 hrs won’t be enough), but for me, seeing the building is enough (ticket is $30 that you can book online). Check the museum operation hours a day before.
The MET
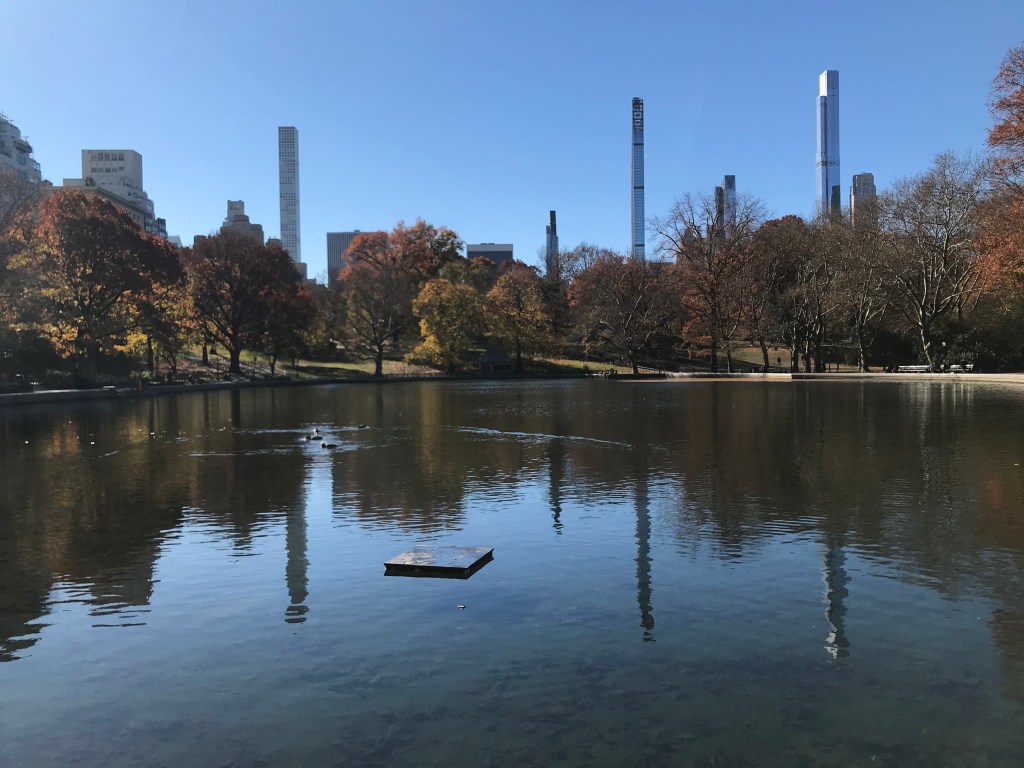
5:00-6:00pm – Central Park (roam around and feel the nature before getting drowned by city lights).
Central Park
6:30-7:30pm – Dinner time! Get some food because night time tour around the city will require a lot of your energy!
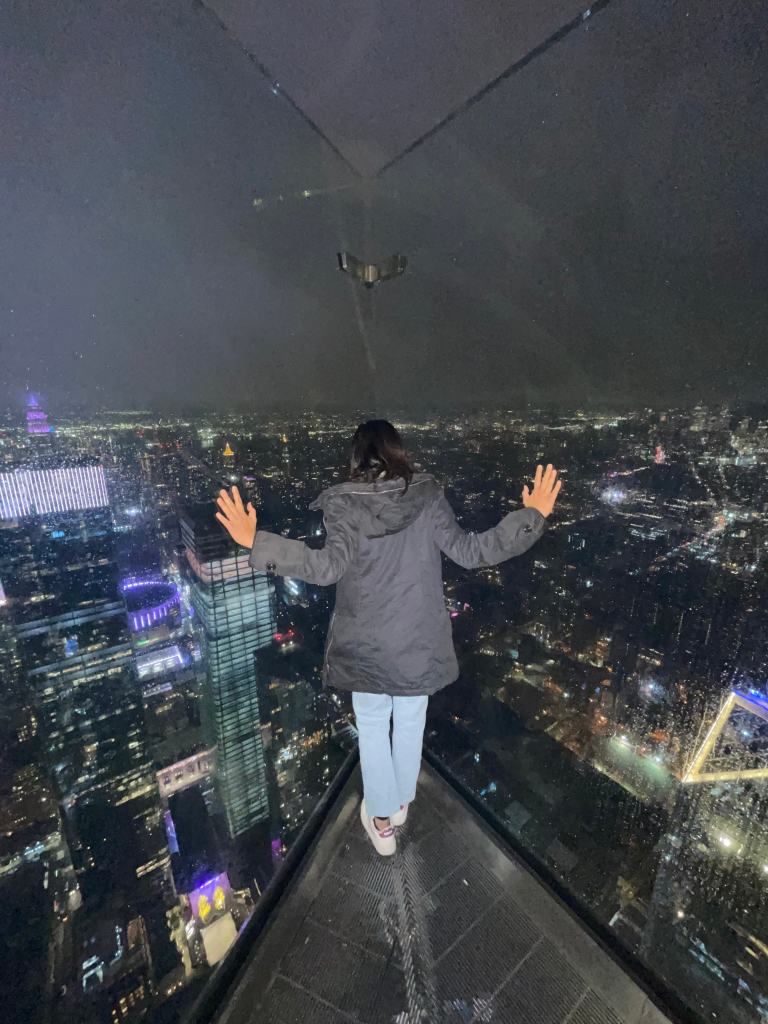
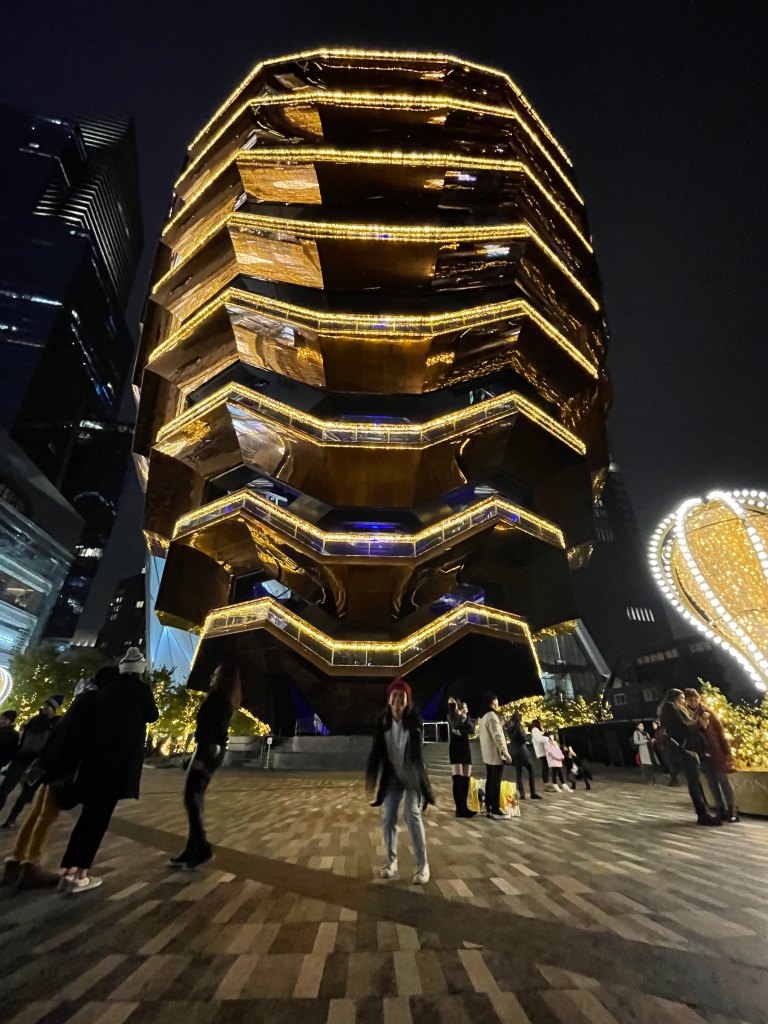
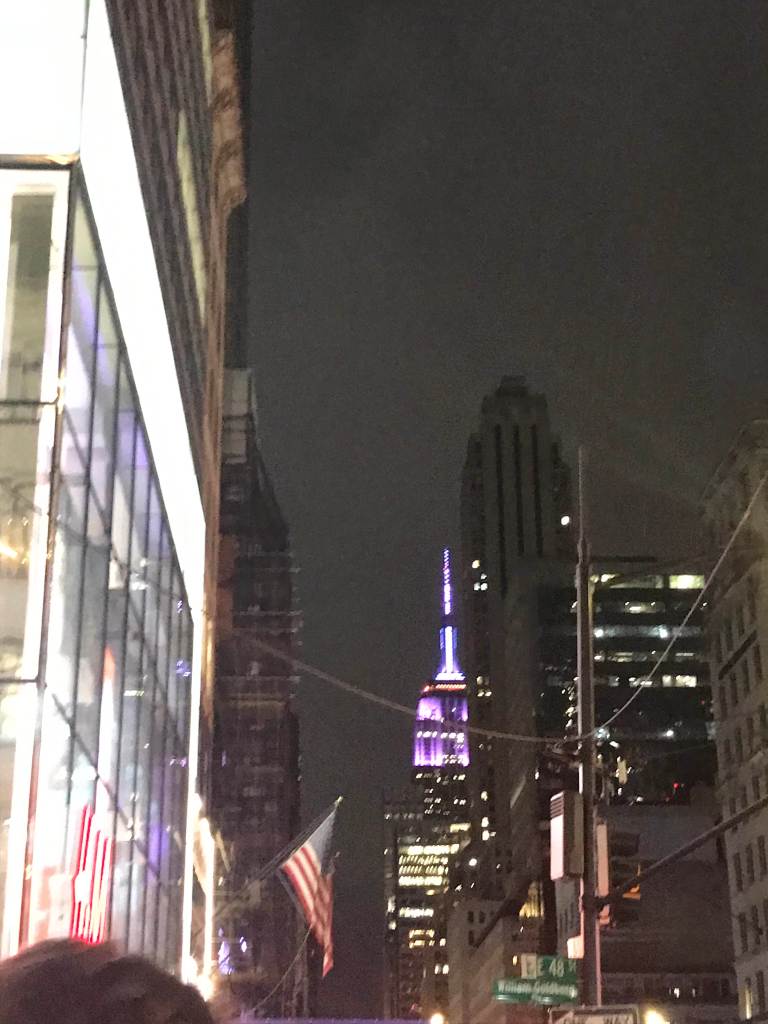
8:00pm-11:30pm – This will vary depending on your priority. But basically, there are must-see places that are close to each other that you can just take the train or walk. These is the order of places I went to at night: The Edge, Vessel, St. Patrick’s Cathedral, Times Square, Empire State Building.
The Edge (Ticket price ranges from $33-73). This is the top of a building where you can go to the edge and see the panoramic view of the city with all the city lights that look like stars from below. The day we went there, the line was so long that it took us 1 hr to get to the deck and an hour spent looking around.
The Edge
Vessel. This is a pretty structure that won’t take much of your time. I think you can climb this (which we didn’t do). It’s pretty enough from below for me at least.
Vessel
St. Patrick’s Cathedral. For those who like neo-gothic style, you will enjoy this place. We have this thing in my home town that whenever you visit a church for the first time, you can have 1 wish. I don’t know if it will work for you but it’s free and you won’t get harmed so why not, right?
Inside the St. Patrick’s Cathedral
Times Square. Be careful by people who will sell you random stuff (even a picture with a cosplayer may cost you some money). But this is one of the popular places in New York that you may want to stop by. It won’t take much of your time. It is a place where you can walk around and admire the big screens with all the lights, flashy billboard advertisements, performance arts and more!
Times Square
Empire State Building. Lastly, sing or play the Empire State of Mind song going back home!
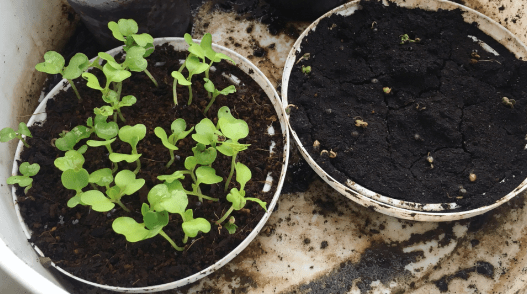
Have you ever thought how that soft young tissue of the plant gets out of the seed and moves out of the soil? Technically, it’s germination or the start of plant growth. We don’t hear the plants cry but the process looks painful (at least in my perspective).
Which one will you choose?
I guess growth is when you keep learning and trying new things out of your comfort zone because your gut tells you to do it but your brain is too afraid to fail. It will require you to do things you’ve never done before and it will gonna be scary at first, painful on the way and beautiful by the end.
It is scary because of all the unknowns and uncertainties.
It is painful because you have to do things that you are not used of doing, it’s like learning how to read for the first time. Be patient. Good things take time. Practice. Practice. Practice. You’ll see, with time it will get better and easier. Commitment, consistency and perseverance are the key – these keys are not easily gained especially when you stayed stagnant and idle for so long. Even all the quotable quotes by known writers won’t work especially if you keep making excuses to start the change you’ve been wanting. I know it’s difficult but try small steps each day. I, myself is still struggling on this. There are days that I cry myself to bed because it’s too painful but I know this is the right thing to do. In my last post, I am trying to break my bad habits by documenting it virtually. And, I am back to day 1 again. It’s so tough to get out of this cycle but I still believe that I can, you can, we can. It’s really painful but you have to go through it so that you can get out of your shell and be the person the universe designed you to be.
Again, I am starting my day 1. I have a lot of excuses at my mind right now why I am going back to day 1 but it’s better not to make excuses but to start again and try until you get to where you are supposed to be at. It’s a matter of training your brain, body and soul.
In the end, I hope you and me will go back to see how much progress we had done and tell ourselves that we are not the same person from yesterday – that we are way better than our past self. And, I think that’s beautiful.





 larswrites