DisneyWorld is not cheap. It is not easy to visit if you do not live in Orlando, Florida. Sometimes, you do not have enough time as well to spend in the park. So, let me share my experience of spending a day in DisneyWorld.
First, check the weather and make sure to wear something comfortable for that weather.
I flew from Nebraska to Orlando, Florida ($370 for a roundtrip ticket through United Airlines). I rented a car ($150/day plus gas). I booked a hotel (since I also went to Universal Studios, which will be the next post after this) for 3 days, 2 nights ($380). You should book a hotel. You will be too tired after spending the whole day here.
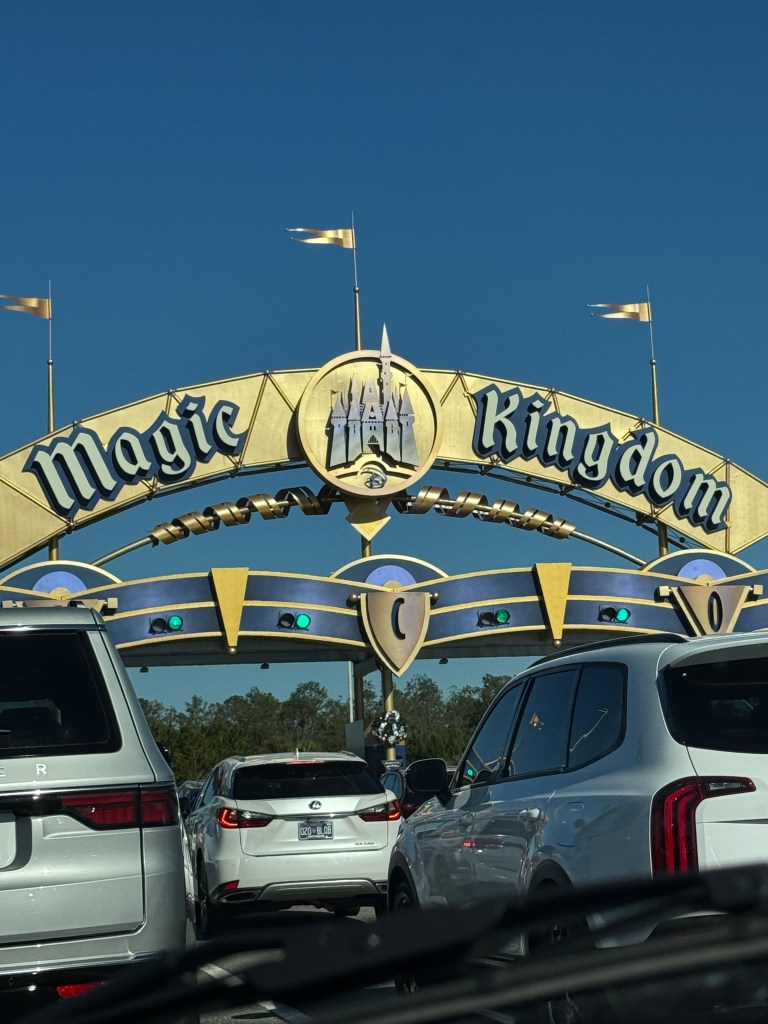
Day 1 was at DisneyWorld (if you want to spend your New Year’s Eve there, you have to book early for December 31st as tickets run out faster than Universal Studios). The ticket for Magic Kingdom was $190, plus tax, and all rides were included. Parking at Magic Kingdom was $35/day. Early entry was 8:30-9am. I highly recommend you to go there early.
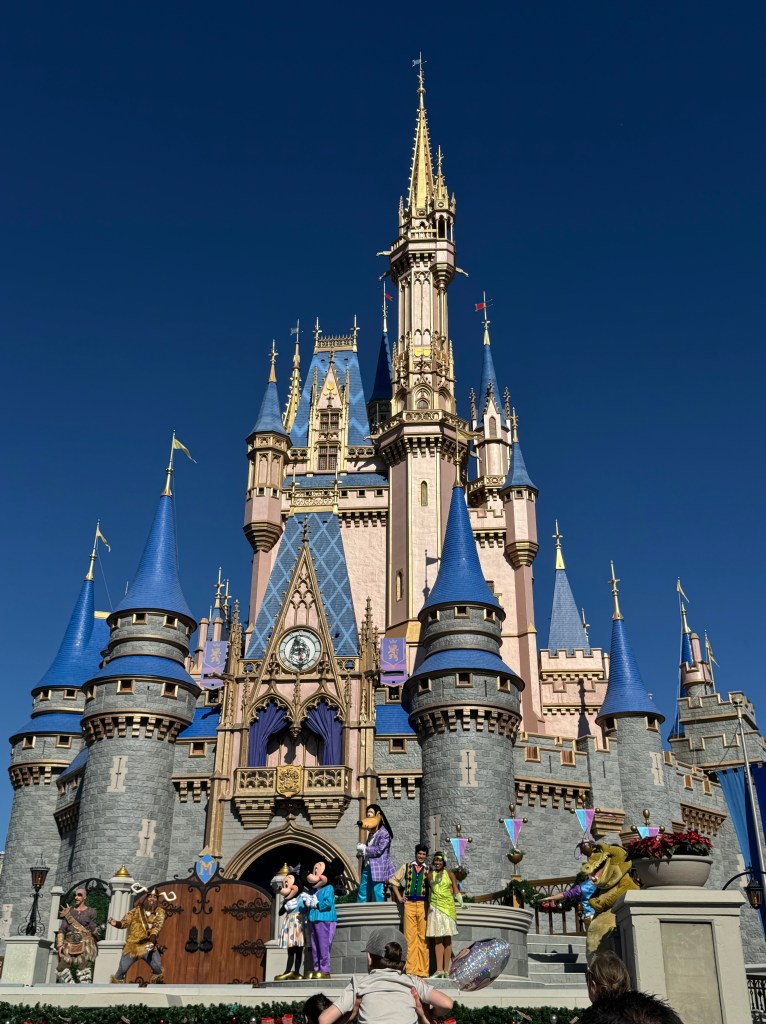
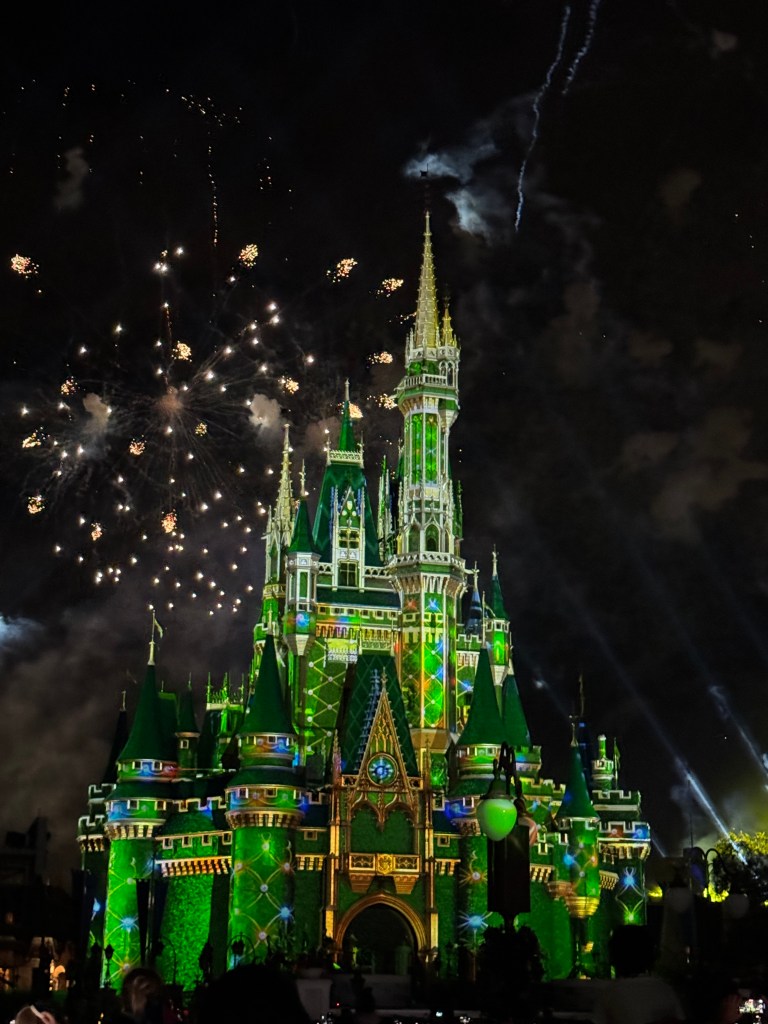
From the parking lot, you will either walk or take the tram to get to the bus. stop, or ferry port or train station that will bring you to Magic Kingdom. A little walk from the entrance after they scanned your pass, you will be welcomed by the castle.
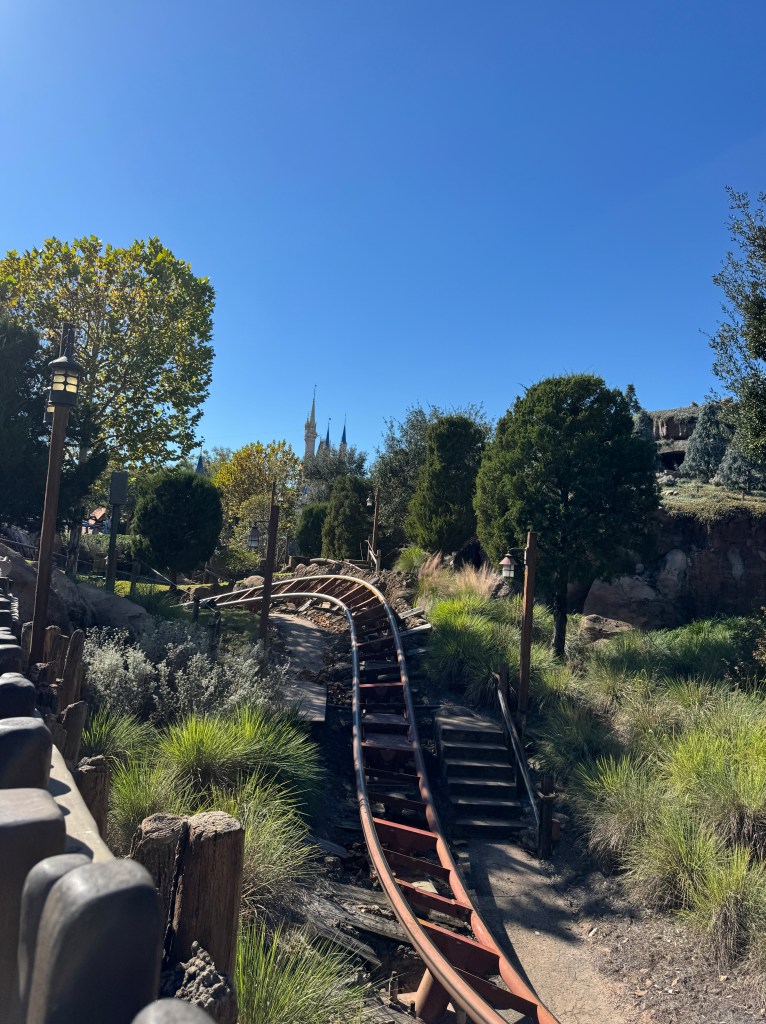
There are also several rides included in your park ticket, but lines were long (waited 1-2.5hrs in each ride that we did). Patience is key. Strategize your time. We did 3 extreme rides. I was feeling dizzy even before the rides, so I didn’t get to ride a lot of rides.
Drinking water is free, just bring a container. It is also free to bring your own food, but restaurants are available inside. I would say that the price of food was not that expensive contrary to what I heard before going there (burger+fries meal was $15).
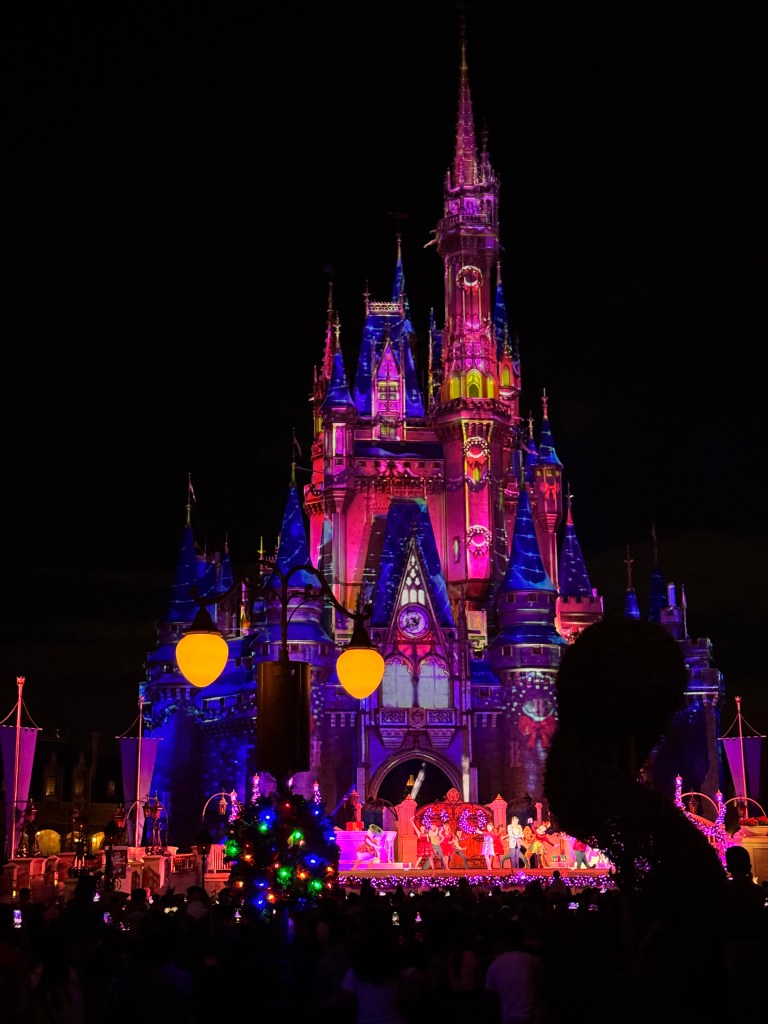
The rest of the night was spent watching a parade and a fireworks show. My favorite was the fireworks show. But, be in front of the castle before the time of the show to get a good spot, as the area gets too crowded. It is not recommended to move around once the light show starts.
Overall, it was a fun experience. Going back to the parking lot, you have to take either the train, bus, or ferry, then walk to where you parked or take the tram. DisneyWorld offers hotels as well but we didn’t take one of those because of the price.
If you want to go to other parks, you have to allocate more days to get your money’s worth. Although you can do 2 parks in one day, it won’t be enough to get at least 2 rides for each park with the long lines.
I highly recommend it for kids. But, for adults with no kids, once is enough.
This itinerary happened in real life, but I personally and highly won’t recommend it, especially if the purpose is to enjoy and relax on your vacation. However, if you have a day in either of these places due to a layover, a business trip, or any other reason that only leaves you with a day in your schedule, then I hope this helps you.
So, this trip was planned before the pandemic. We were 3 people who bought the tickets, ready to get into a week of adventure to Vietnam, Thailand, and Cambodia, but were stopped by the virus. And life kept going. I got a job abroad and only have a few days of vacation from time to time. This time came last week of November, for two weeks, I needed to squeeze in meeting friends, visiting my mom’s school, and traveling to those long overdue places on my travel bucket list.
I was thinking of skipping one country. But my itch made us (two of us) decide to go to these 3 countries. This trip was very spontaneous, and we didn’t even consider the war between Thailand and Cambodia. We thought that their border would still be open for tourists (stupid of us). And that added to the challenge of squeezing 3 countries into a 4-day itinerary.
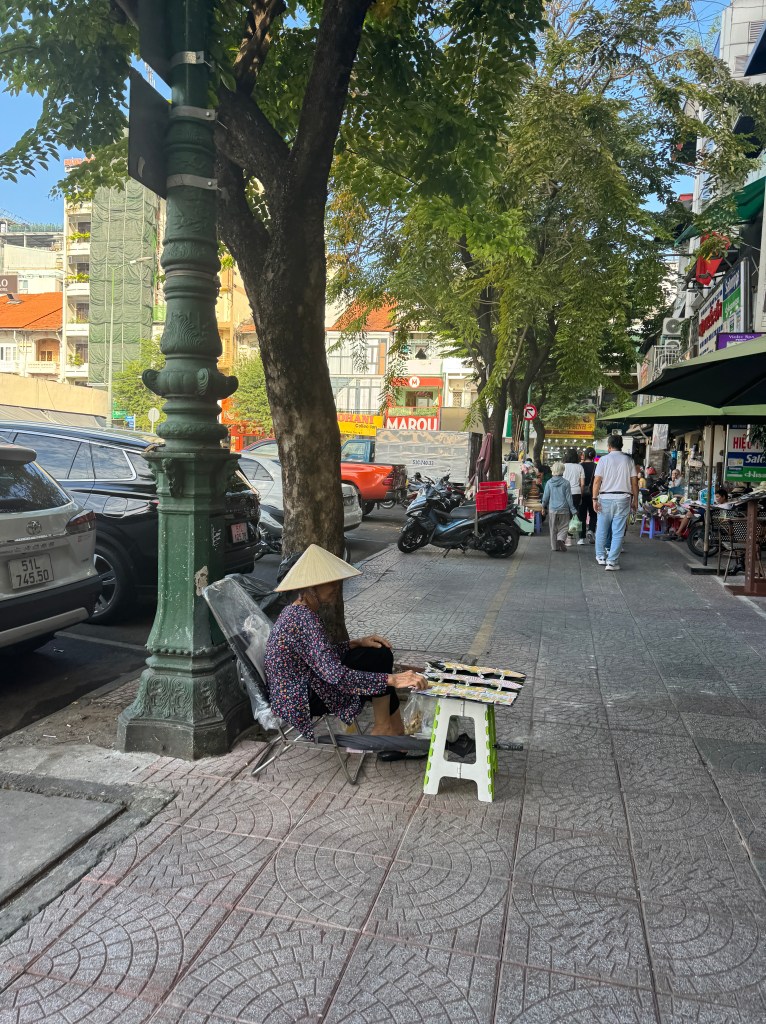
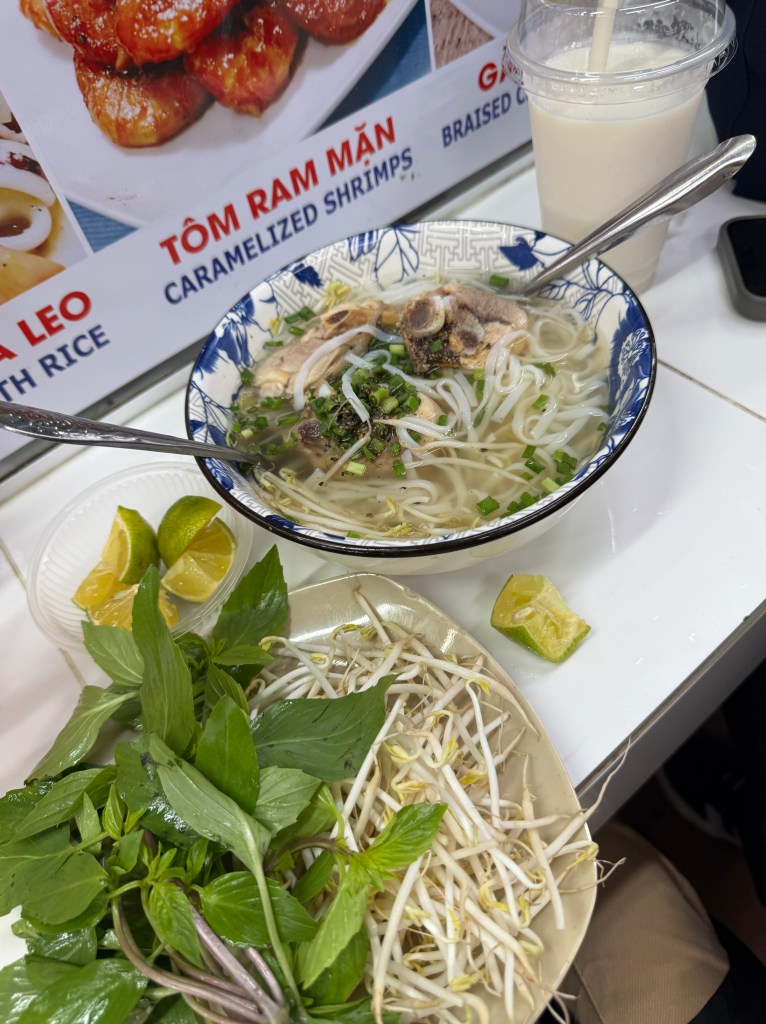
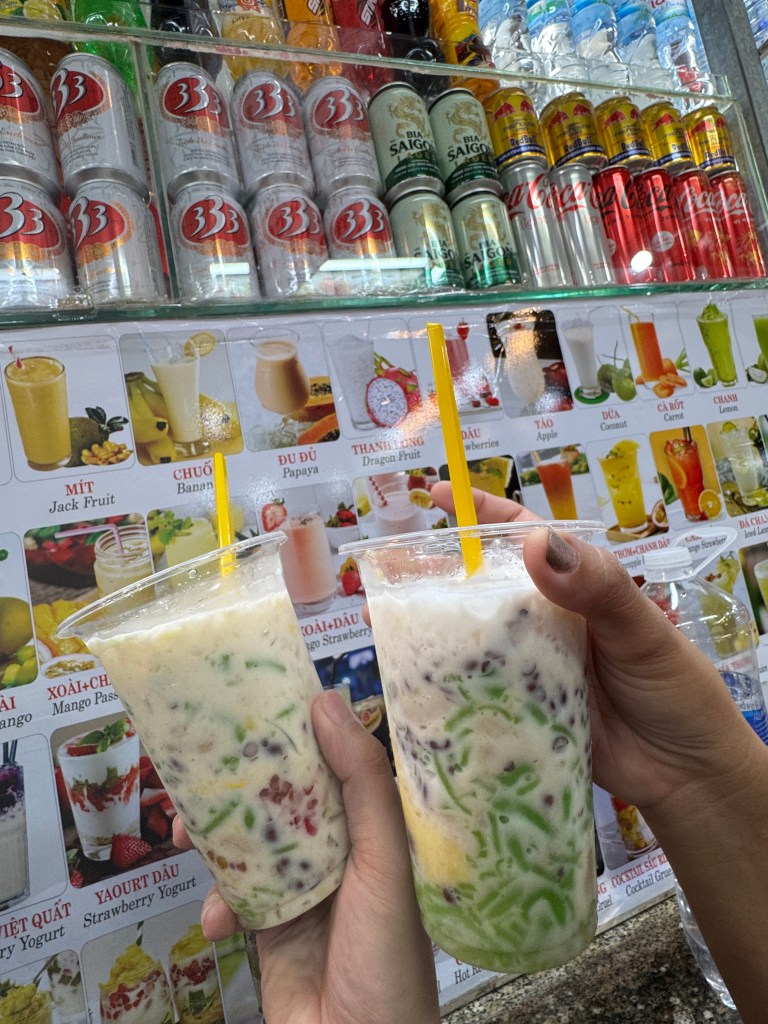
We left the Philippines at 4am (had to travel from Laguna to NAIA at 6pm and arrived around midnight). Arrived Ho Chi Minh airport around 6:30am, and passed through immigration around 7am. Then, we went to Ben Thanh Market (arrived around 7:30am, rode grab to reach the place). Our main goal was to do a Vietnamese food crawl and to explore the city.
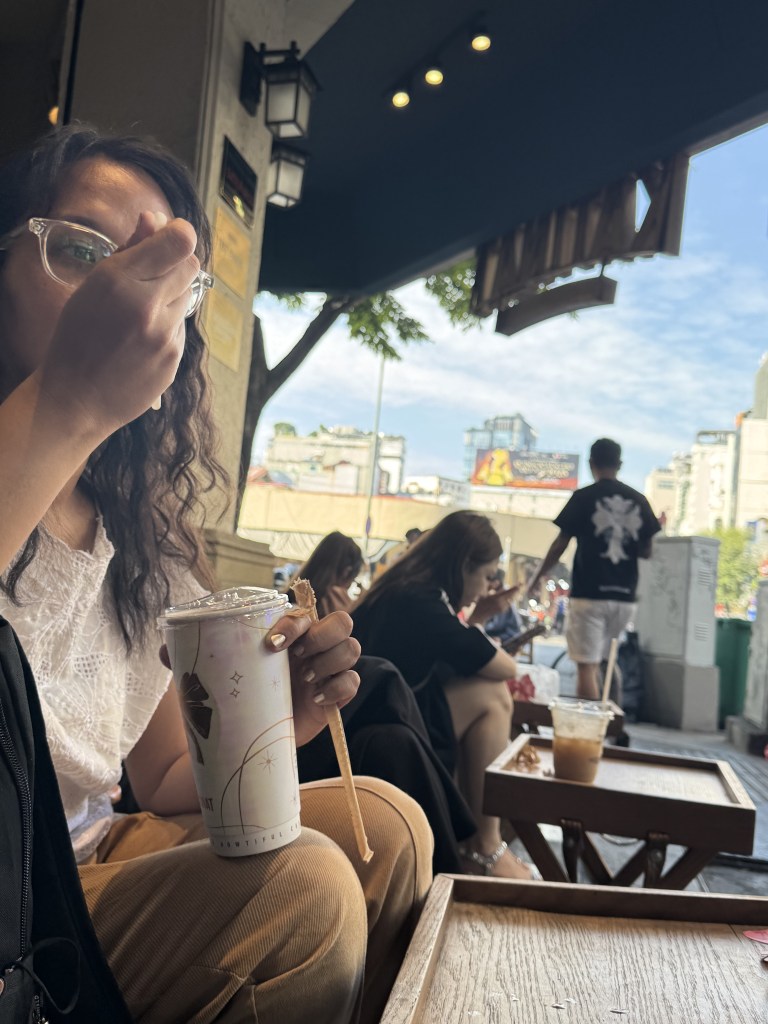
And while sipping my first Vietnamese coffee(which, btw was very strong), that’s when we realized that the Cambodia-Thailand border was closed and we would have to either go through Laos (but we didn’t have enough time) or go back to Vietnam airport (because it was cheaper), and fly to Thailand. We decided to go to Cambodia by bus and go back to Ho Chi Minh to fly to Thailand. Moral of the story: be a responsible sponty traveler and do research.
Here, I was enjoying my Vietnamese coffee before realizing that the Cambodia-Thailand border was closed.
Then, once we felt that we had roamed enough, we decided to go to our hotel, take a nap and dress up for our cruise (Oh, di ba, nakapagcruise pa yan sila. LOL.).
I overslept and thought that we missed the cruise, but we didn’t. The Vietnamese were really friendly. We got on the ship, enjoyed the sunset with the view of the city while having a nice drink (the Cruise was booked through Klook, but this post is not sponsored. LOL.).
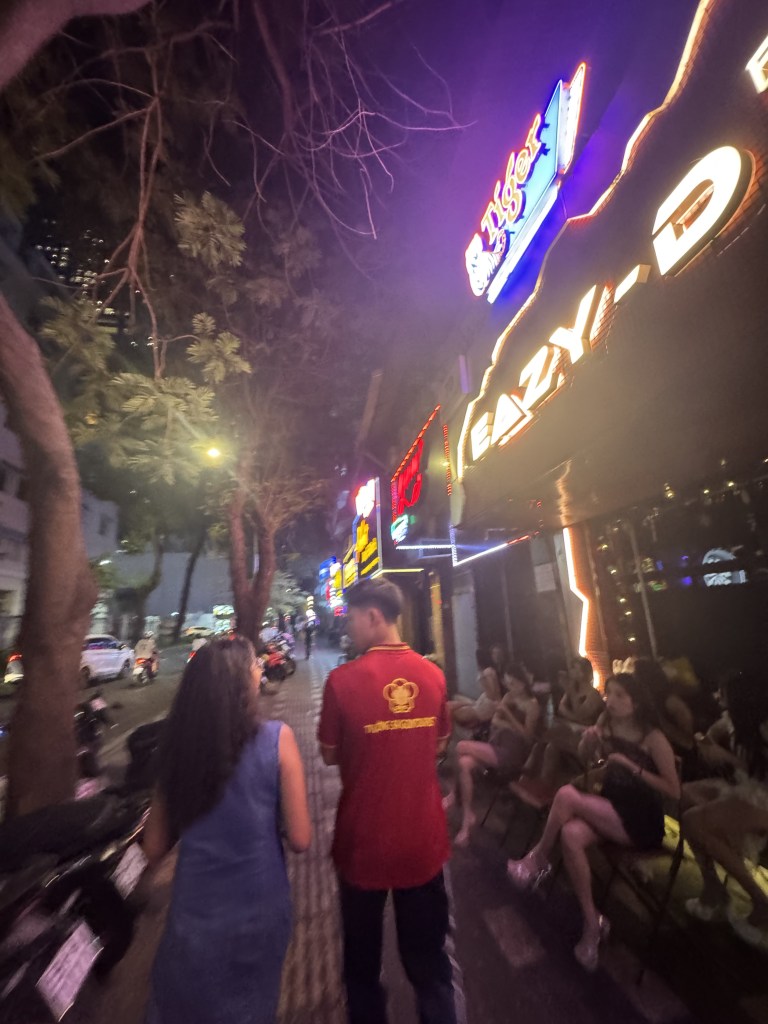
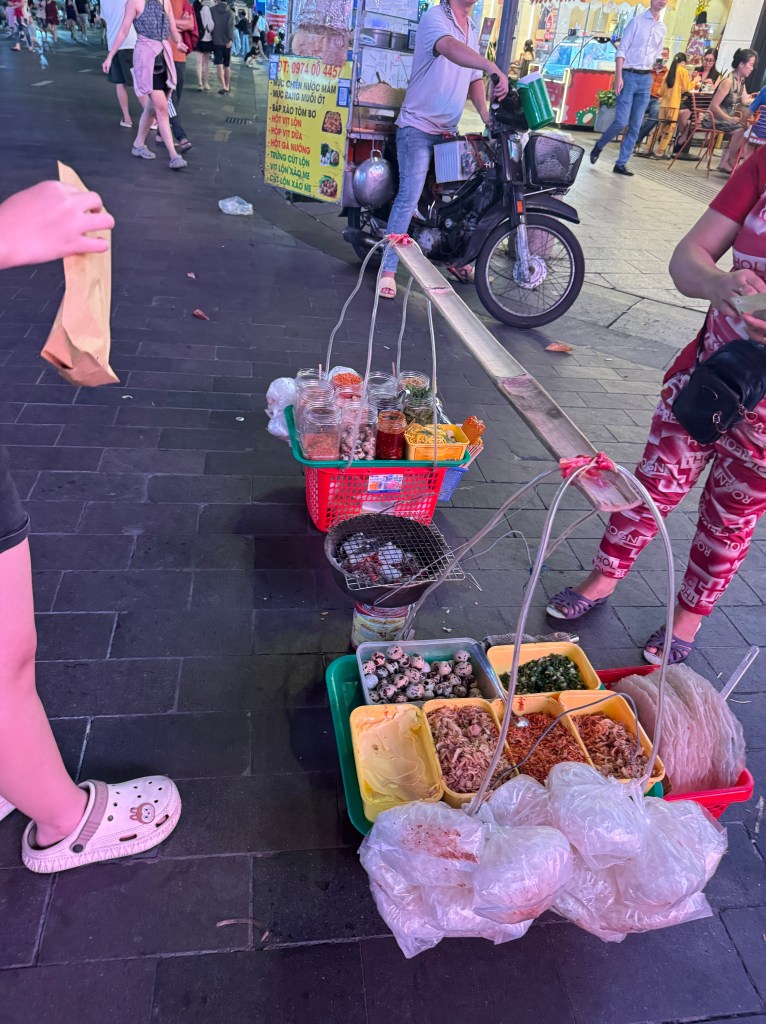
Later that night, we had dinner, then met my Vietnamese friend, who was very surprised by my visit. And, he had to drive from the countryside to the city to meet us. It was funny how a local was scared to cross a sea of motorbikes. We walked around the city and went to night markets.
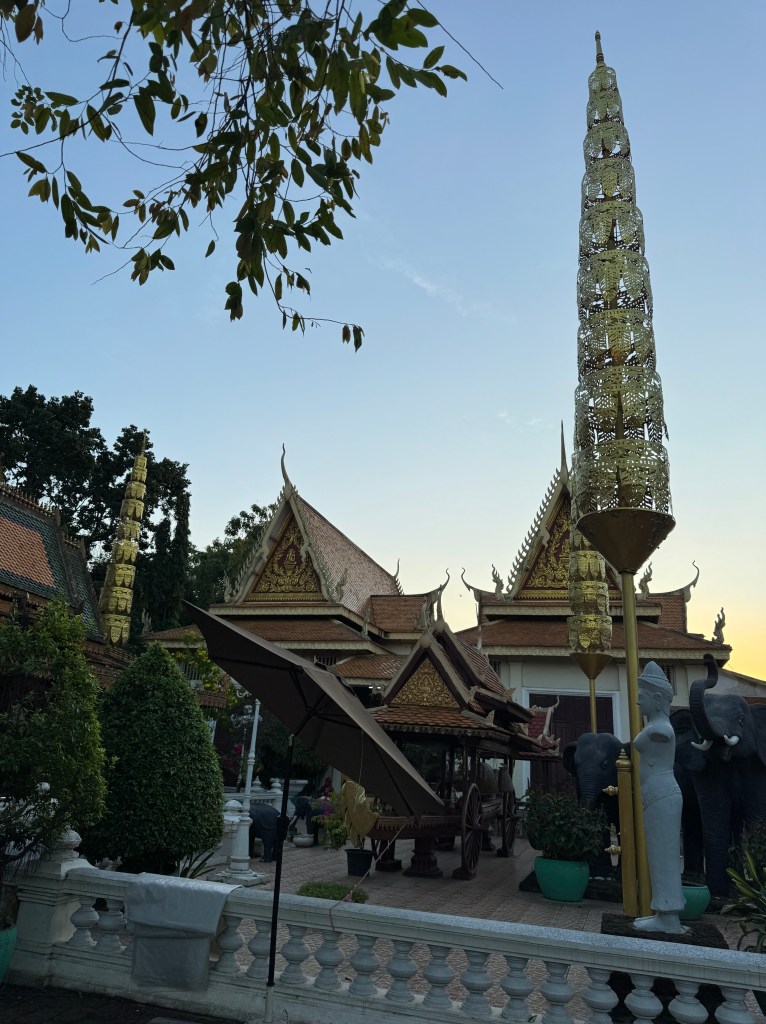
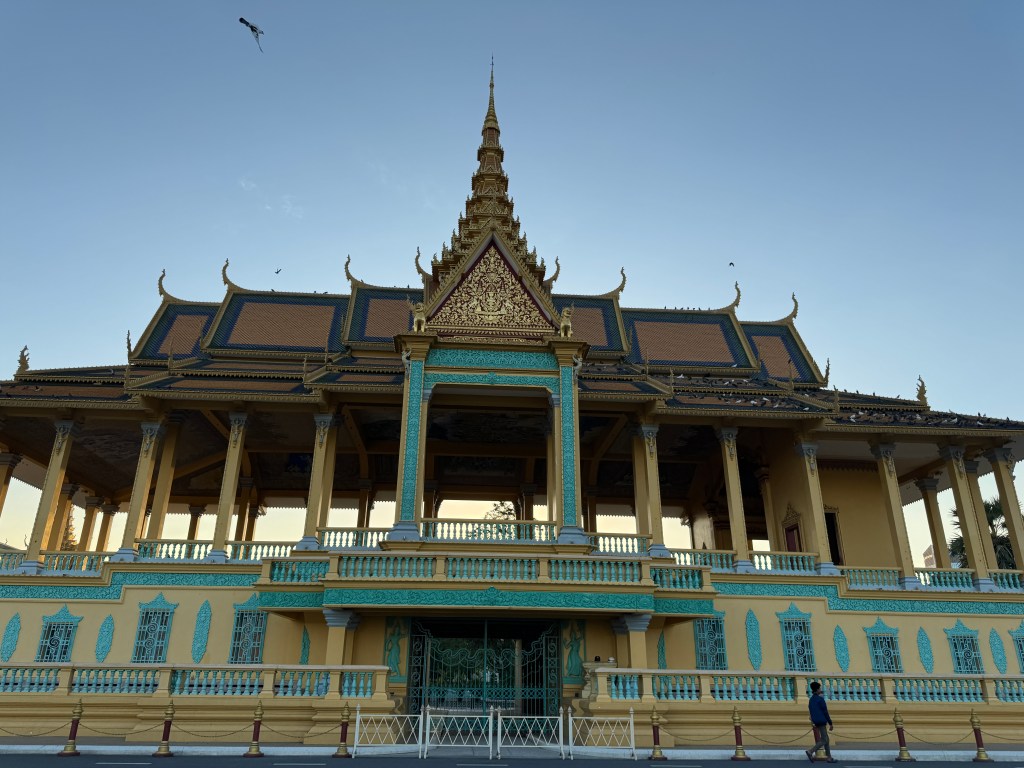
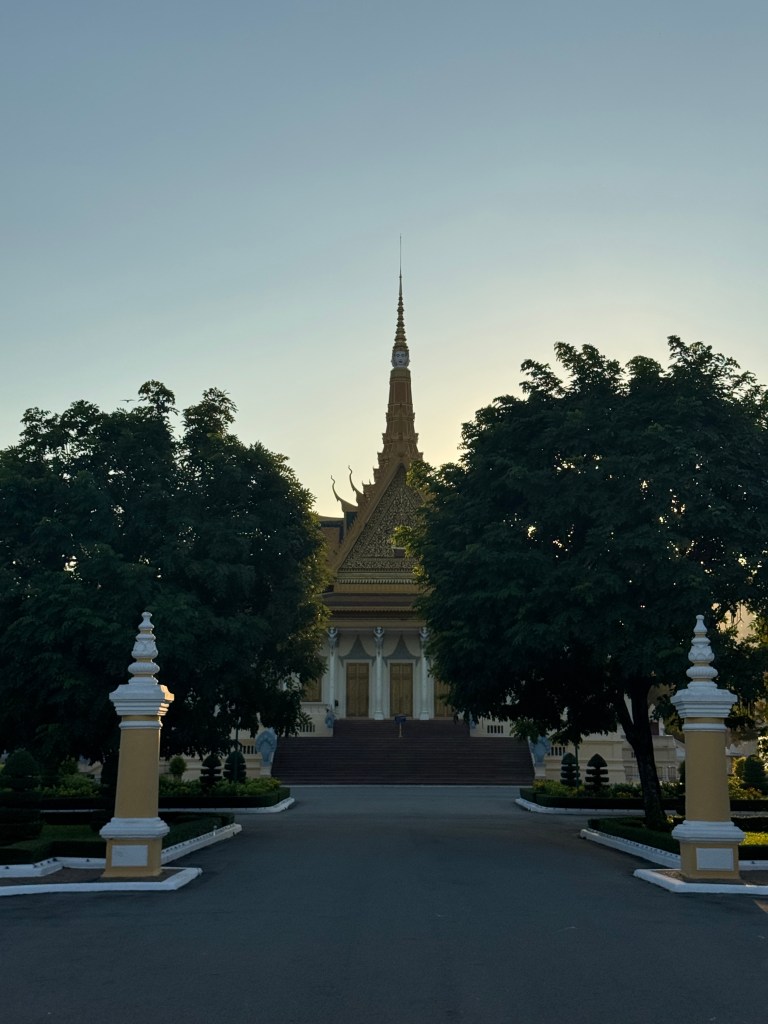
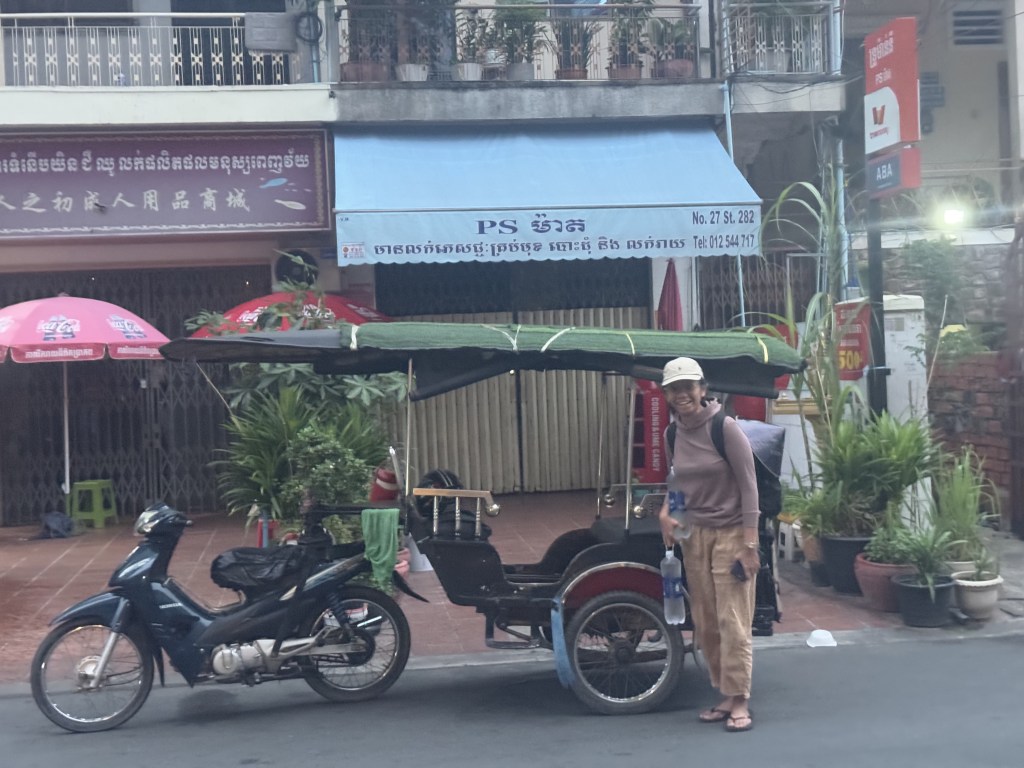
Then, we went back to the hotel and rest. We did last minute booking of our bus ride to Cambodia from Ho Chi Minh. We left at exactly 7am and arrived at 3pm in Phnom Pehn, Cambodia. We were initially scared of the not-so-good news about Cambodia. But it was a very safe country! We also booked our Tuktuk by Grab to avoid scammers, as recommended by some blogs. We first went to our hotel to drop off our bags and then went to the temples. Recommendation: Book your hotel near the places you want to visit.
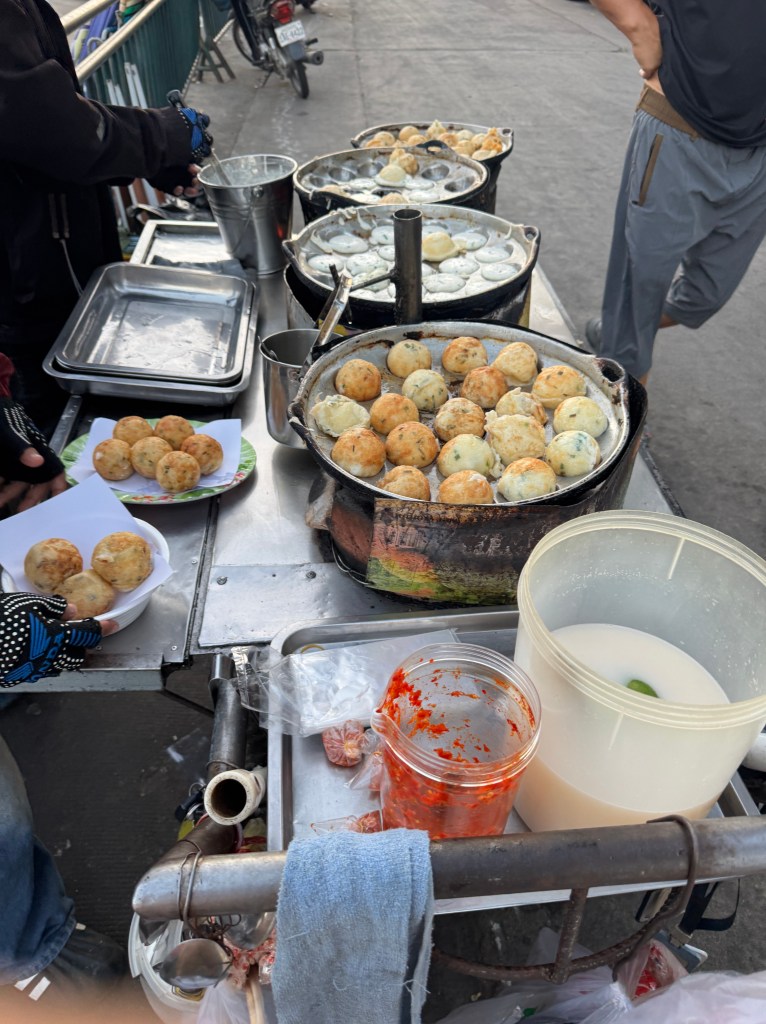
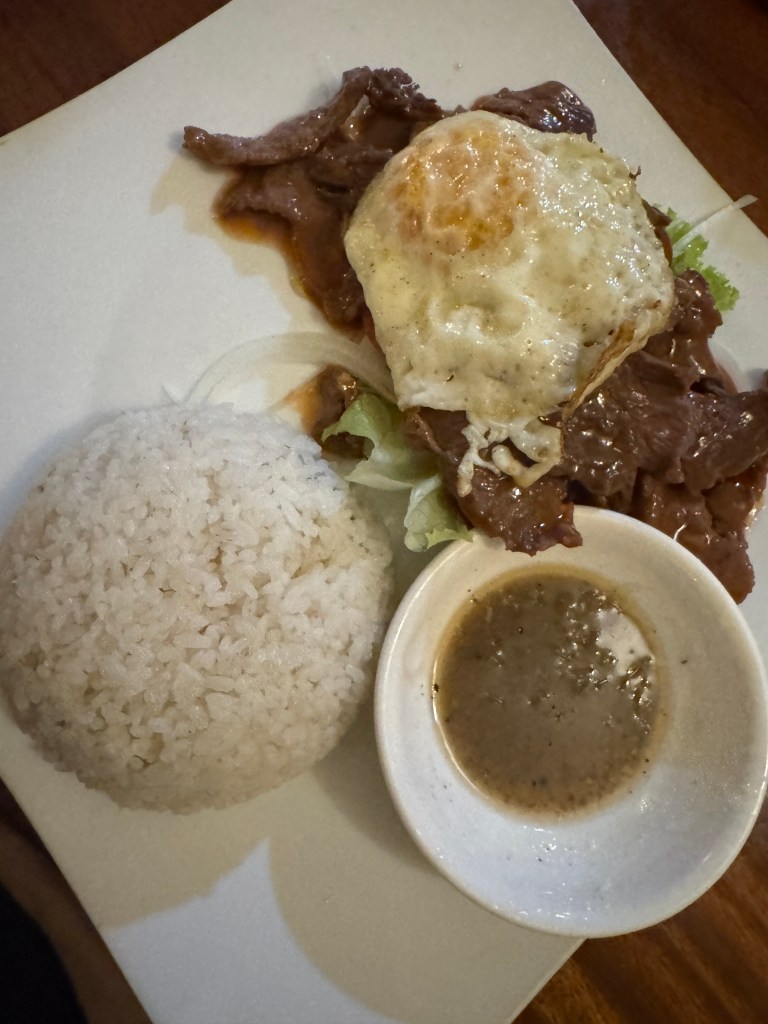
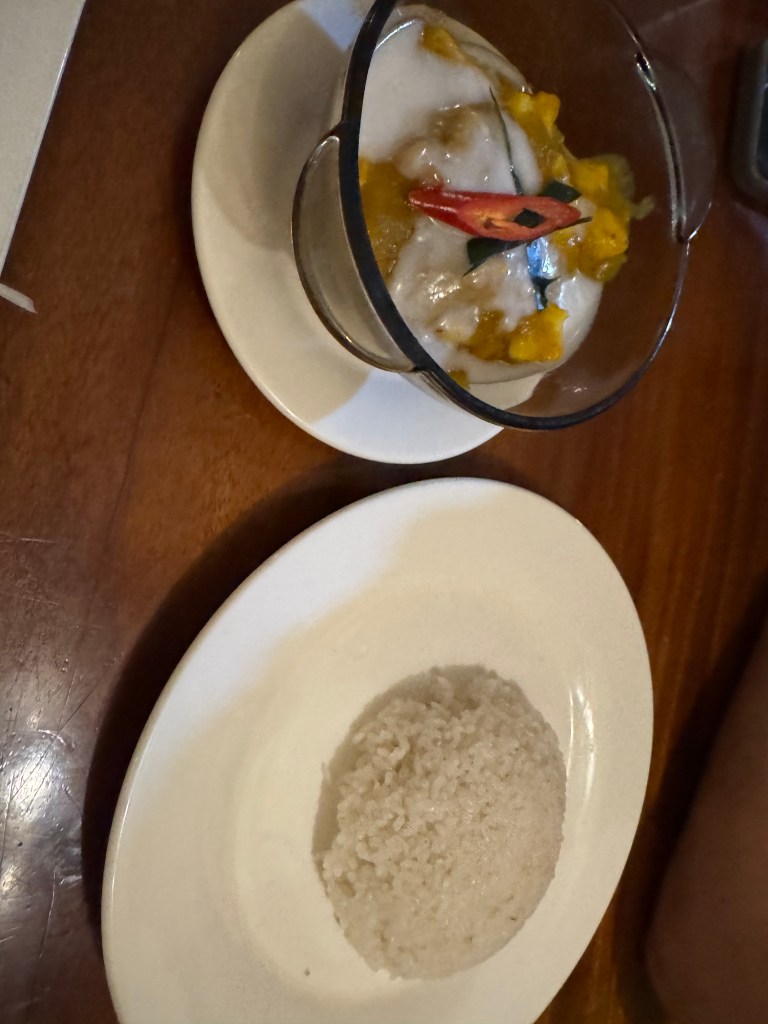
Temples close at 5:30pm, so we had to take our pictures outside the temples. We scrolled around. We had street food and then dinner of local food. We tried the Lok Lak and Khmer Fish Curry. They tasted amazing, although it was very salty. I was not sure if they were supposed to be that salty.
We went back to our hotel by Tuktuk. Slept. Then, it was time to go back to Ho Chi Minh for our flight to Thailand.
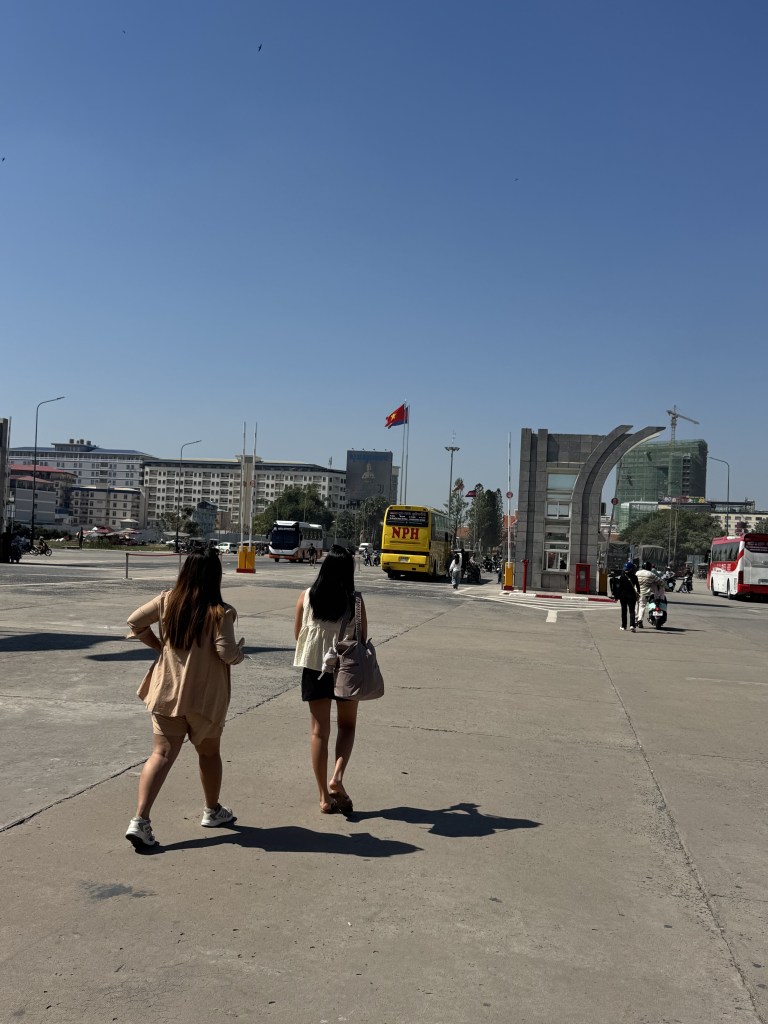
NOTE: For bus rides from Vietnam to Cambodia and back, you will have to give your passport to the bus operators and go through their immigration at the border.
The walk through the borders.
Back in Vietnam around 3pm. We had a late lunch. We were so hungry, but we were left with Vietnamese money enough for one meal. We had this before the lady told us we could pay by card! So, we had lunch at the airport.
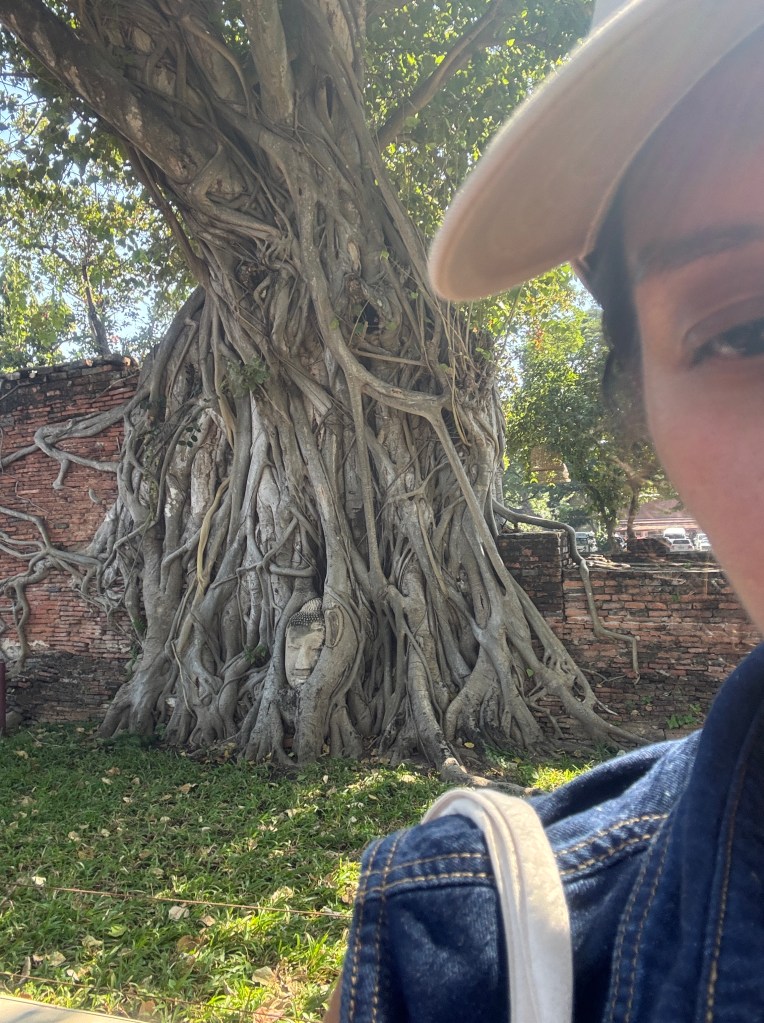
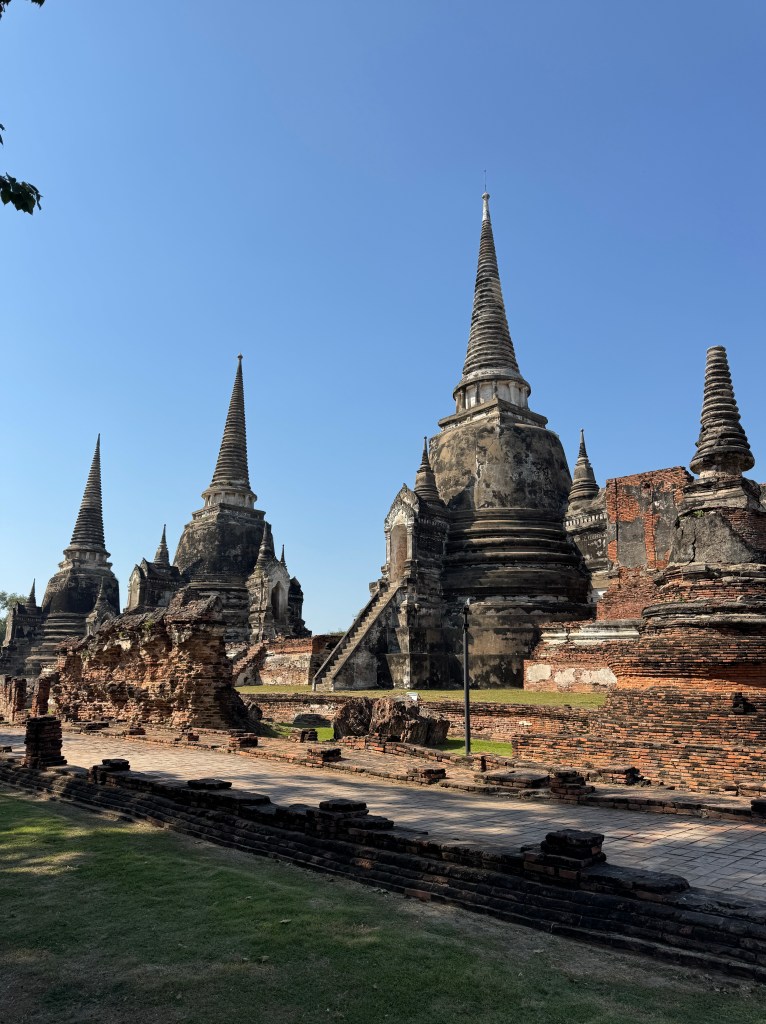
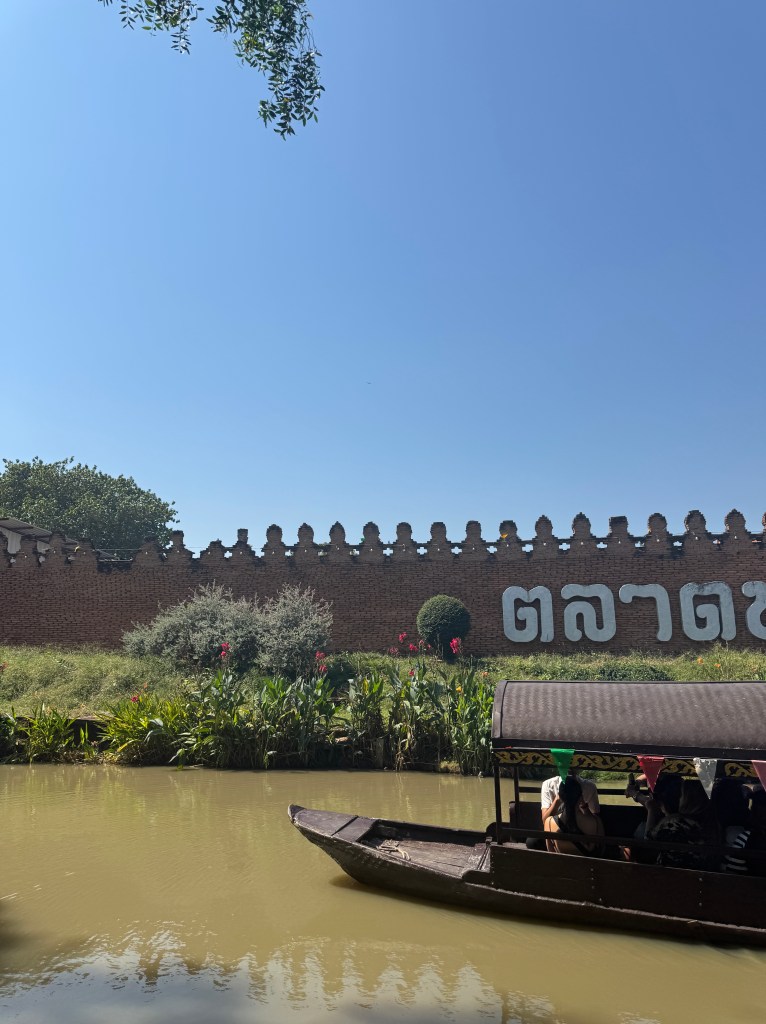
We arrived in Thailand late at night. The next day, we booked a day tour for Ayutthaya. This included a tour guide, van, and entrance fees. We went to temples, old tombs, and a floating market replica.
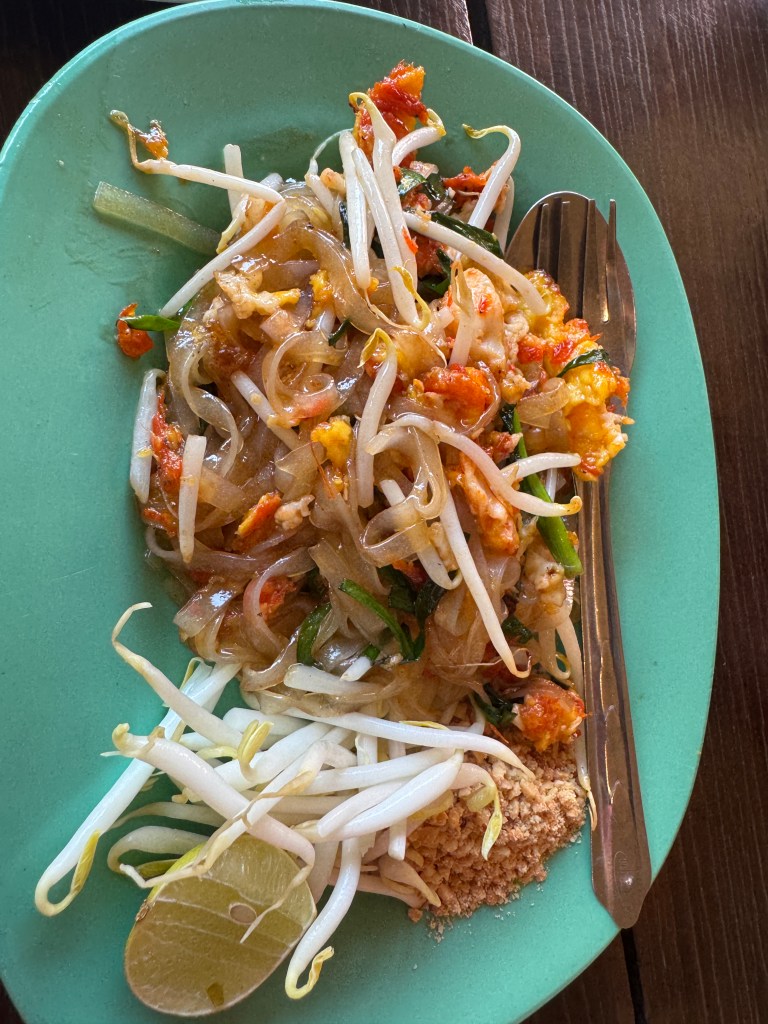
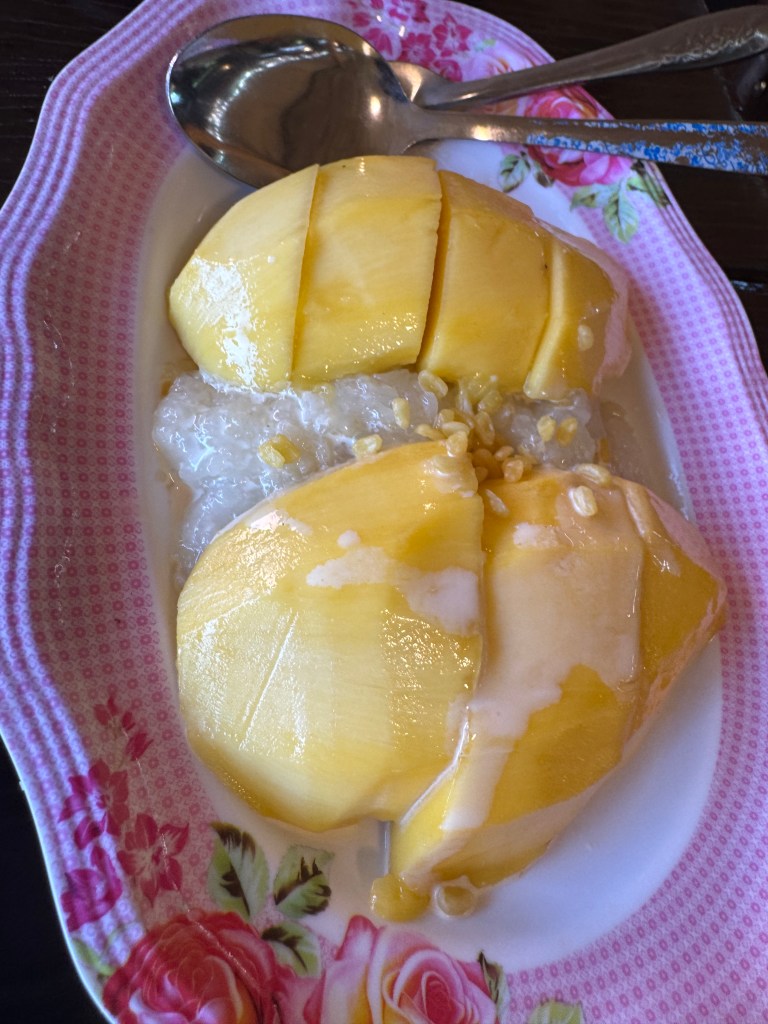
At the floating market, we rode the boat. Then, we had lunch and ate pad thai satay and mango sticky rice. It was a clear sky day, but very hot! Make sure to wear cotton clothing. In the temples, girls were required to wear long pants/skirts, while sleeveless shirts were not allowed.
We got back to Bangkok around 6pm. It was still warm around that time. We were lucky that the traffic was not too bad. We met a friend doing school, and he brought us to Pratunam Market (as Chatuchak Weekend Market was not open on weekdays when we were there). We had dinner and capped off the trip with mango sticky rice (this was way better than the one we had at the floating market replica.
NOTE: McDonald’s food in Bangkok was expensive compared to local foods or McDonald’s in the Philippines.
Again, this itinerary is not for those seeking a relaxing vacation in these beautiful countries.
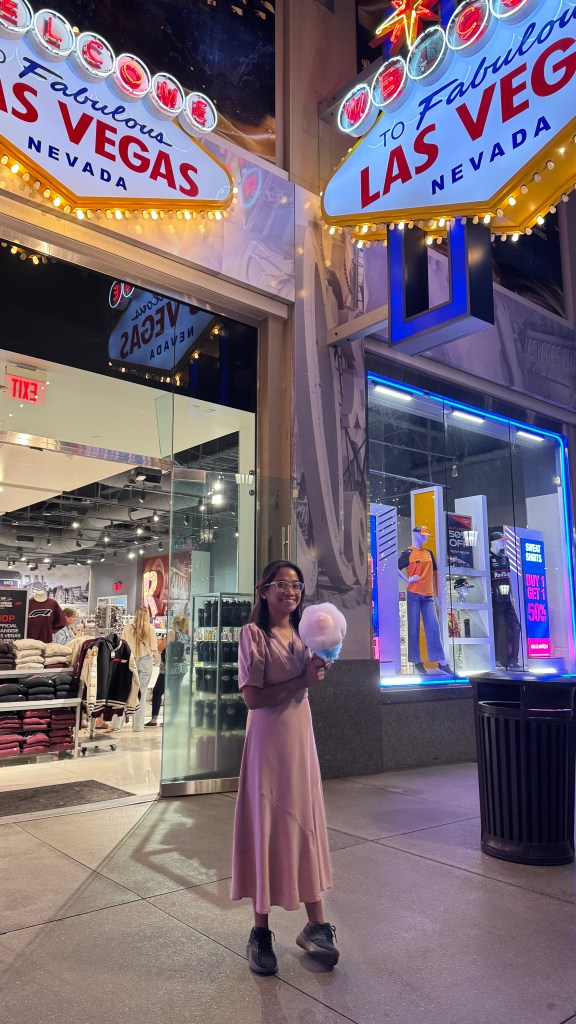
We had a quick trip to Las Vegas for a friend’s wedding. Three days to be exact. Half a day for traveling to Vegas, and half a day going back. The other half of our first day was spent to my friend’s wedding, which was a very simple yet very fairytale-like and held at night. I’ve been to Vegas twice now, and despite the very nice city lights and interesting activities, I am still not a huge fan of the strip or the casinos.
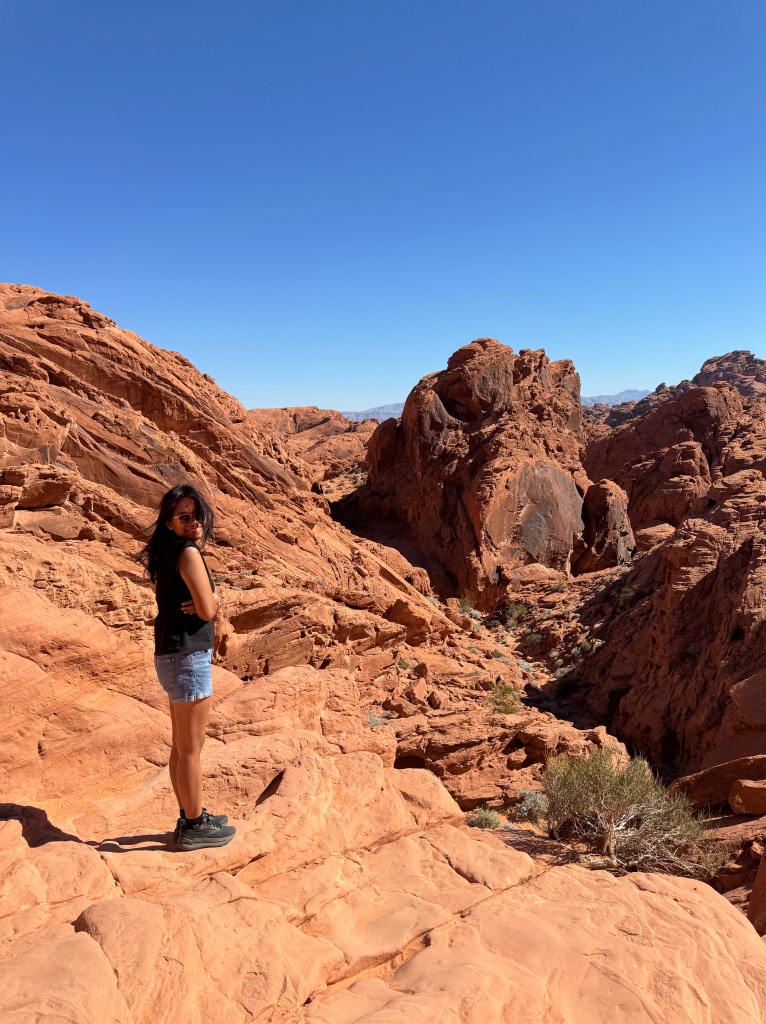
I like national and state parks instead. If you are like me, here’s my one-day itinerary at the Valley of Fire. This is 20mins to 1hr drive from the strip, depending on where you are staying. We initially planned to go to Red Rock, but I realized that our hotel was closer to Valley of Fire. It was also prettier in the pictures.
We arrived there around noon. Our mistake was not to bring food and a lot of water in the car. There’s a lot of nice spots inside the state park but also a lot of hiking. It was hot on the day we were there, and we only had 2 small bottles of water. So, CHECK THE WEATHER and bring the necessary things with you. Despite the unprepared trip to the state park, I still enjoyed it!
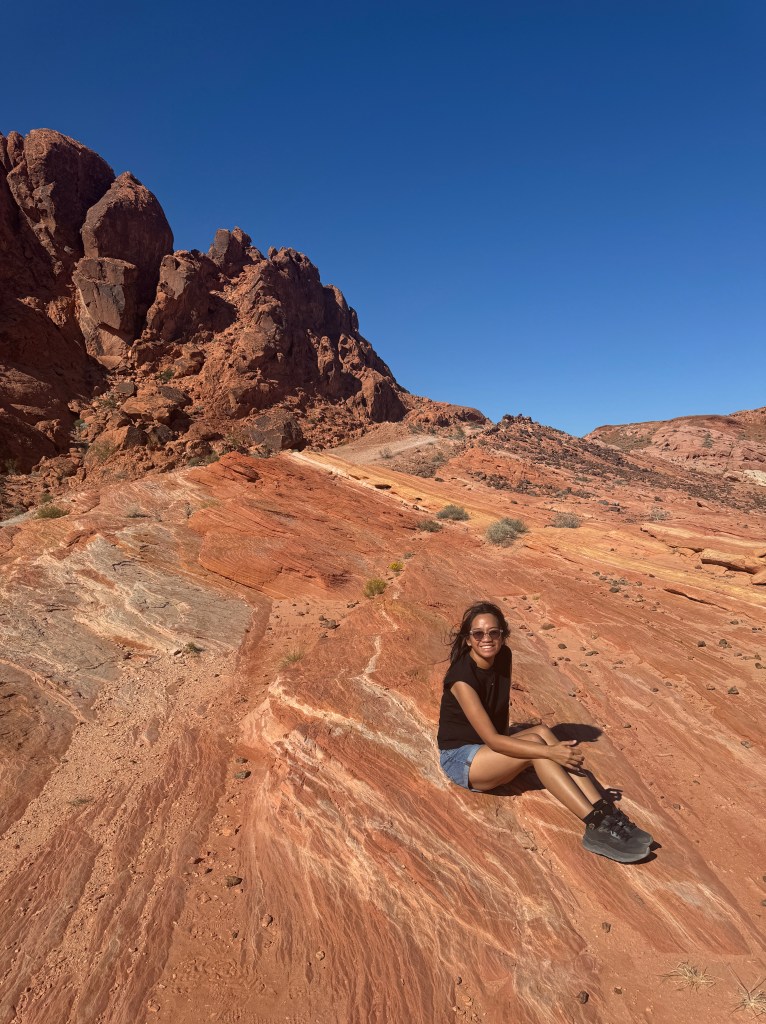
Entrance fee to the park was $15 for non-residents of Nevada and $10 for residents but because we had military discount, we only paid $9. KEEP YOUR RECEIPT! They check it when you exit the park.
We drove and hiked only few points. BE PREPARED for the HIKING! Wear comfortable shoes and clothes for the weather. Hikes were not too bad that even kids and grannies will enjoy it.
When you grew up in a tropical place where you only have sunny or rainy days, I bet they’ll choose summer and would say they hate the cold. You can’t be surprised to know that they like all four seasons – summer, spring, summer, and fall, as I do.
That is why it is difficult to choose only one of these four. But, if asked what season I hate the most, in the blink of an eye, I know the answer right away.
Let’s go back to the tropical place where we get 20+ typhoons every single year, and we only have sunny and rainy days — without hesitation, I would say that I hate the rainy days. No offense to farmers in drier places who need water for their crops. Rain gives me anxiety, and I guess no one likes that feeling.
When I started living in a landlocked place with much less rainfall than where I grew up, I met people who found calm and solace in the sound and smell of rain. With a smile on their face, they would ask me if I felt the same. My answer has always been a NO.
Plants love it. But I am far from being a plant.
I played in the rain as a kid, but as I grew up, I saw how it had been destroying our house and peace of mind — the reason you won’t find any rain sound in my playlist despite claiming it to put you in sleep.
For me, rain often meant strong winds trying to peel off the iron roof of our house, heavy downpour leaking and wetting our beds, and eventually, flooding damaging our things (notebooks, clothes, etc.).
Strong winds made my heart beat 180 times per minute as I heard the creek coming from the roof, indicating that our roof might get blown away. The continuous howling of the wind at night was our alarm clock with no cancel/stop button, waking up the whole family. Next thing I knew, we were all grabbing wires tied to the roof and its foundation and helping each other save our house for the next 3 to 5 hours until this typhoon passed by our town.
Heavy downpours of rain would mean that we must try to sleep with a bucket next to us to catch the water dripping from the roof, albeit not rest until the heaviest part of the rain had passed. We needed to check every minute if the rain was about to come into our house.
Then, there was the flooding. It meant we needed to lift things like our fridge, couch, television, etc., things we find important, so they would not be damaged by the flood. It also meant to expect snakes, toads, or crickets to swim inside the house to find shelter, which added to my anxiety during typhoons. Ugh.
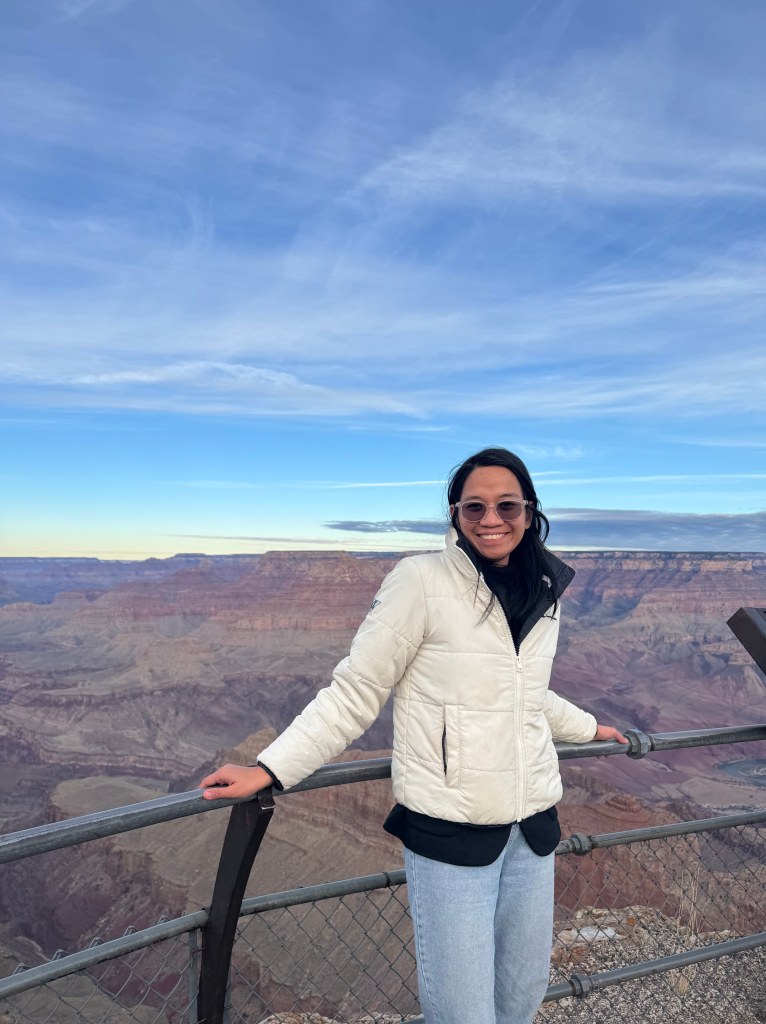
Solo travel may seem like a challenge, but who knows, it could be an adventure of a lifetime? I wasn’t planning to go solo, but my friends’ stars didn’t align with mine. Then, I had the chance, so I took it. I swear I was freaking scared since I will be alone and it will be my first time, but I couldn’t say pass with Grand Canyon!
Why Travel Solo?
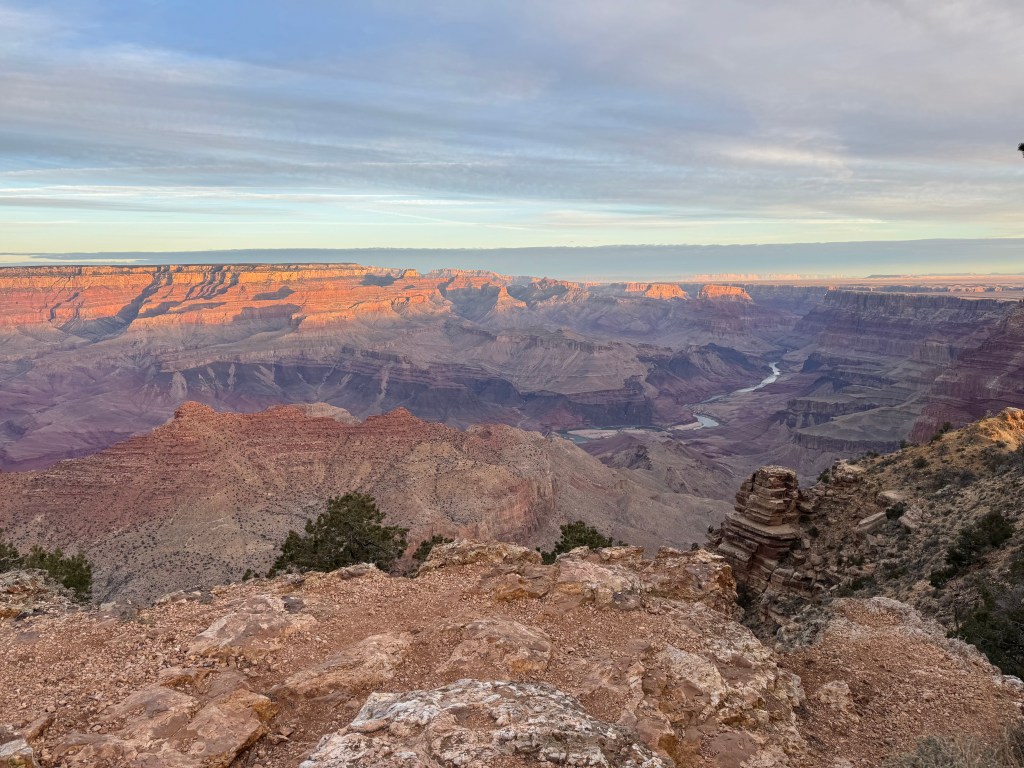
Postcard-like scenery: When I went there, my first stop was just breathtakingly unbelievable – it was like being inside a postcard. The colors are just stunning, which makes you think how amazing the world is.
Doable for quick or long trip: I was only there for a day, very quick, but worth it. You can enjoy these views for half a day, but I recommend a longer stay to fully experience the canyon.
Self-discovery: This place made me realize that I can conquer places I thought were impossible to get my feet on. I realized that I am capable of things that my mind can conceive. I just need to work hard and have a little pixie dust of luck.
Must-See Spots in the Grand Canyon for Solo Travelers:
South Rim – The most popular viewpoint for the Grand Canyon. You can’t miss the iconic Mather Point or Yavapai Point for unforgettable photo ops!
Hiking the Bright Angel Trail – A classic Grand Canyon hike! It’s one of the most accessible, taking you deep into the Canyon for jaw-dropping views.
Grand Canyon Skywalk – For thrill-seekers, walking on this glass bridge with a view straight down to the Canyon floor is a once-in-a-lifetime experience!
Desert View Watchtower – Experience a less crowded spot with incredible views and an incredible historical landmark.
Havasu Falls – If you’re looking for something off the beaten path, hiking to Havasu Falls is a unique experience filled with crystal-clear waters and breathtaking scenery.
Tips for Solo Travelers:
Safety First: Always let someone know your itinerary and check-in regularly. Cell service is limited in many parts of the park.
Pack Smart: Bring plenty of water, snacks, and sunscreen—staying hydrated and protected from the sun is crucial.
Plan Your Stay: From camping to luxury accommodations, there’s a place for everyone! Consider staying at Grand Canyon Village for easy access to all major sights.
Respect Nature: Stay on marked trails, leave no trace, and take only memories.
Solo but Not Alone: The Grand Canyon is a popular destination, so you’ll never truly be alone. Take advantage of ranger-led programs to meet other like-minded travelers!
What to Pack for Your Solo Grand Canyon Trip:
If you have a car, then you can overpack. But you do not need to. Backpacking is very possible. Please note that you will need to bring the following and be prepared for extensive hiking.
Sturdy hiking boots
Water and/or sports drink
Sunscreen
Camera (no need for fancy ones, your phone’s enough)
Power bank (because there’s a lot of images to capture)
First-aid kit and any personal medications
Light jacket for chilly mornings and evenings
Snacks like energy bars
Final Thoughts:
The Grand Canyon is one of the most majestic places on Earth, and there’s no better way to experience it than on your own terms. Solo travel here isn’t just about seeing a natural wonder; it’s about embarking on a journey of personal growth, adventure, and connection with the wild.
Ready to take the leap? The Grand Canyon is waiting!
My January 2025 was filled with happy memories from our 22-day Europe tour and here is our itinerary that you can copy on your upcoming trip.
Day 1 – Athens, Greece (arrived at 7am in the airport); visited Roman Agora and, Acropolis.
Day 2 – Flew from Athens, Greece to Rome, Italy; walked around the city since we arrived late.
Day 3 – Vatican City; attended the Sunday’s mass and walked around then went back to Rome.
Day 4 – Rome, Italy; went Italian food crawling, visited the Colosseum.
Day 5 – Pisa, Italy; went to the leaning tower of Pisa then traveled to Venice, Italy at night.
Day 6 – Venice, Italy; walked around Venice, rode the Gondola ($90 for two people).
Day 7 – Milan, Italy; went to Duomo di Milano and Sforzeco Castle museum.
Day 8 – Train to Switzerland; went and walked around Luzern and Zurich in Switzerland.
Day 9 – Traveled from Switzerland to Munich, Germany; Walked around the town.
Day 10 – Munich, Germany; walked around the town and did German food crawl.
Day 11 – An hour away from our hotel in Munich, Germany, was a frozen lake we went to.
Day 12 – Traveled from Munich, Germany to Frankfurt, Germany; walked around Frankfurt.
Day 13 – Met a friend in Frankfurt, Germany; more food crawling.
Day 14 – Walked around the town Frankfurt, Germany. Stayed here longer because of a friend and I got my Schengen visa in this country as well.
Day 15 – Amsterdam, Netherlands; visited Anne Frank’s Secret Annex and Red Light District.
Day 16 – Brussels, Belgium; Belgian food crawling and chocolate tasting, went to Grand Palace.
Day 17 – Ghent, Belgium; had Belgian waffles, went to Gravensteen Castle.
Day 18 – Calais, France; had crepes, walked around the shore.
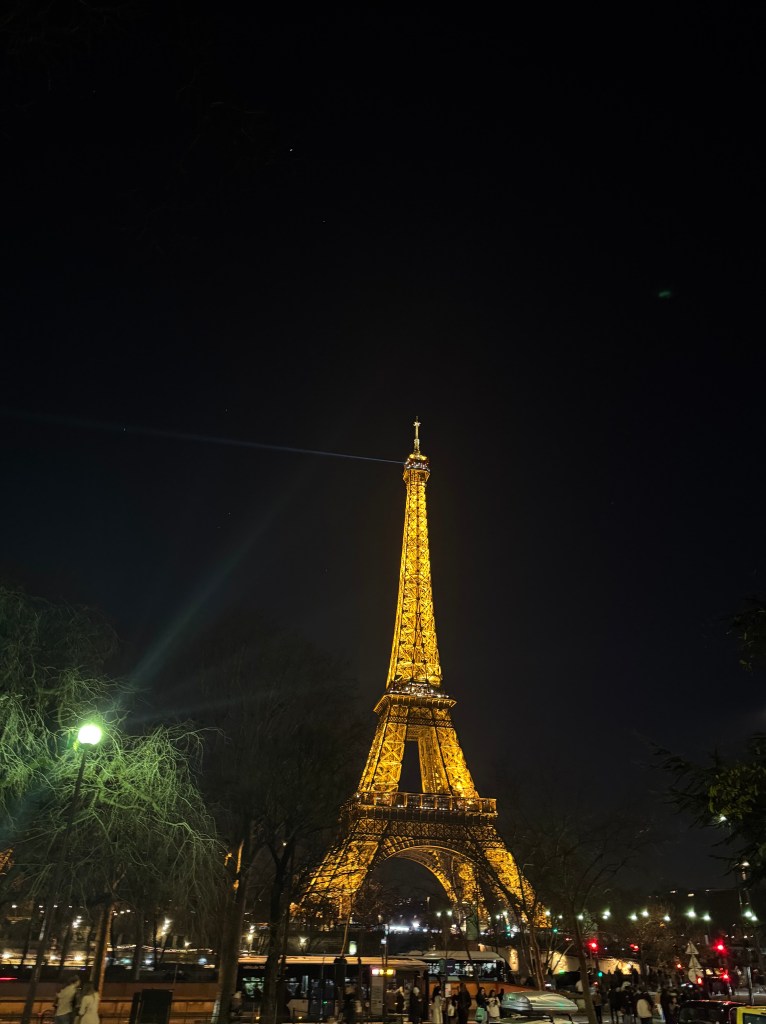
Day 19 – Paris, France; went to the Eiffel tower and Louvre museum.
Day 20 – Nazare, Portugal; went to Praia de Salir do Porto, Portuguese food crawl.
Day 21 – Obisos and Lisbon, Portugal; went to a town surrounded with walls, did seafood crawl.
Day 22 – Barcelona, Spain; went to Sagrada de Familia, traveled to the airport to go back home.
The key is to find a hotel near the train station or the places you want to visit. Also, if you arrive earlier than the check-in, do not be shy to ask the hotel person if you can leave your things with them. Most of them let us leave our things, and we walked around without our bags.
There’s nothing wrong about getting enhancements if it makes you happy.
At some point in my life I wanted to get a rhinoplasty mainly because I was tired of not just other people but my own friends and family bullying me with my big nose. It was my greatest insecurity until I realized that I am beautiful despite having a big nose but it took me two decades to accept everything I was born with.
Accepting everything you have is not easy especially when your brain was wired by your environment that you fully trust since day 1.
You are fortunate if you have an affirmative surrounding telling you that you are enough and nothing is wrong with you however this is not always the case.
I thought I was the ugliest and felt like life was not fair. But, the universe allowed me to see the world in a broader perspective and that changed how I see myself now.
Life brought me to a place with a very diverse culture. People across the globe who lived their lives way different than me and found how each of us are uniquely beautiful. These people never pointed out that my nose was big but made me feel that I am enough and beautiful. And for that I will forever be grateful.
The people I have been meeting made me feel secure and accepted. I am thankful I didn’t end up changing anything in my body.
But again, it’s ok to have physical enhancement but I think what’s more important to improve is our personality, character, values and knowledge. Stay true to yourself, kind and loving to yourself and other people. Crave to know more. Think before you speak. Try to see different angles of where things are coming.
And I hope when you find out how beautiful you are, you can also be a medium for others to see their own beauty.
That was me 10 years ago and the way I see myself now has changed a lot! I know now that I am beautiful even with my big nose. 😉
Sometimes we want to travel but no one available to accompany us so why not travel alone? But, it is not easy to travel alone because aside from the cost and planning alone, we have to be extra careful when you are new to a place. Below are 5 places in the Philippines that you can go for your first solo backpacking:
1. Boracay, Aklan, Coron Palawan or any famous tourist destinations
I haven’t been here but famous tourists destinations would have lots of people from different parts of the world and will feel safe since you are not literally alone roaming around.
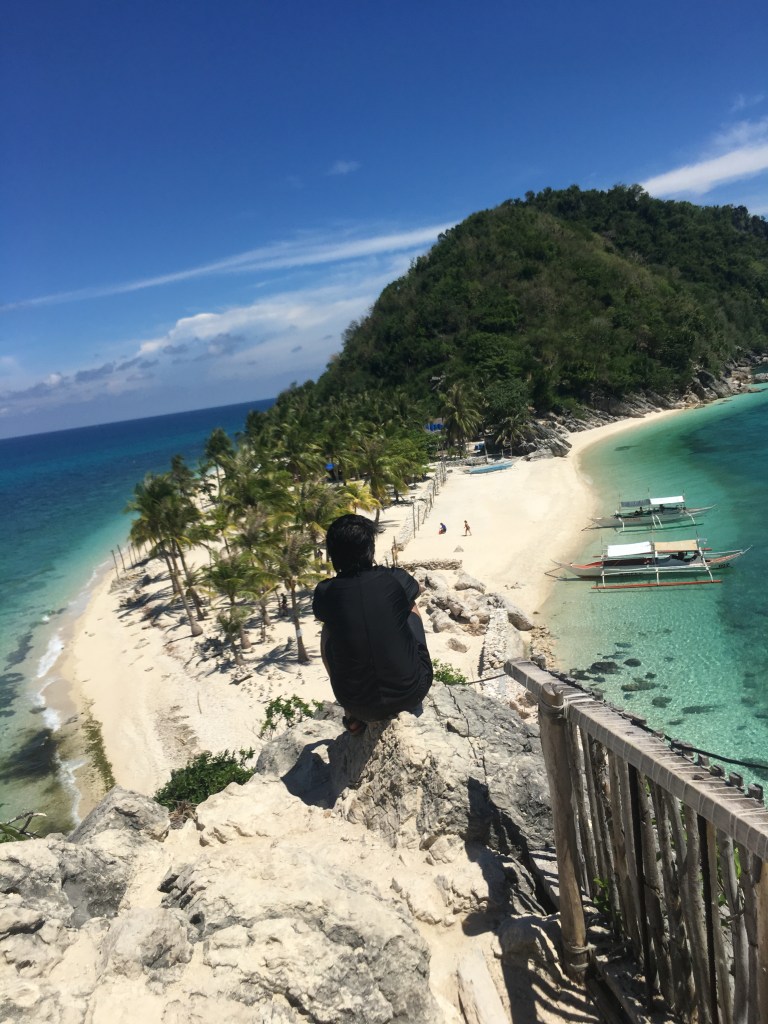
2. Gigantes Island, Carles, Iloilo
Spots to visit: Tanke Saltwater Lagoon, Cabugao Gamay
Food to try: P1 per piece fresh scallops, fresh crabs
3. Sagada, Mountain Province
Spots to visit: Spelunking Cave, Sea of Clouds
Food to try: Pinikpikan, Lemon Pie, Pastries, Wine
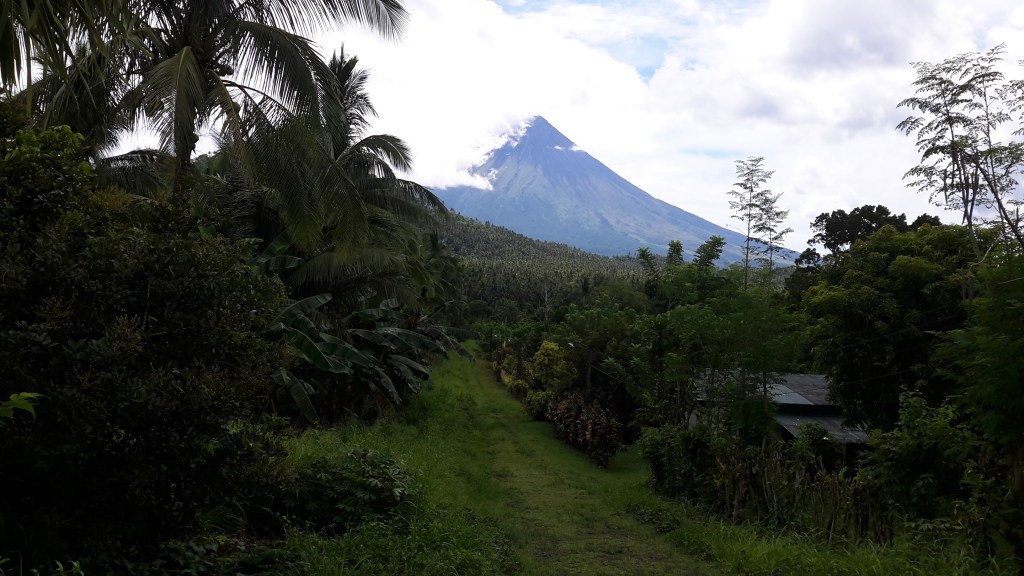
4. Guinobatan, Albay, Bicol
Spots to visit: Cagsawa Ruins, Sumlang Lake
Food to try: Sili ice cream, Pinangat
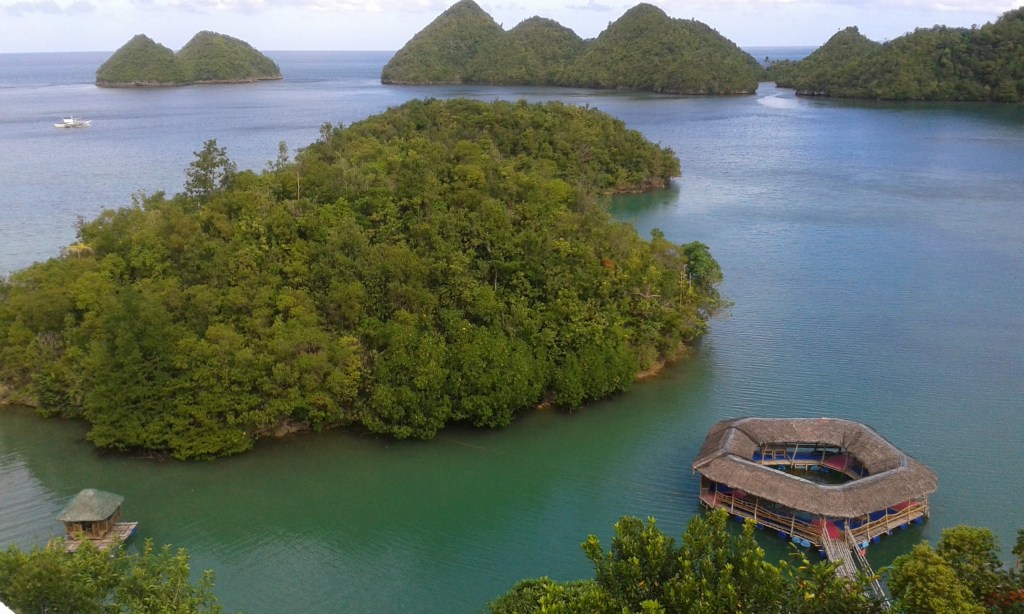
5. Sipalay, Negros Occidental
Spots to visit: Sugar Beach, Islets
Food to try: Oysters and fresh seafood
Take this with caution. We still have to take extra care. Try to go to places with many people. Do not give in to the pressure of ambulant vendors or people selling services. I am confident to say that traveling anywhere in the world is safe for solo travelers but we have to prepare, plan well and be aware of their cultures and respect that.
Are you a die hard K-pop fan? Do you love Korean make up or skin care products? If yes, you might have plans to visit Korea but kinda hesitant because you’re thinking that it is too expensive!
Korea probably seems intimidating to go in terms of cost but do not let that stop you from going to your dream destination! Read on to see how I managed to travel to a place that requires us a visa – South Korea for less than P30,000 ($600)! BTW, it was my very first trip abroad!
Here is the story and costing me and my friend incurred:
Round trip ticket (P6000): One random day a year before our flight when my friend contacted me and asked me if I wanted book next year’s flight to South Korea and who can say no to a round-trip ticket amounting P6000 ($120)? The key is to patiently wait and look for the cheapest promo round-trip tickets or have a thoughtful friend who will book for you.
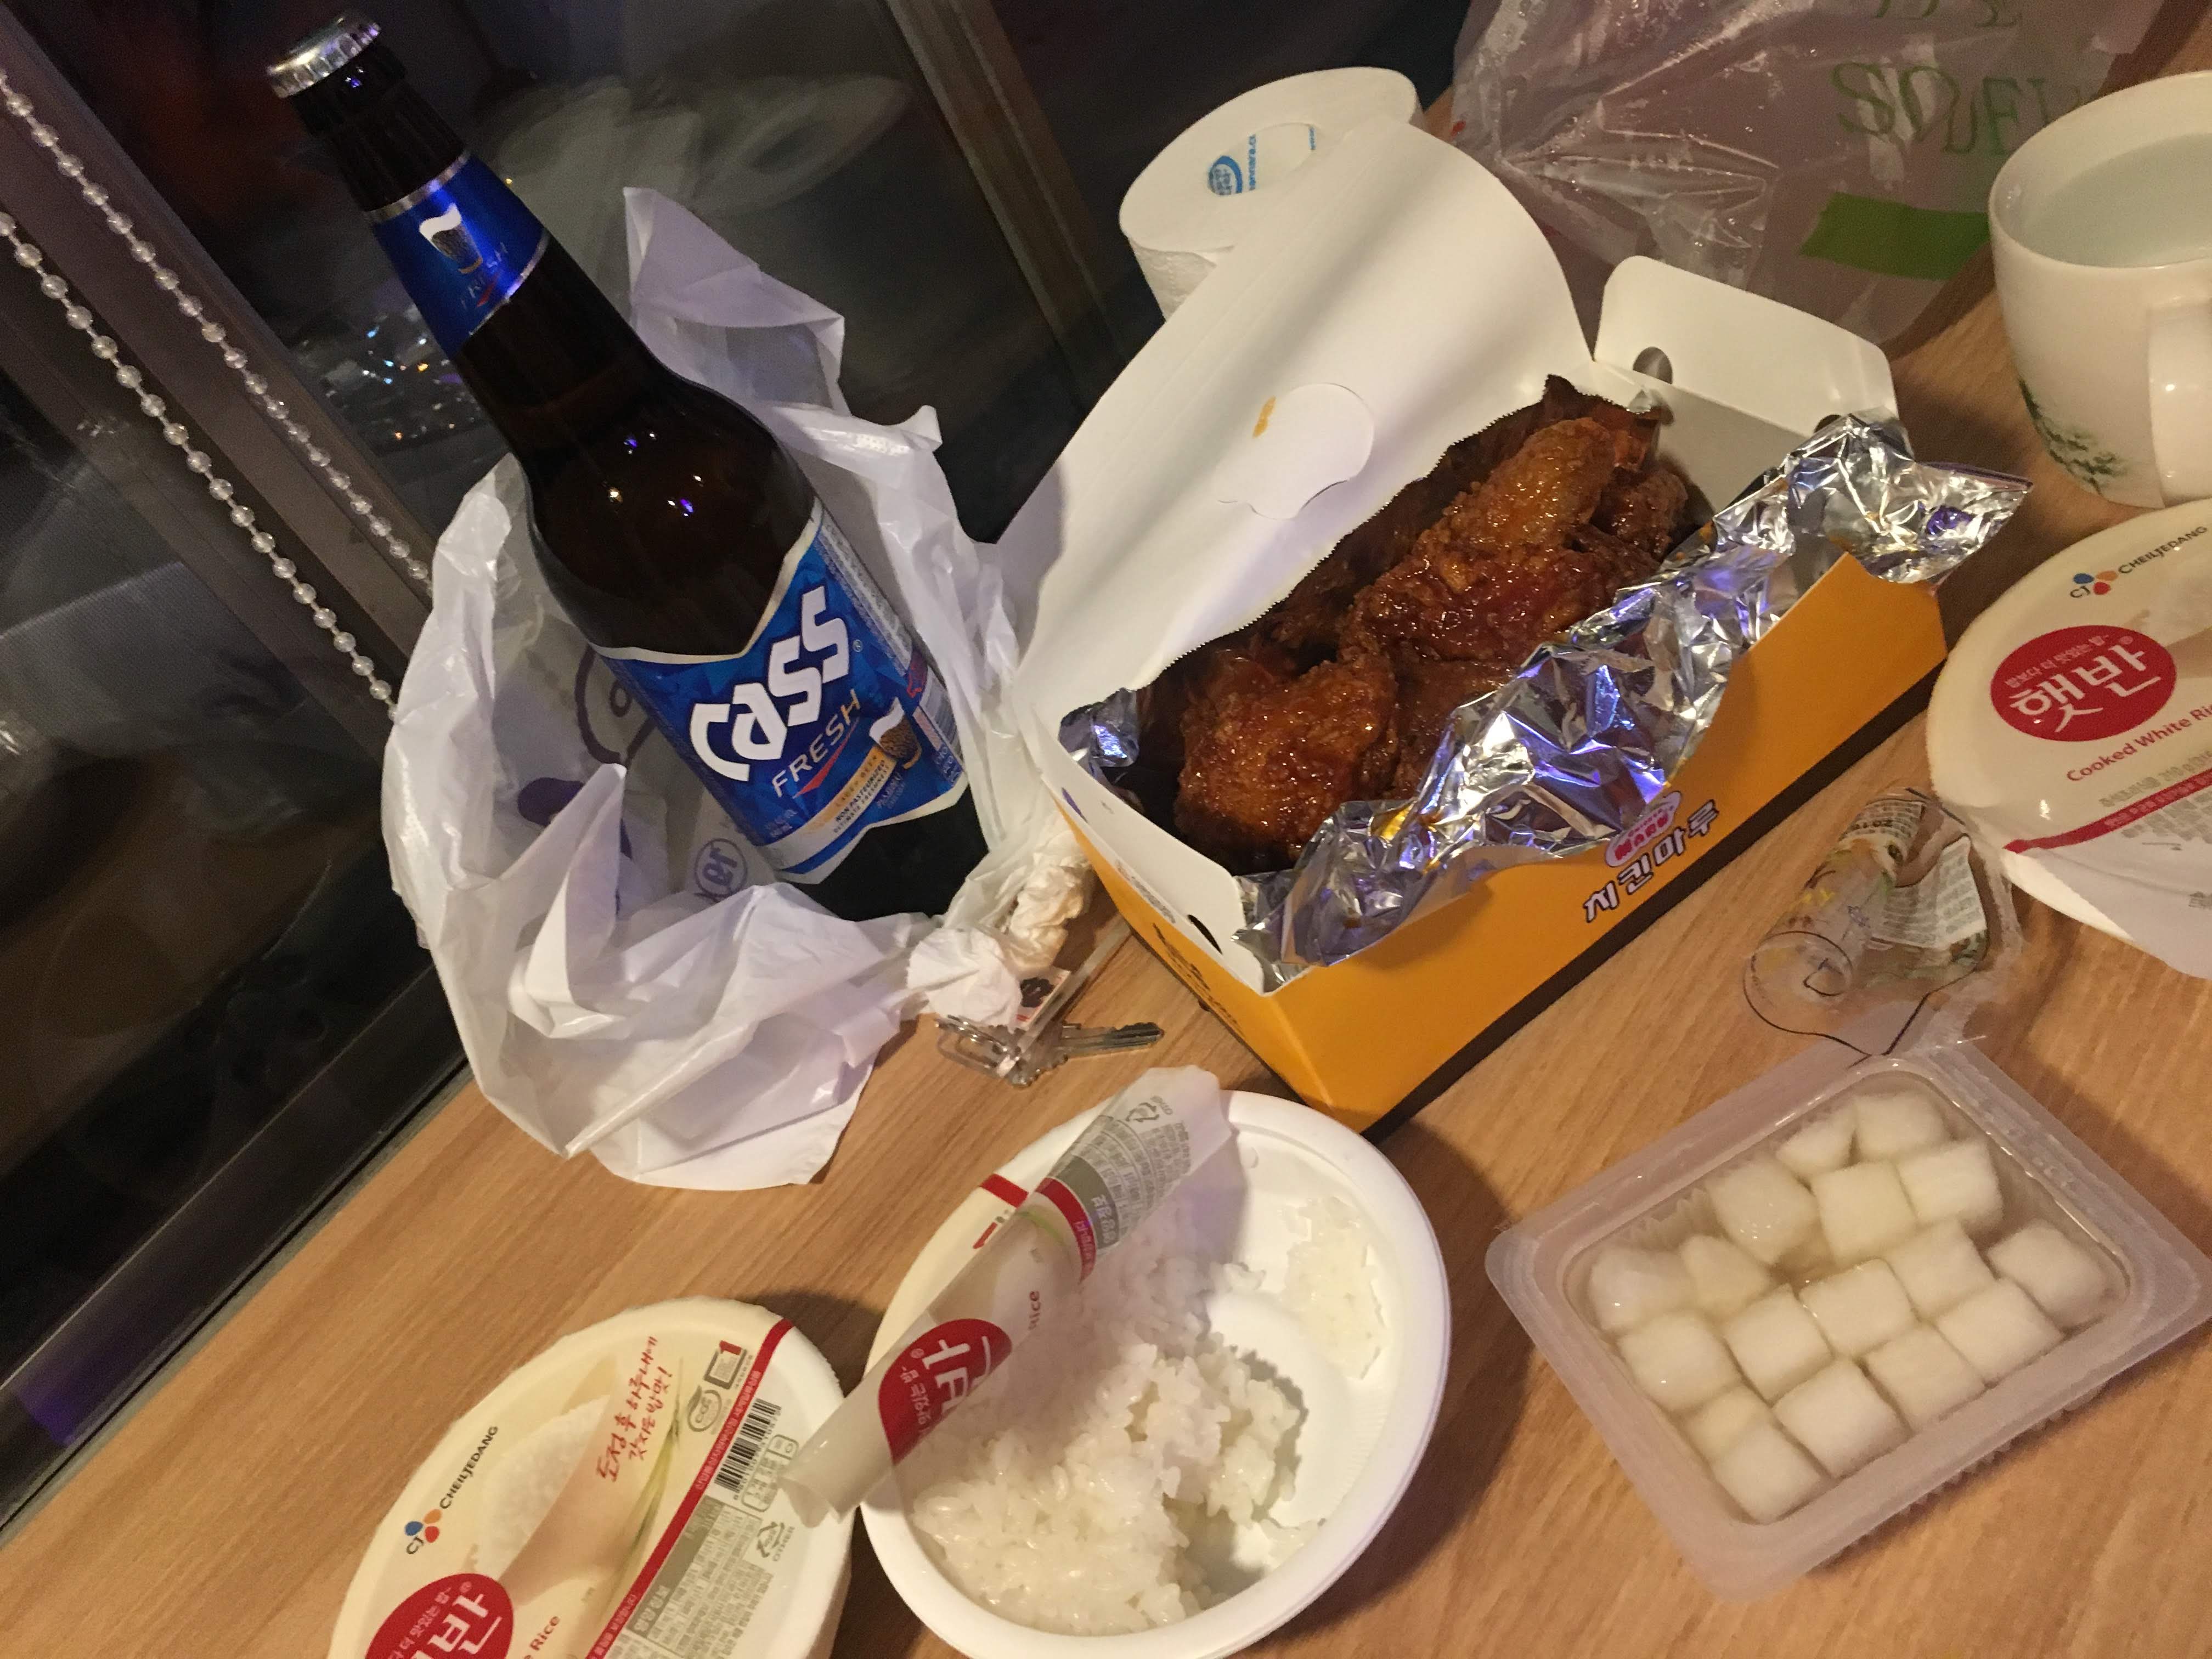
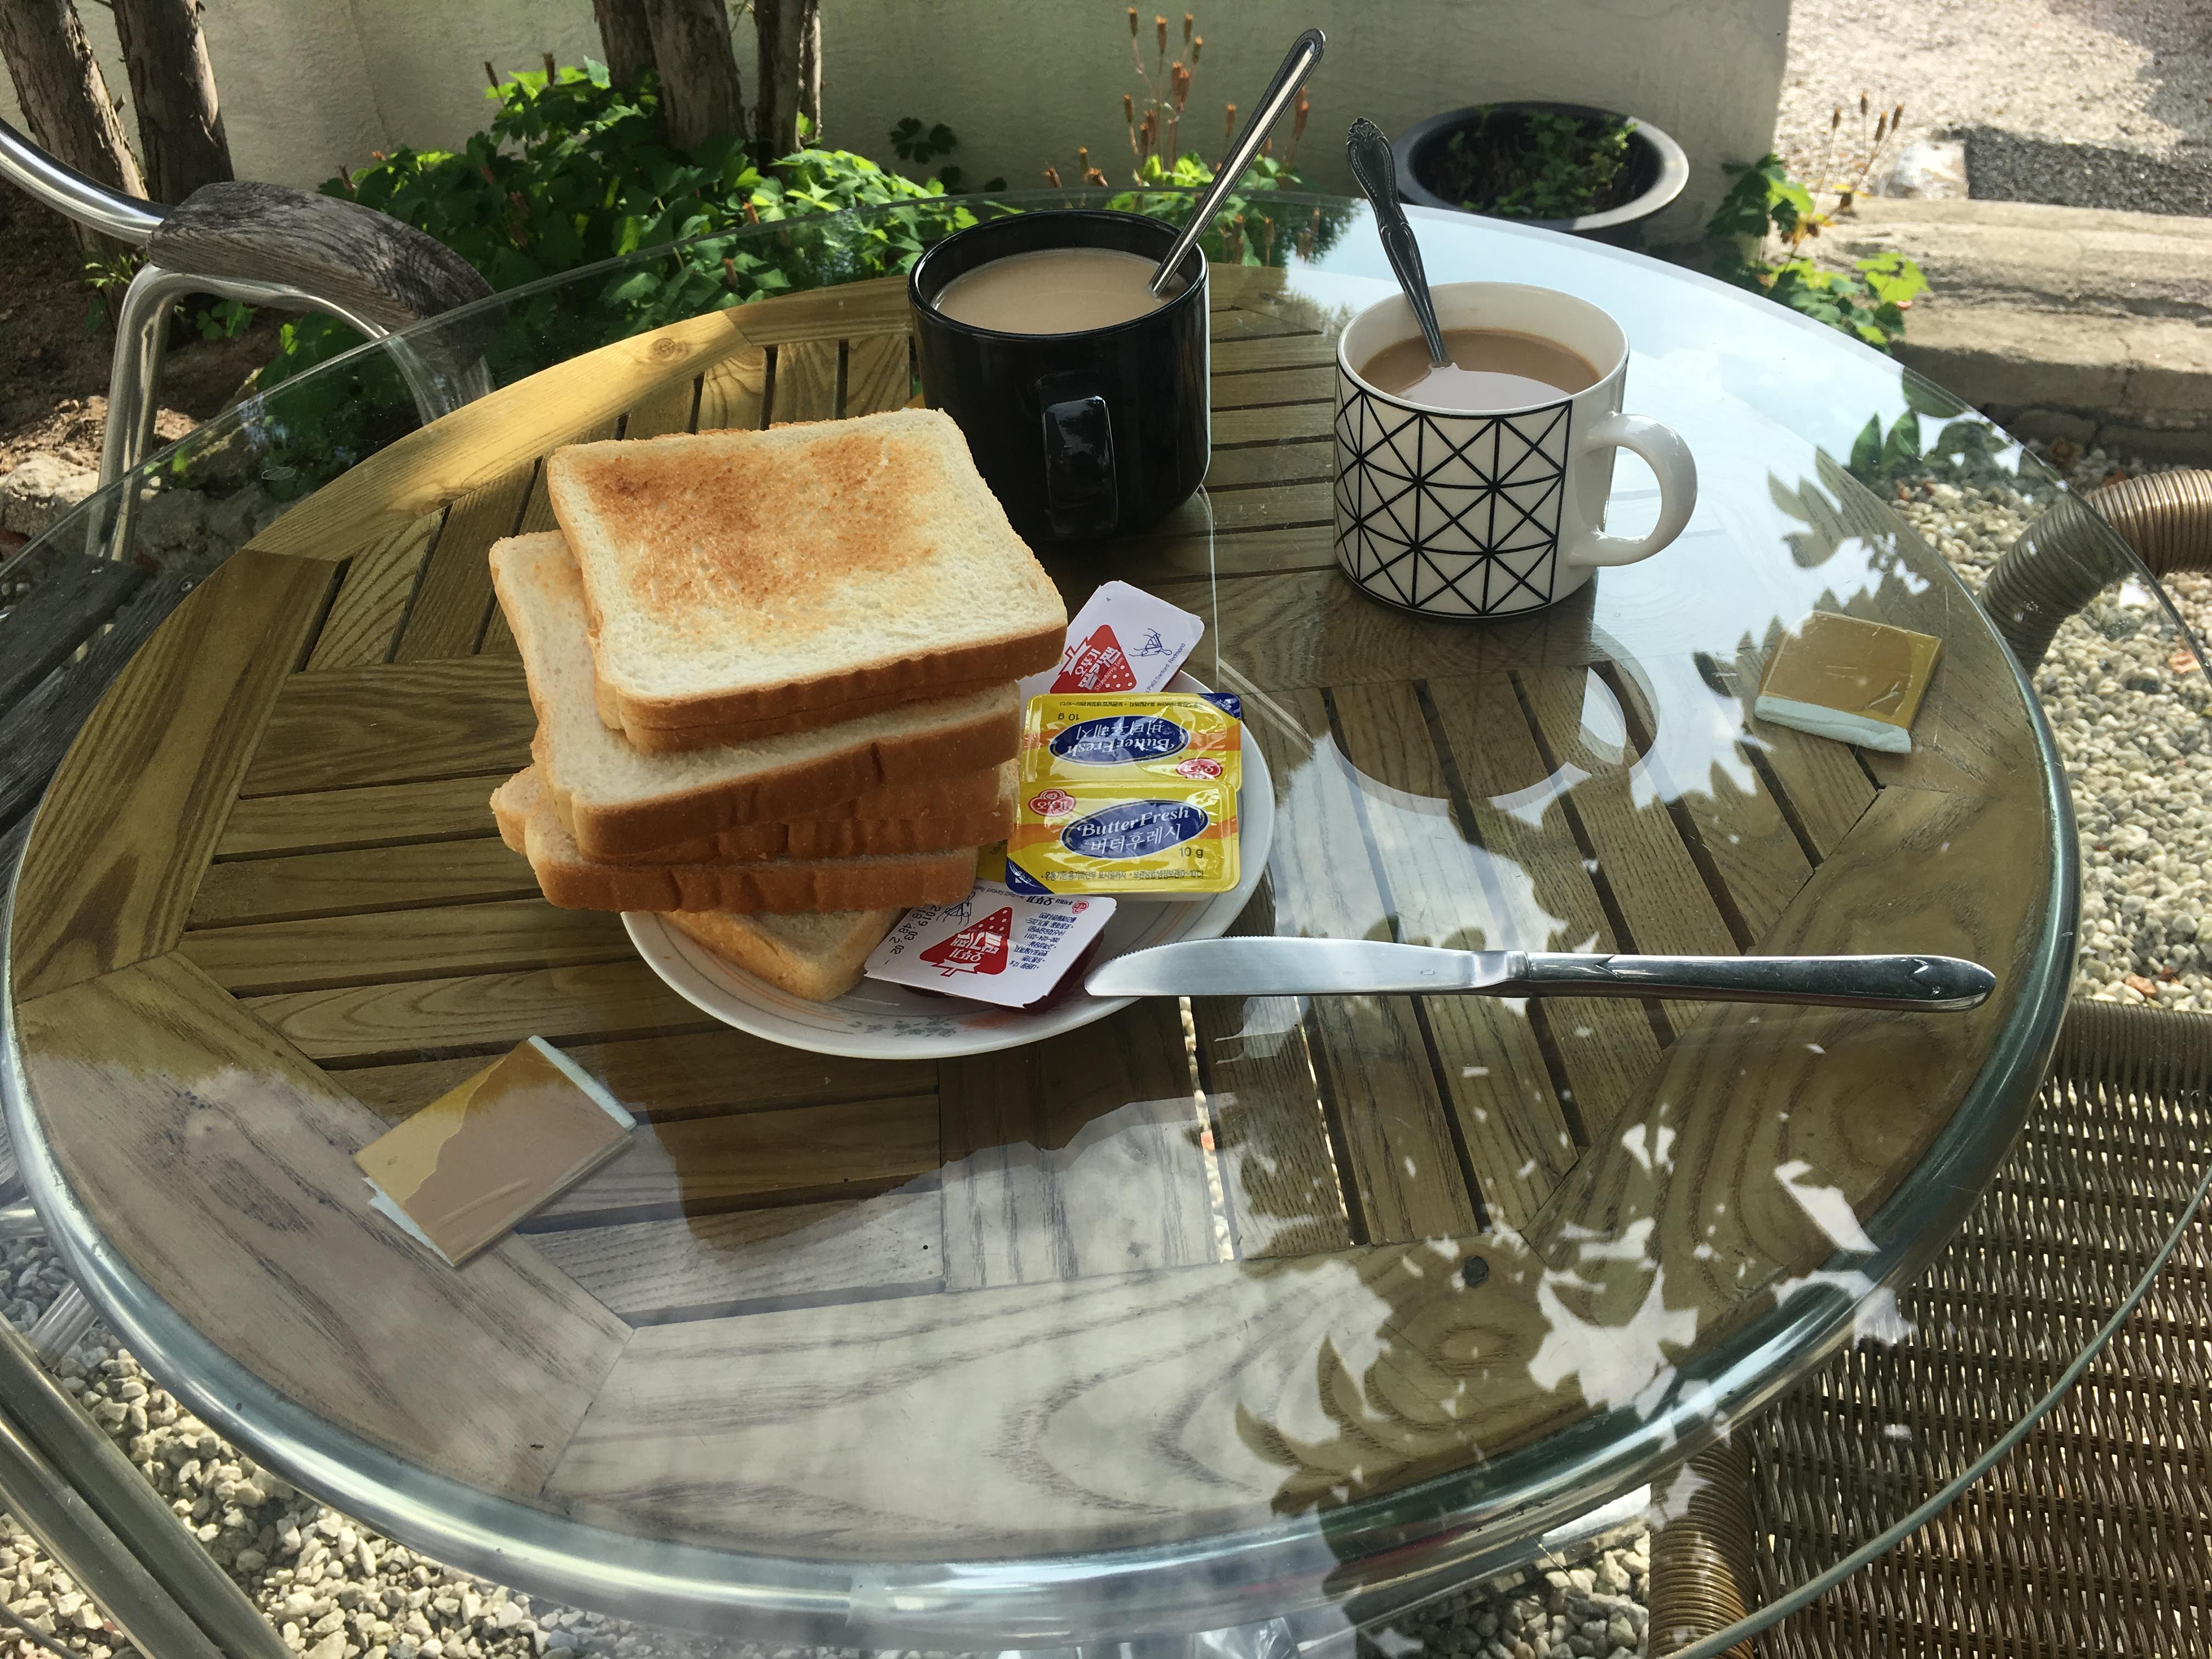
Accommodation for 5D4N stay for 2 (P 10,000/2 = 5000 each or $80): We got lucky here for finding this very affordable place to stay for 5 nights! Try looking from different accommodation sites. We tried several sites (Agoda, Airbnb, Booking) and they all gave us several selections of places to stay and we compared prices and terms of agreement on lodging. Make sure to eye for a place near to your itinerary or train stations. We ended up in a single room with two beds, air-conditioning unit, common restroom, free self-service laundry amenity, free breakfast and free wifi plus it is near the train station and places we planned to visit. Bonus point was they have English speaking and accommodating personnel.
Visa processing (P2,000 or $40 since SK requires our country for a visa): Entry to South Korea requires visa for Philippines residents. Prepare your application form, passport, ITR (if you do not have an ITR, you need a letter stating why you don’t have one), certificate of employment, bank certificate and bank statement. Make sure you have a reasonable amount of money in your bank for the duration of your travel (I only had P50,000 or $1000 in my passbook). We had an agency to process our visa.
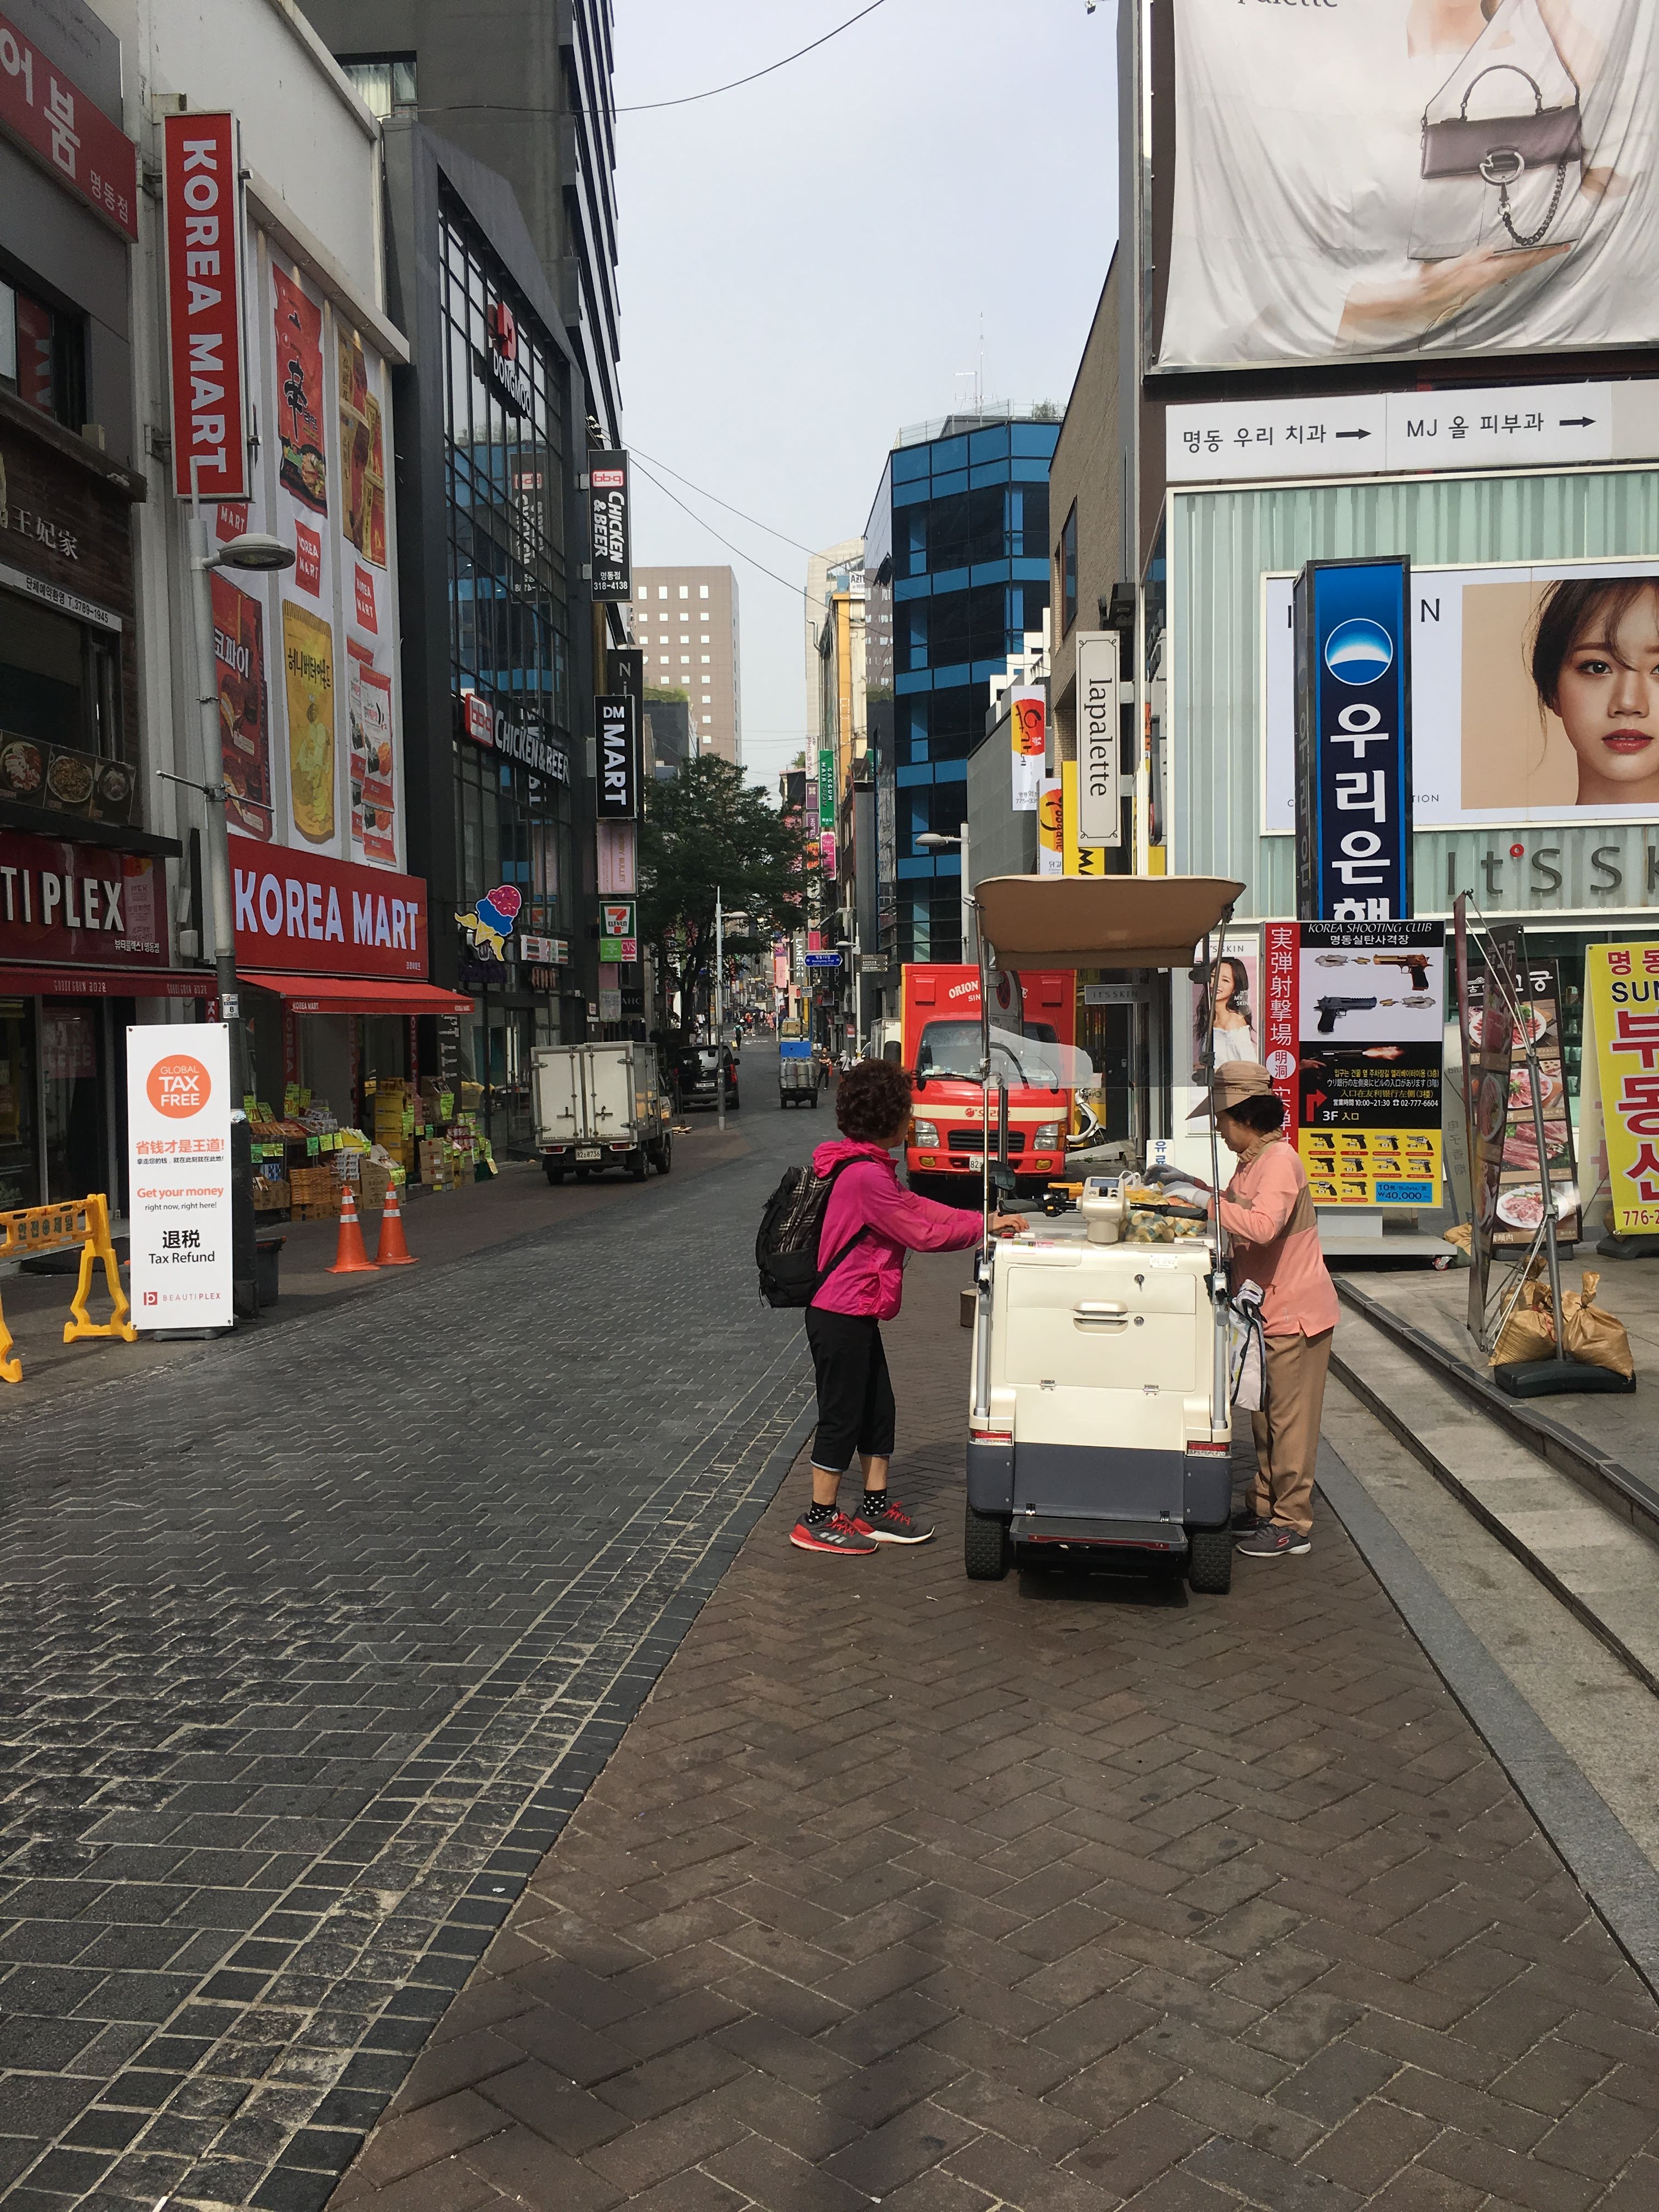
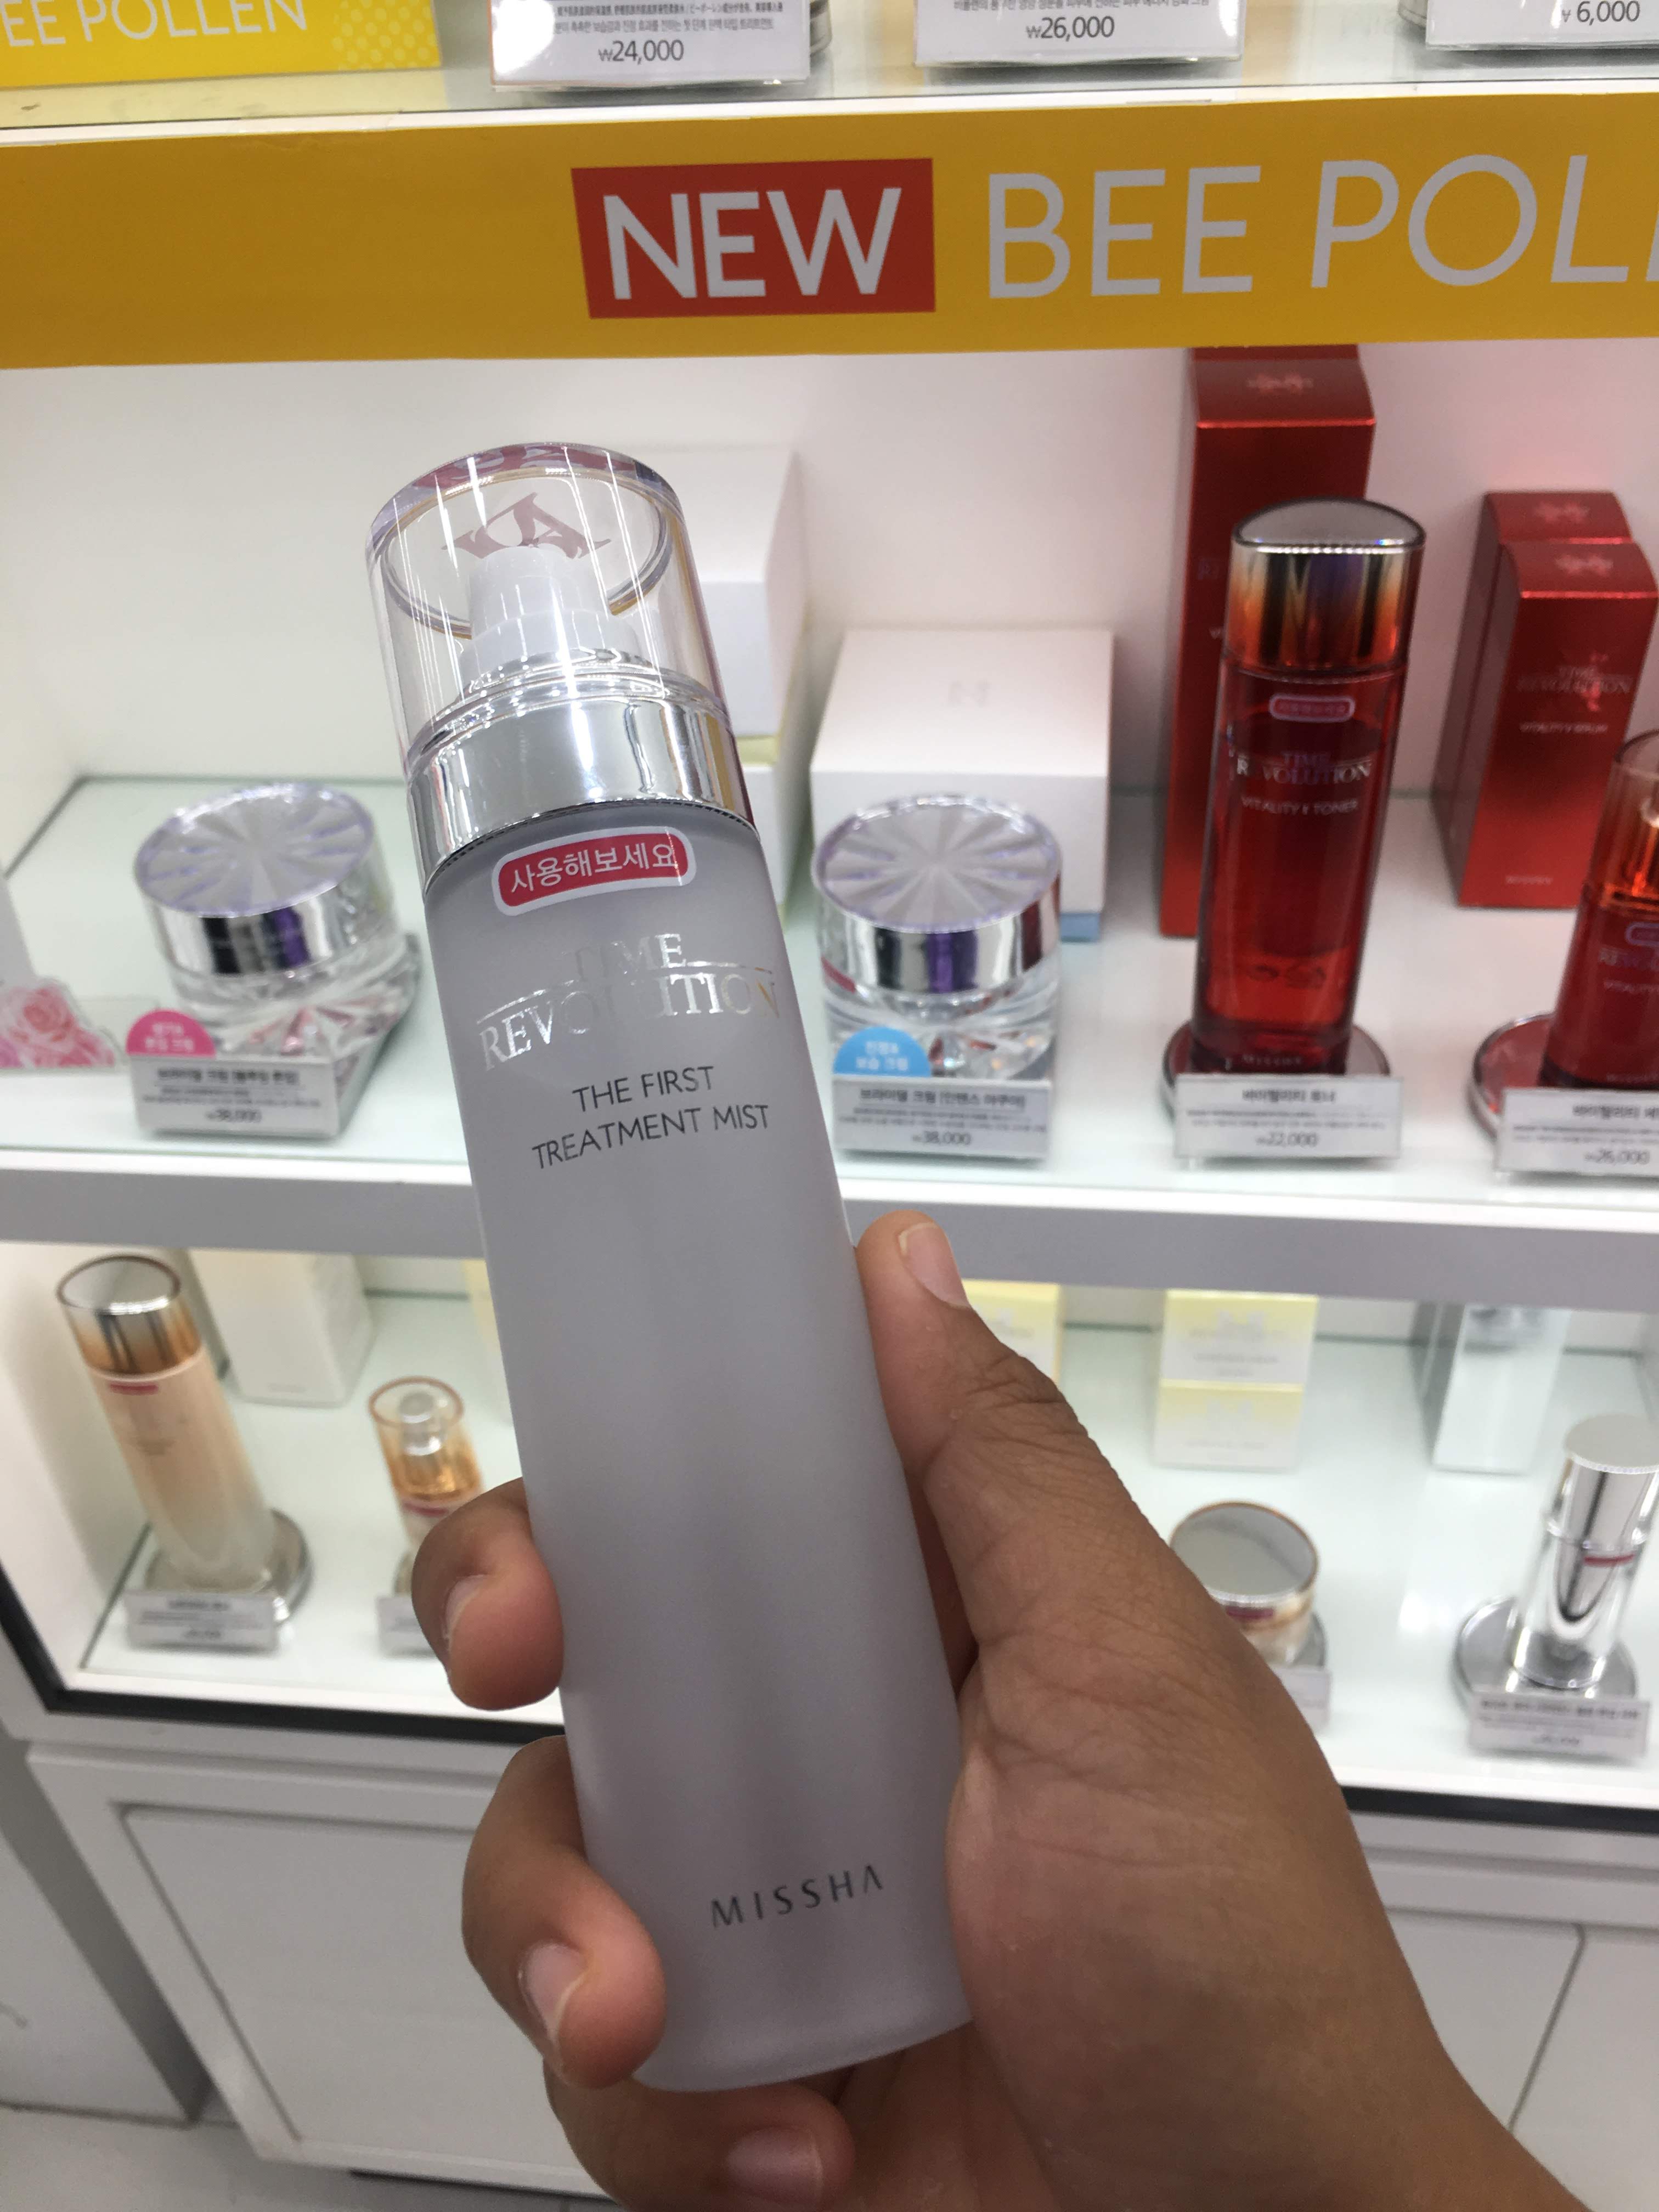
Pocket money (P15,000 or $300): The pocket money I had was allocated for food, transportation, entrance fee and pasalubong. I exchanged my Peso bills at BPI to USD in the Philippines and then exchanged the USD to Korean Won in Korea. Don’t worry, there are several money changer kiosks in shopping districts (like Myeongdong) in case you run out of cash. I also had to pay for transportation from my house to NAIA and travel tax with a total of P2,000.
Transportation (round-trip): P6,000
Accommodation for 5D4N: P10,000/2pax = P5,000 each
Pocket money: P15,000
Others (visa, travel tax, transportation): P4000
Itinerary:
Day 0
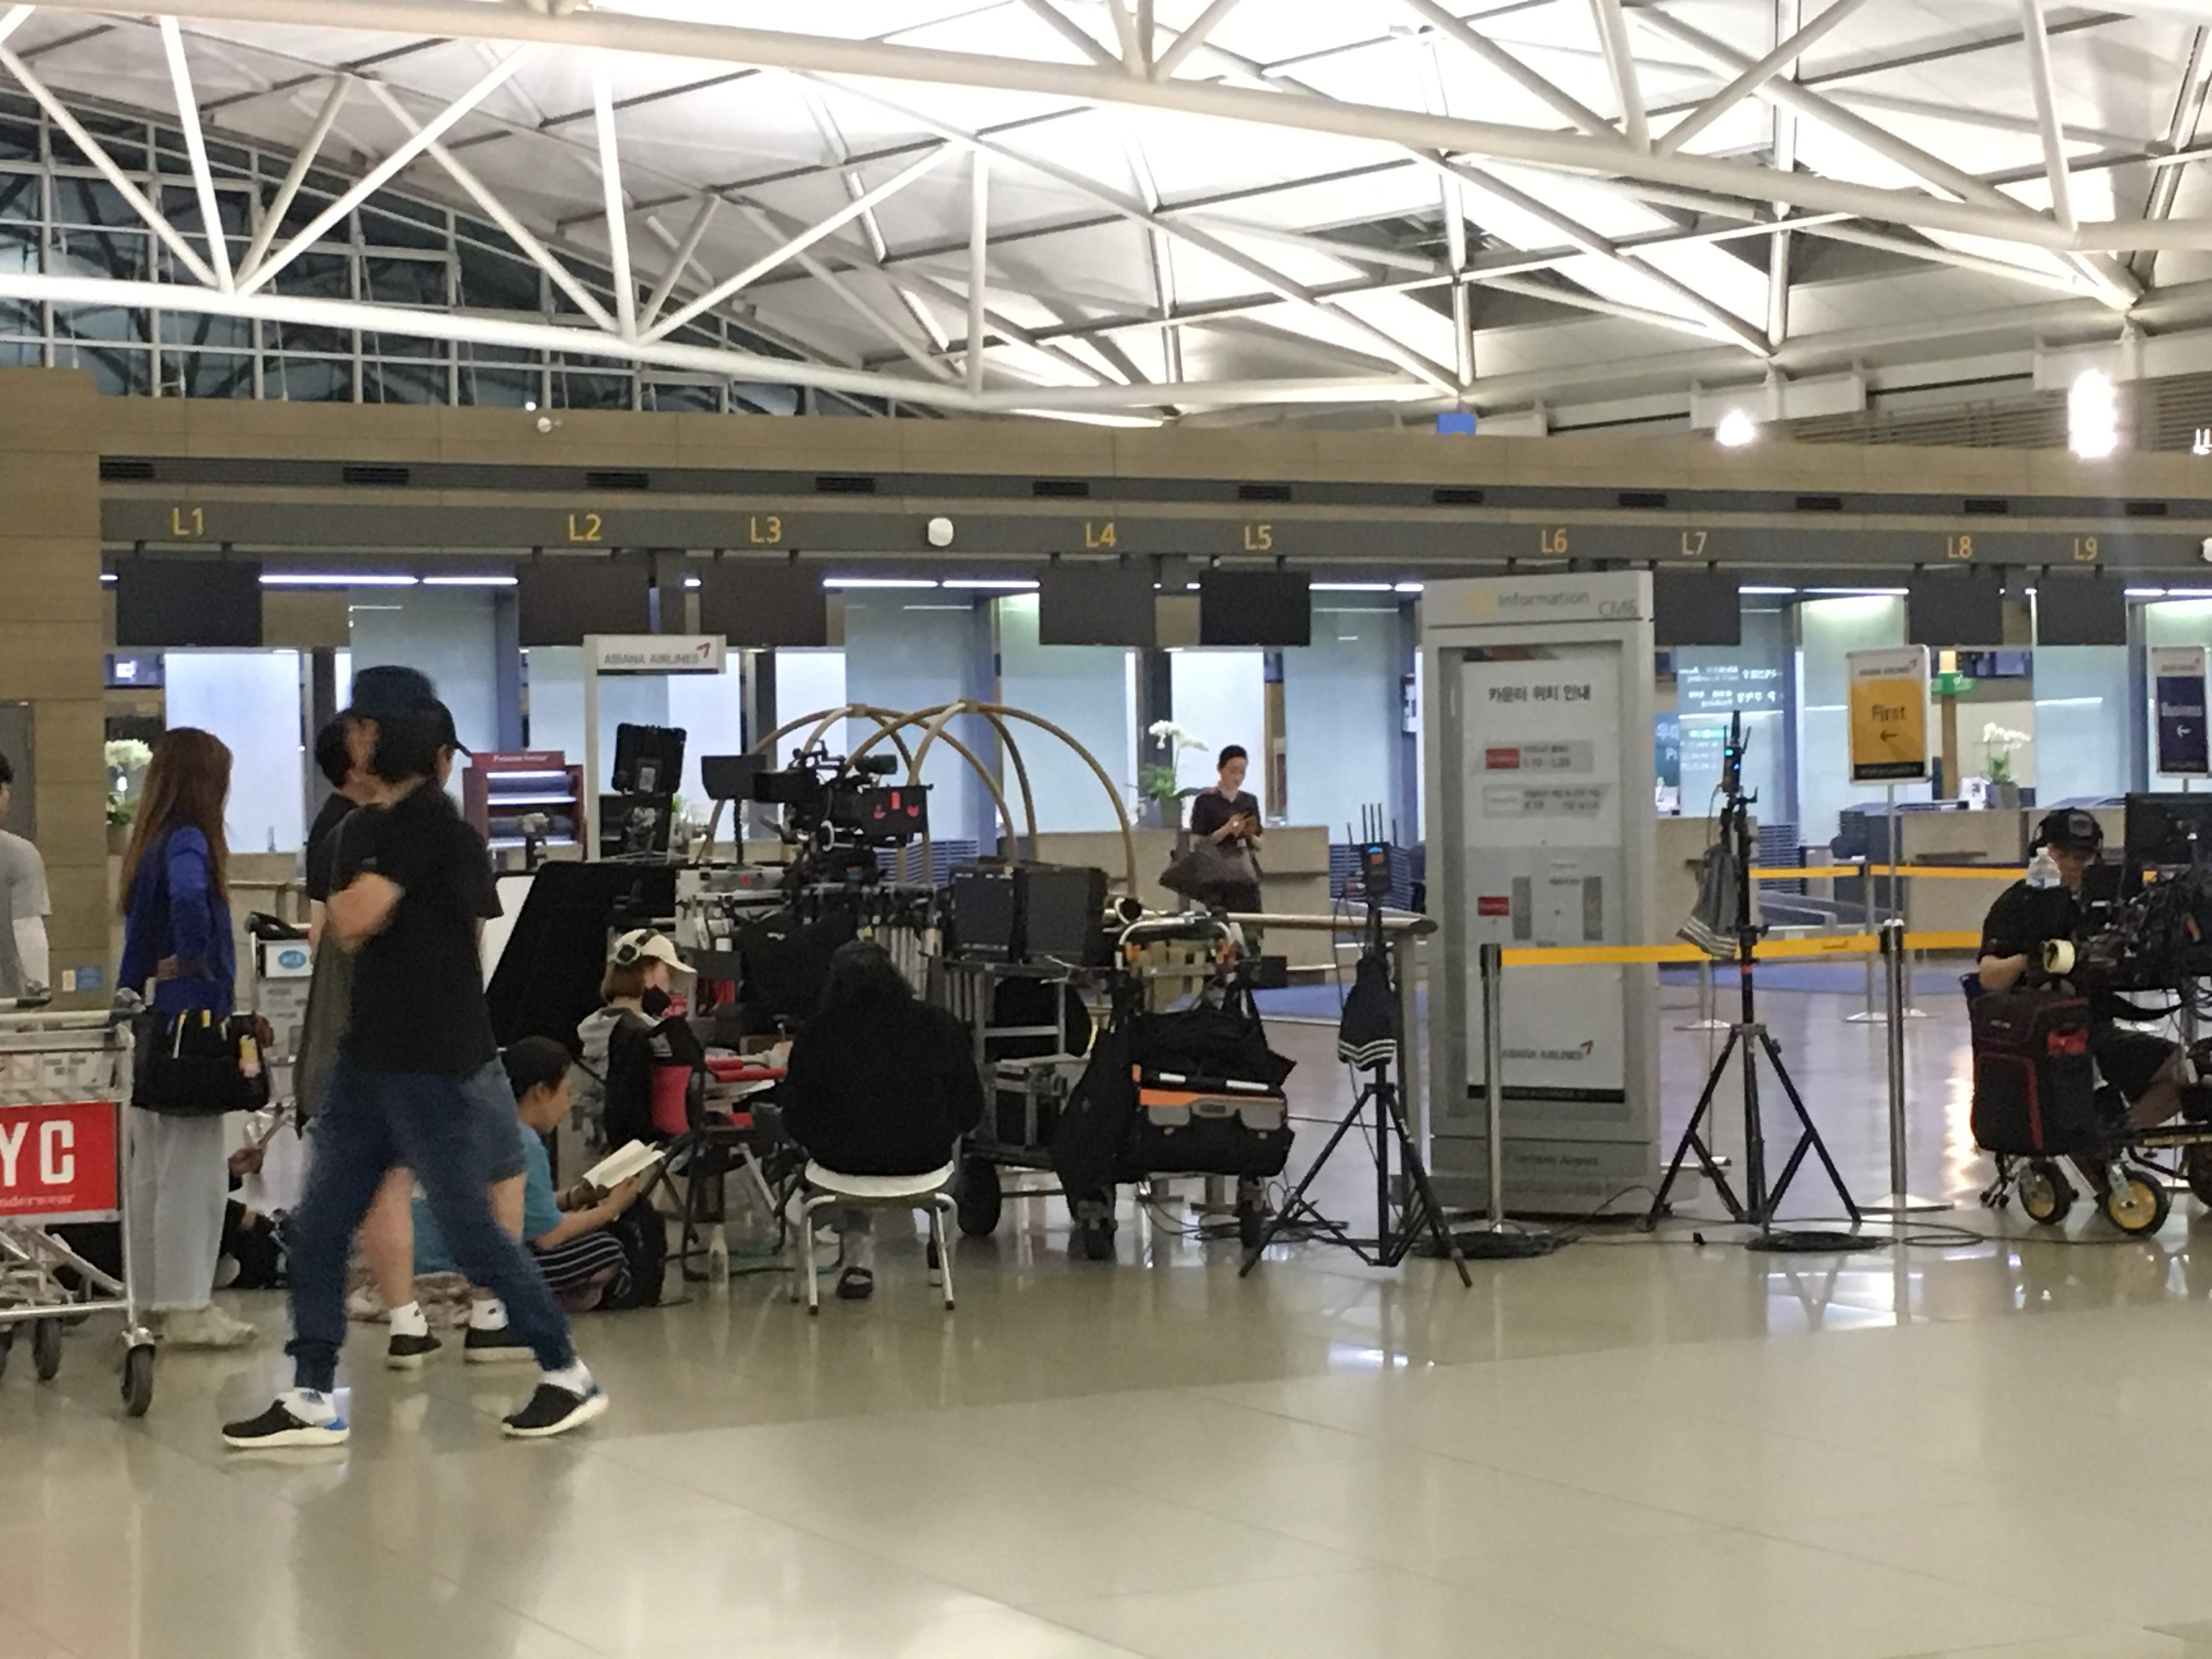
5:10PM (ETD) – 10:40PM (ETA) : NAIA to Incheon Airport
11:30 – 12:44AM – immigration stuff duties
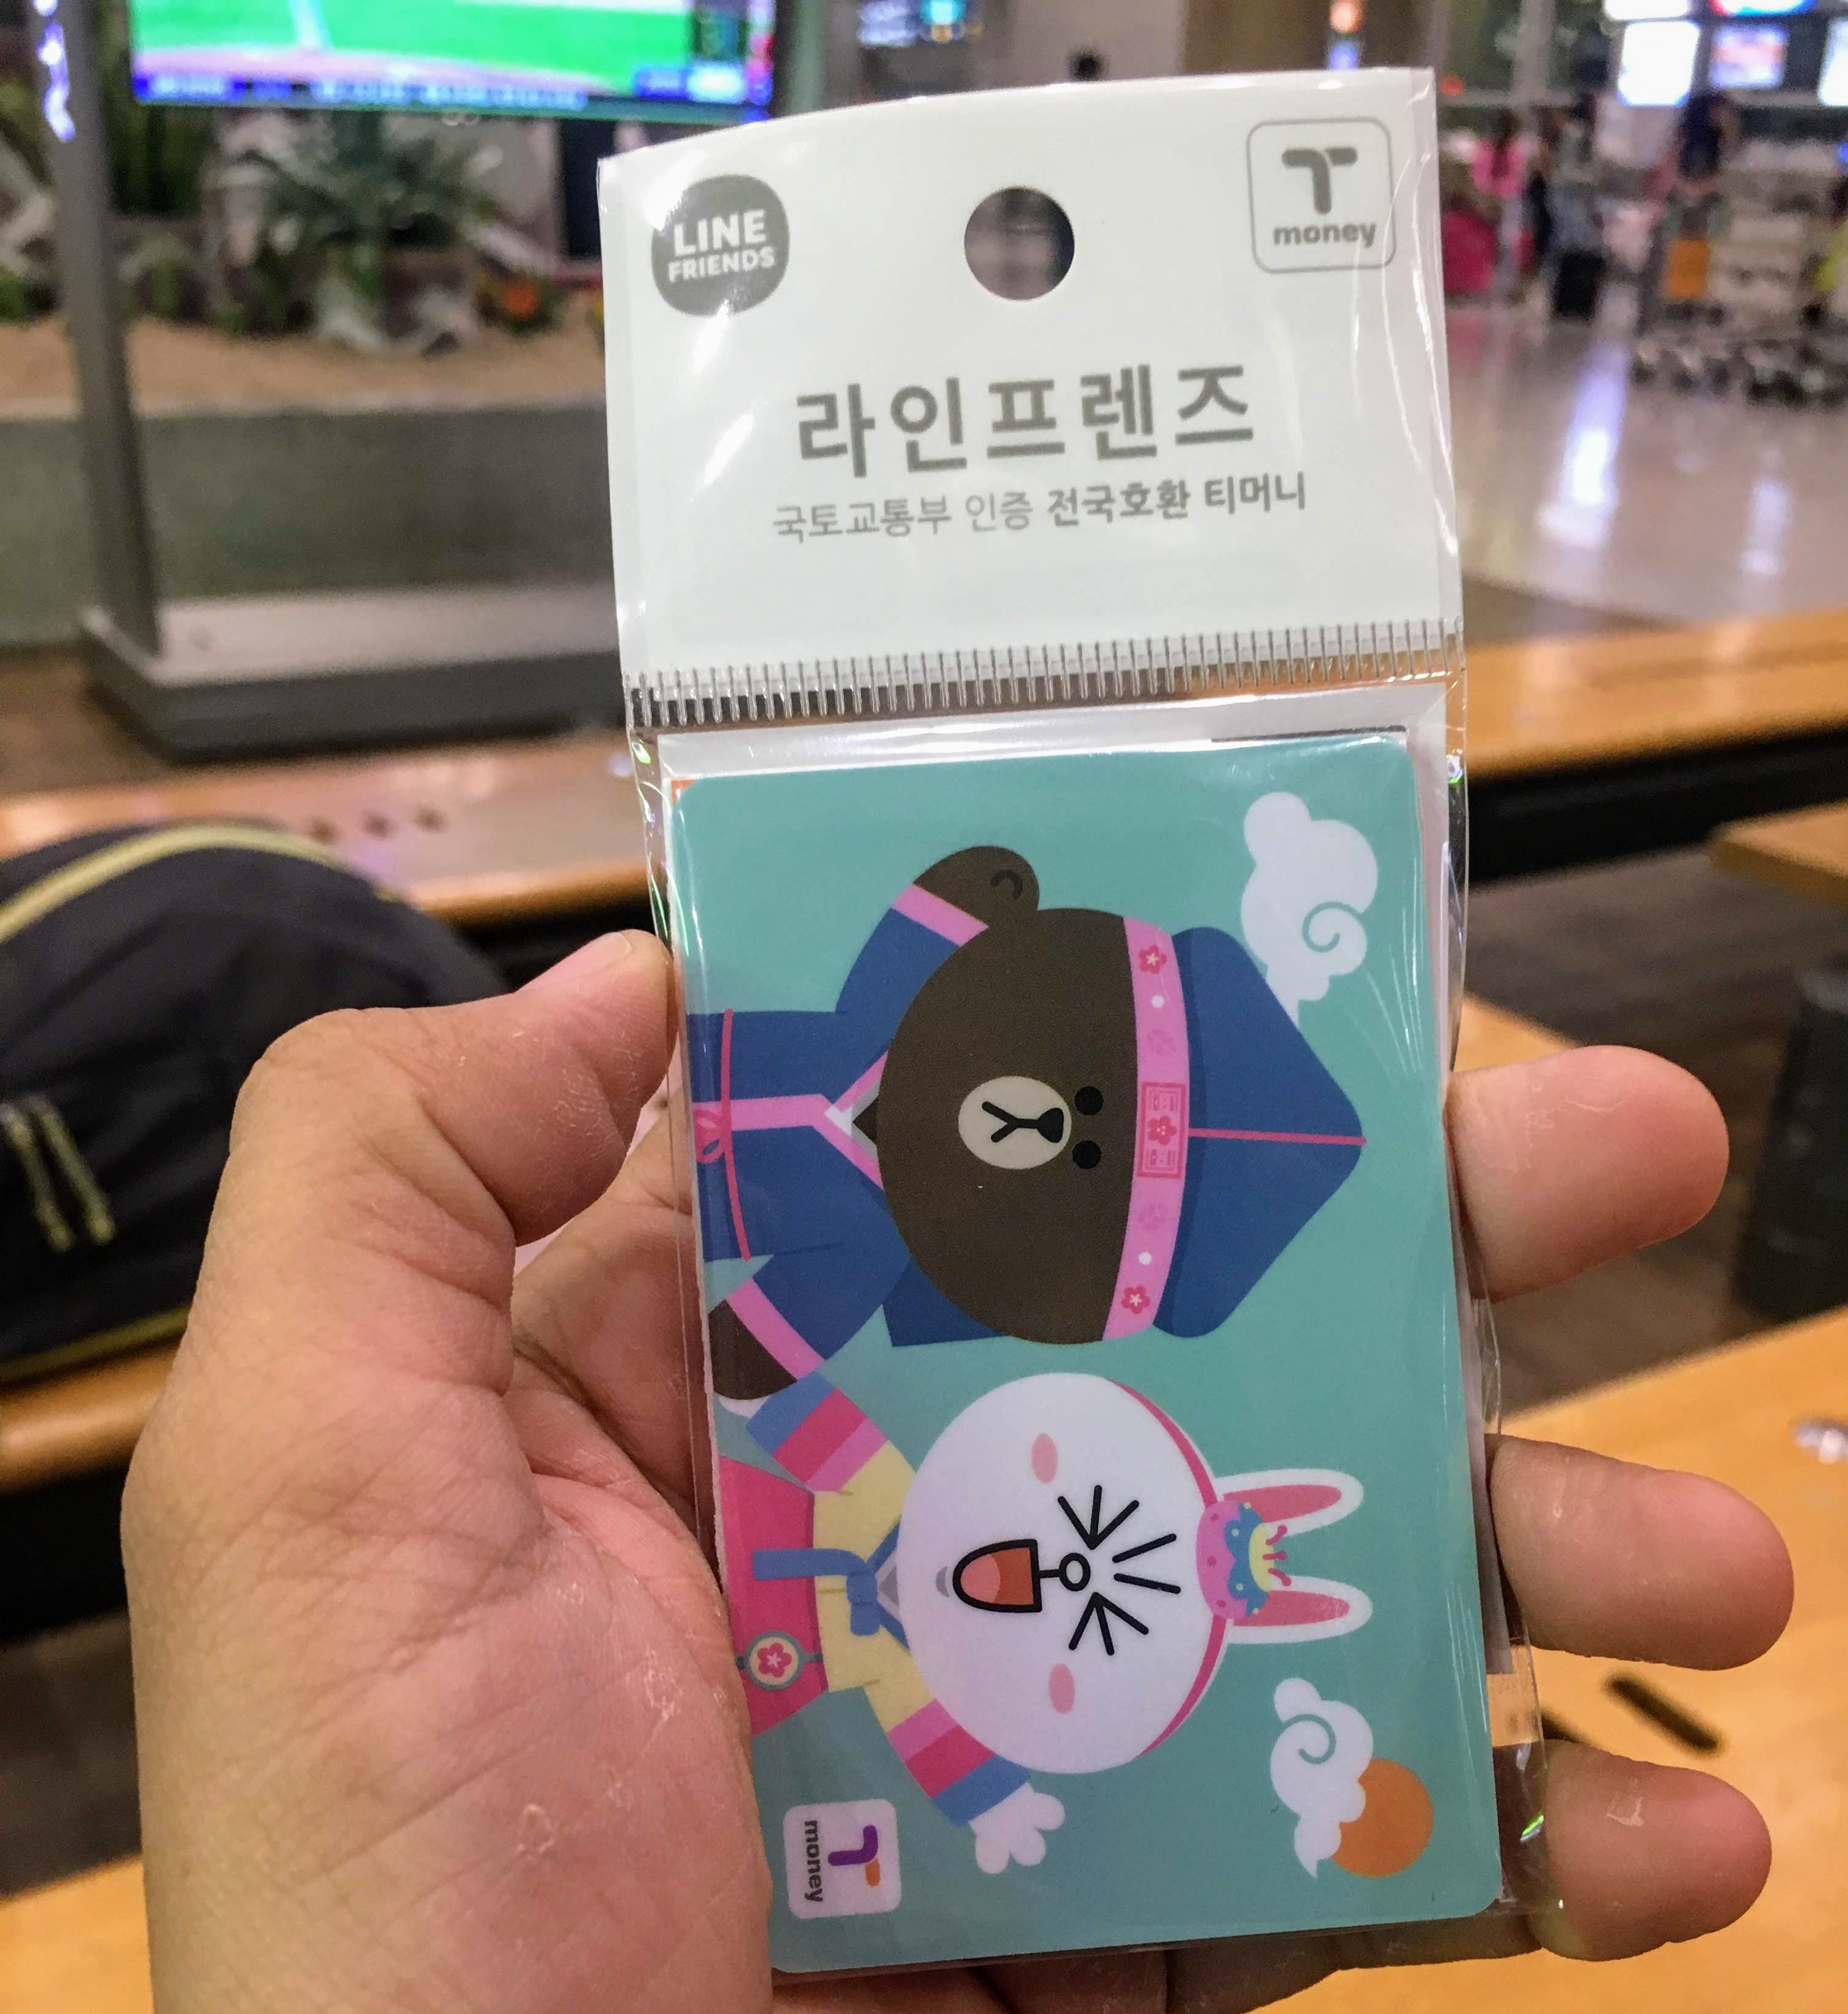
12:45 – 1:15AM – strolled around Incheon airport, ate midnight snack, bought T-money card and SIM card for internet
Day 1
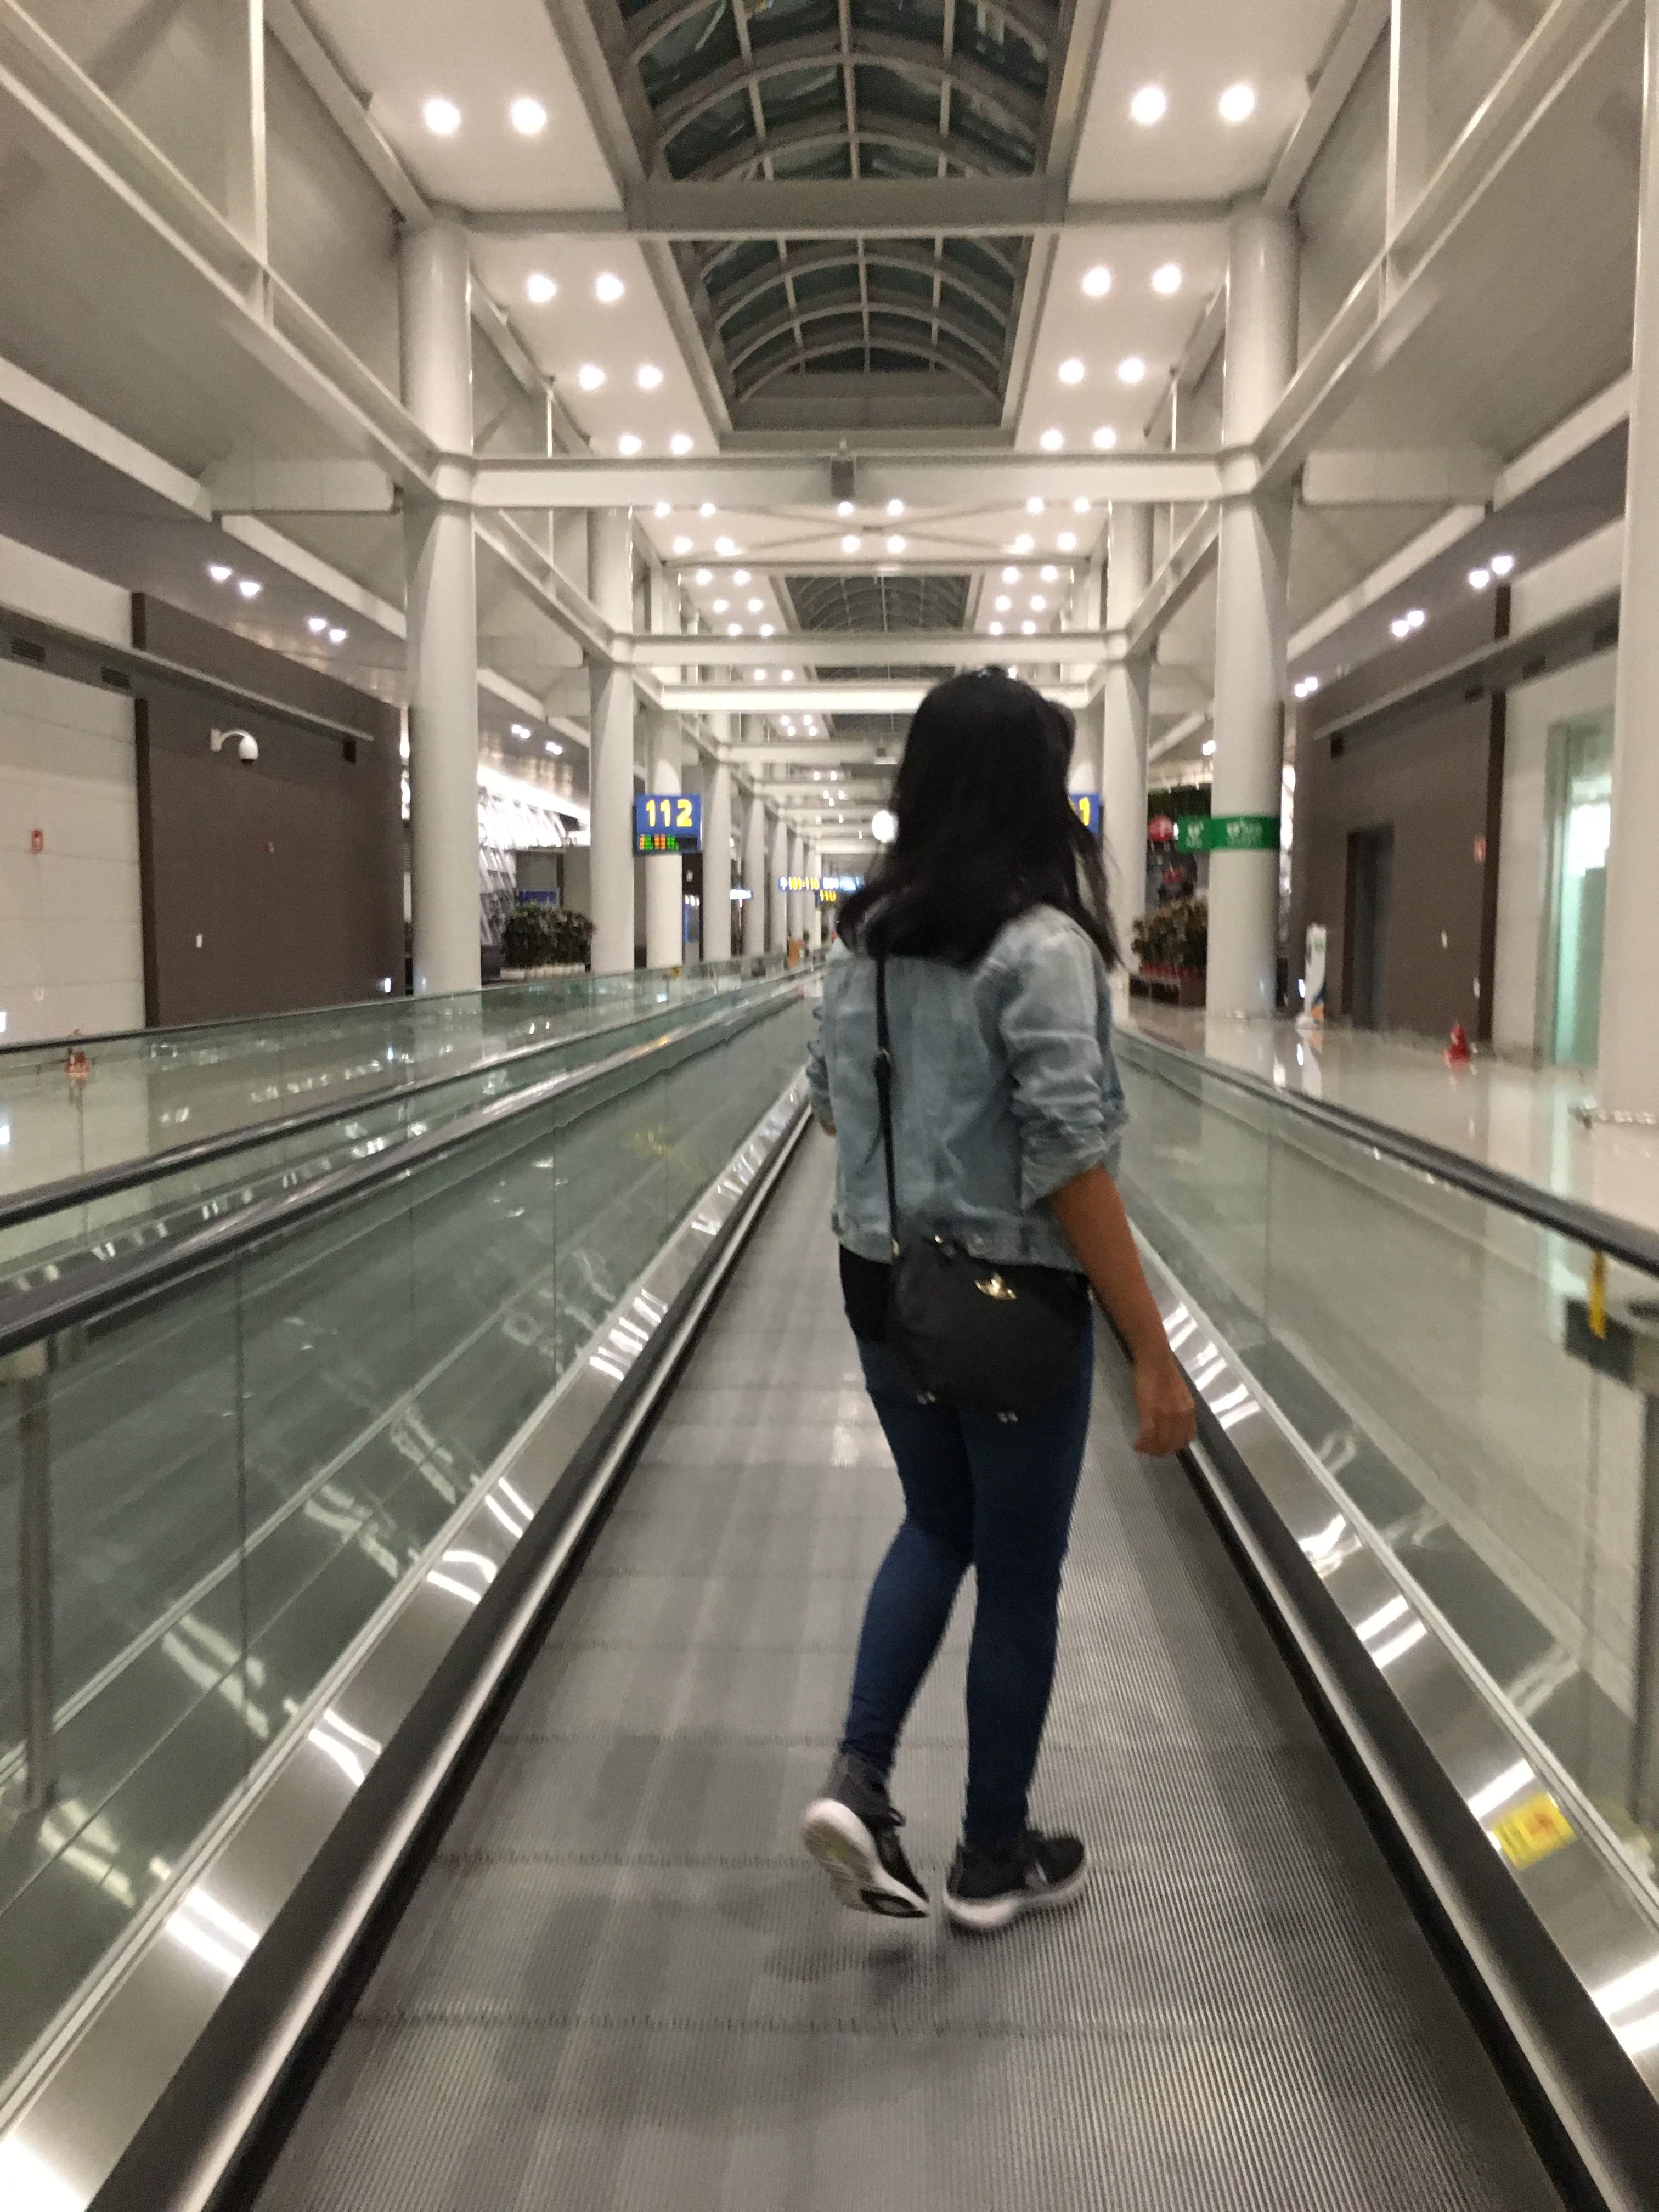
1:16 – 4:50AM – waiting/sleeping time
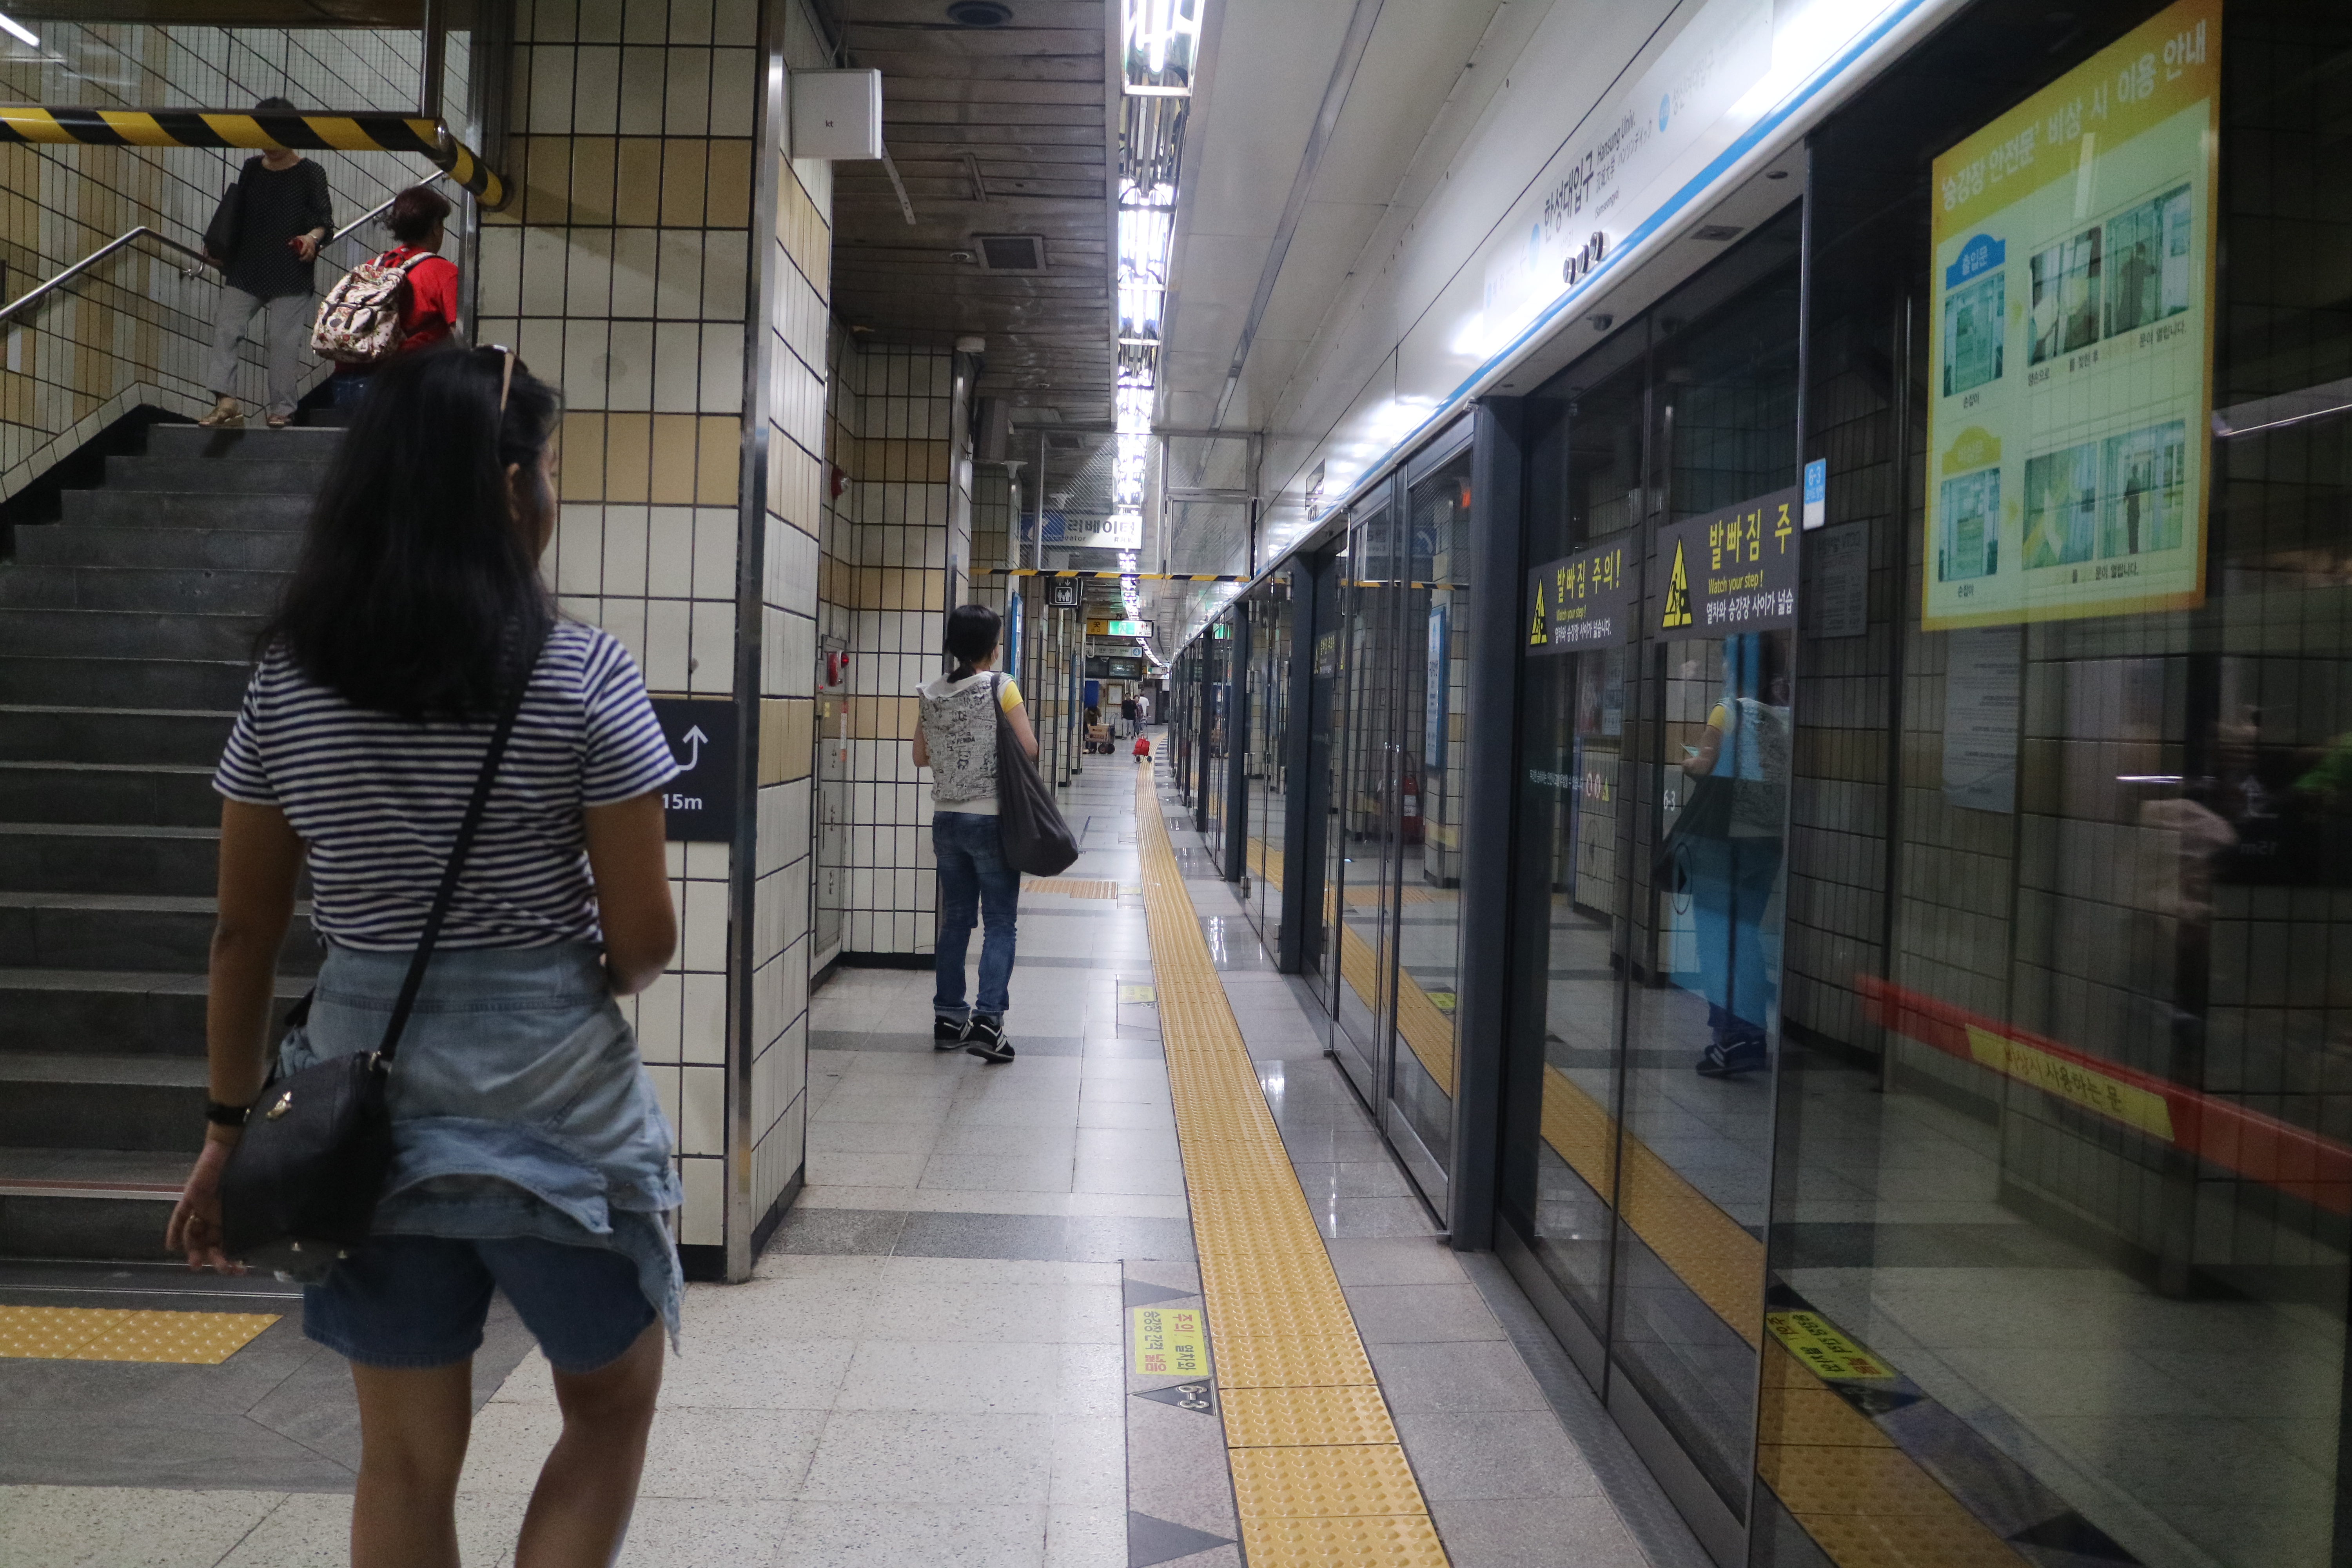
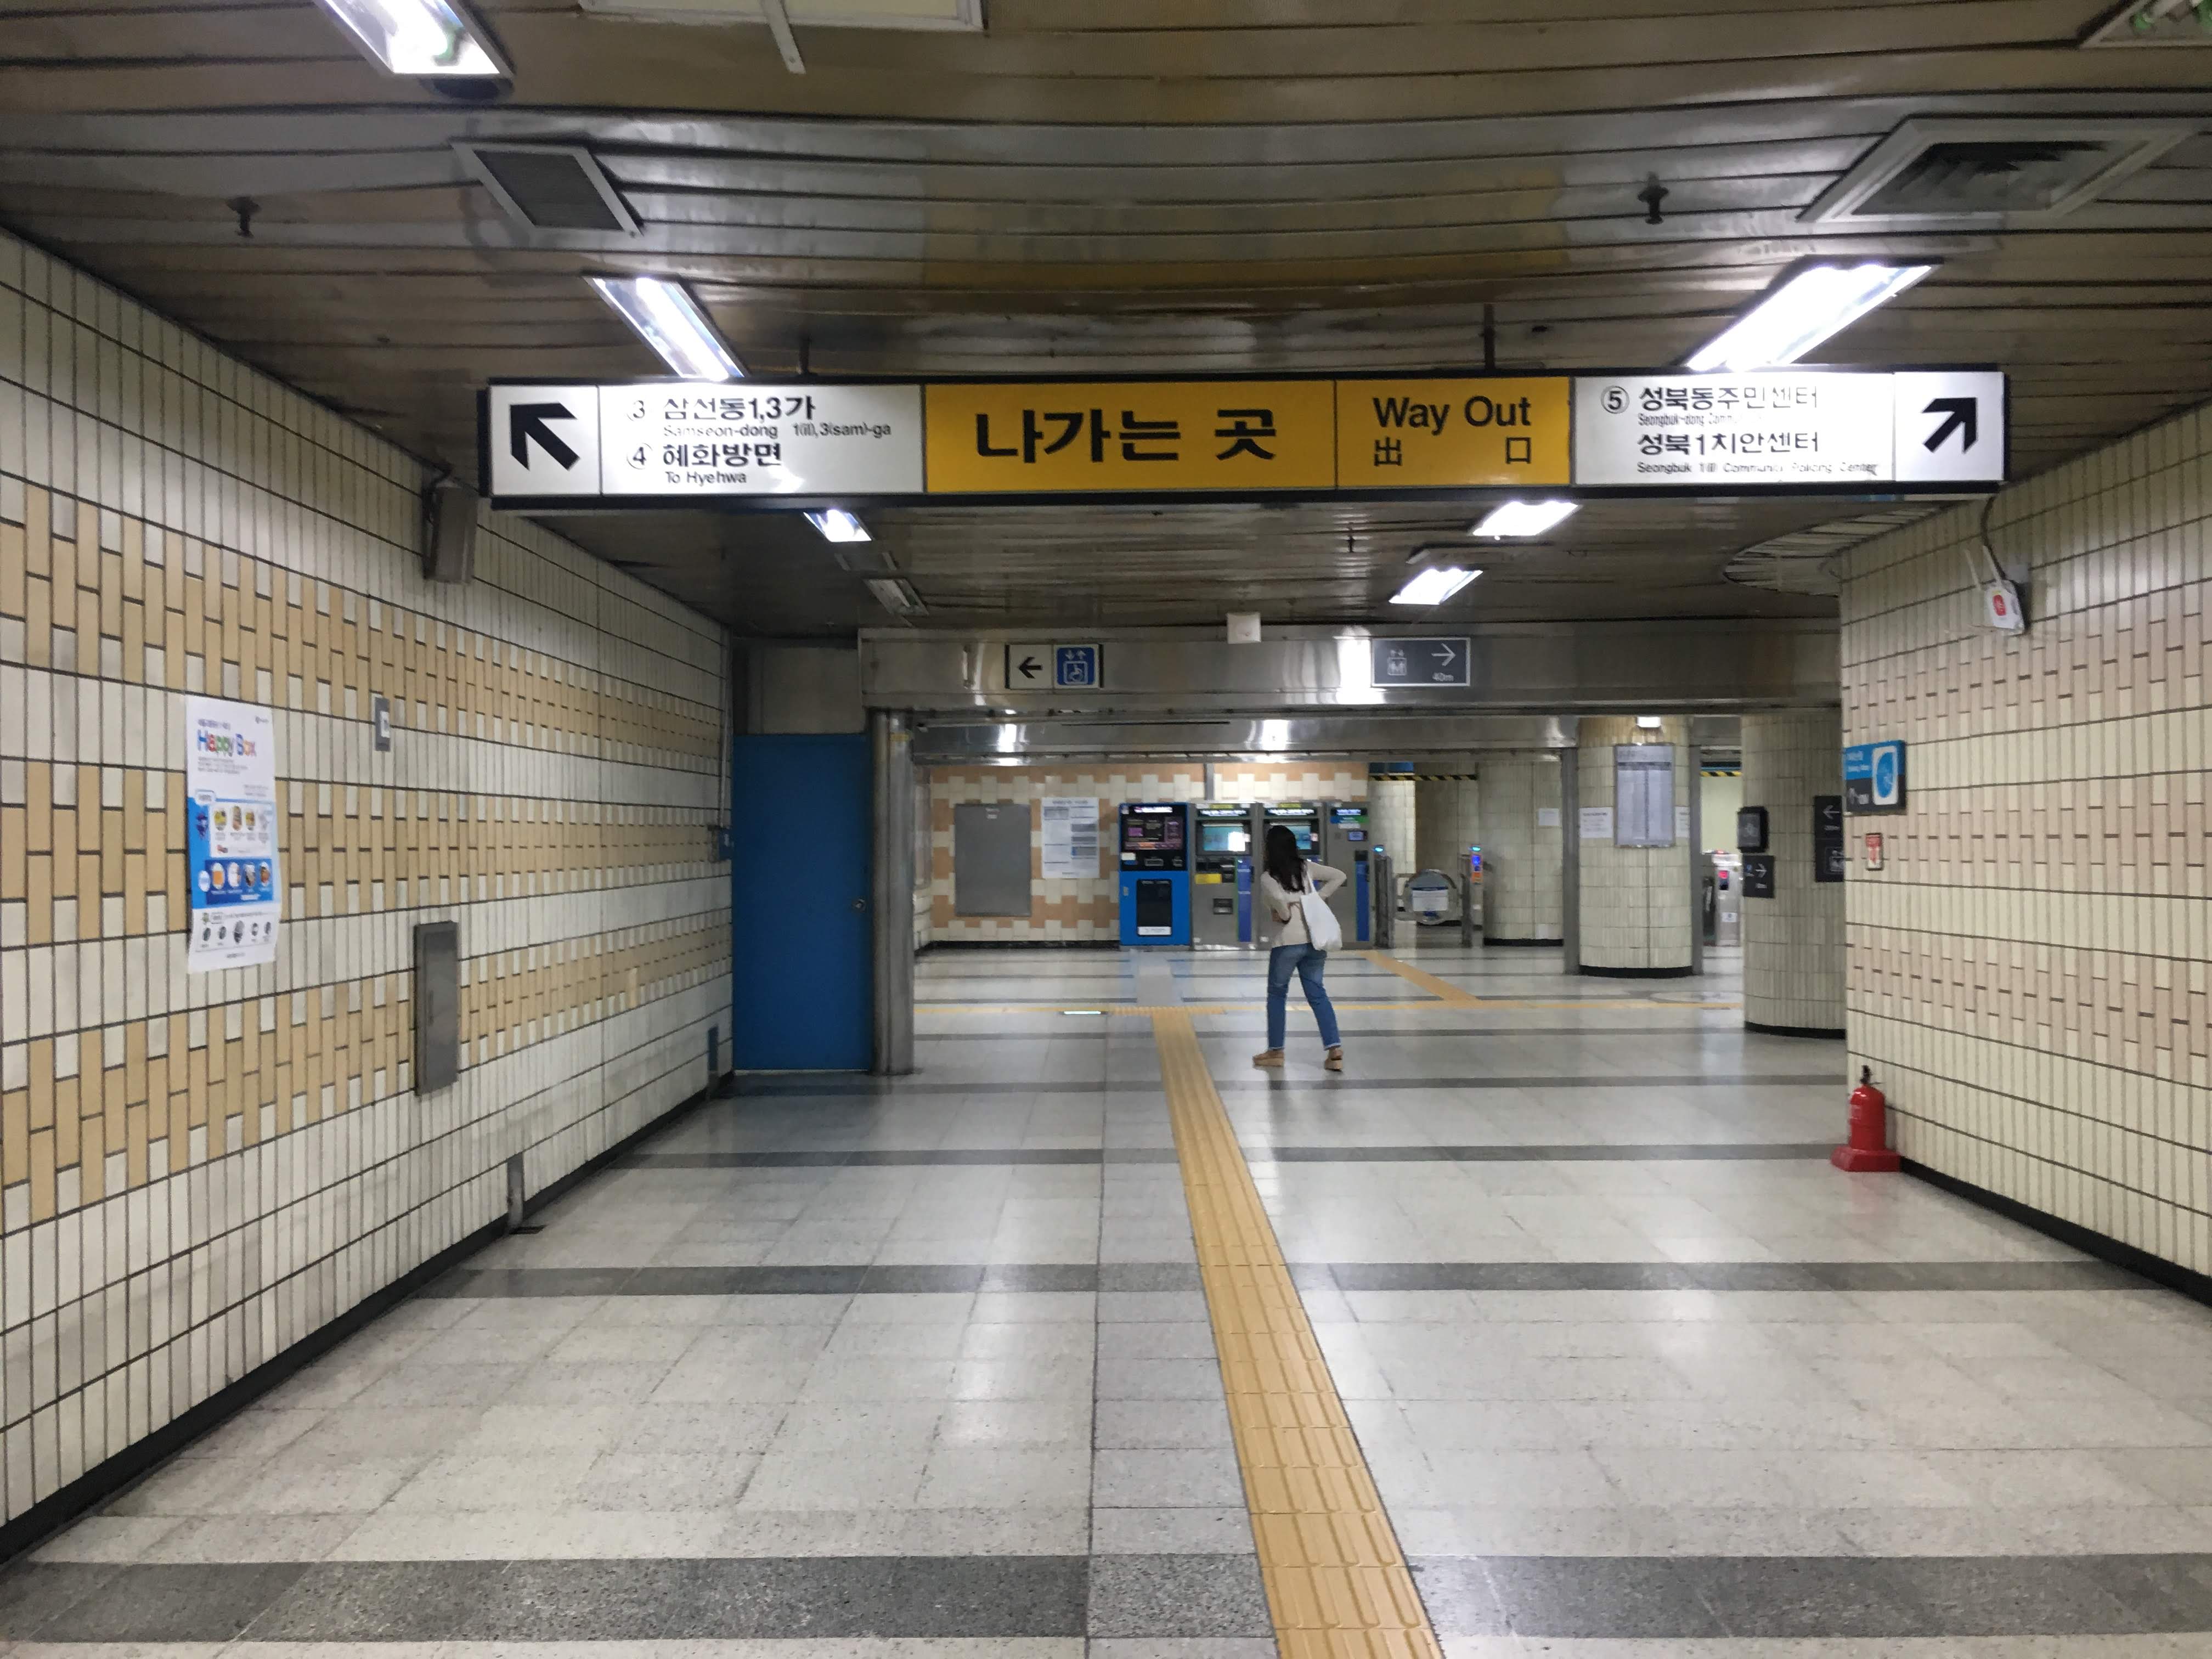
5:25 – 6:30AM – Incheon airport to Seoul station
6:31 – 8:00AM – Strolled around Seoul Station
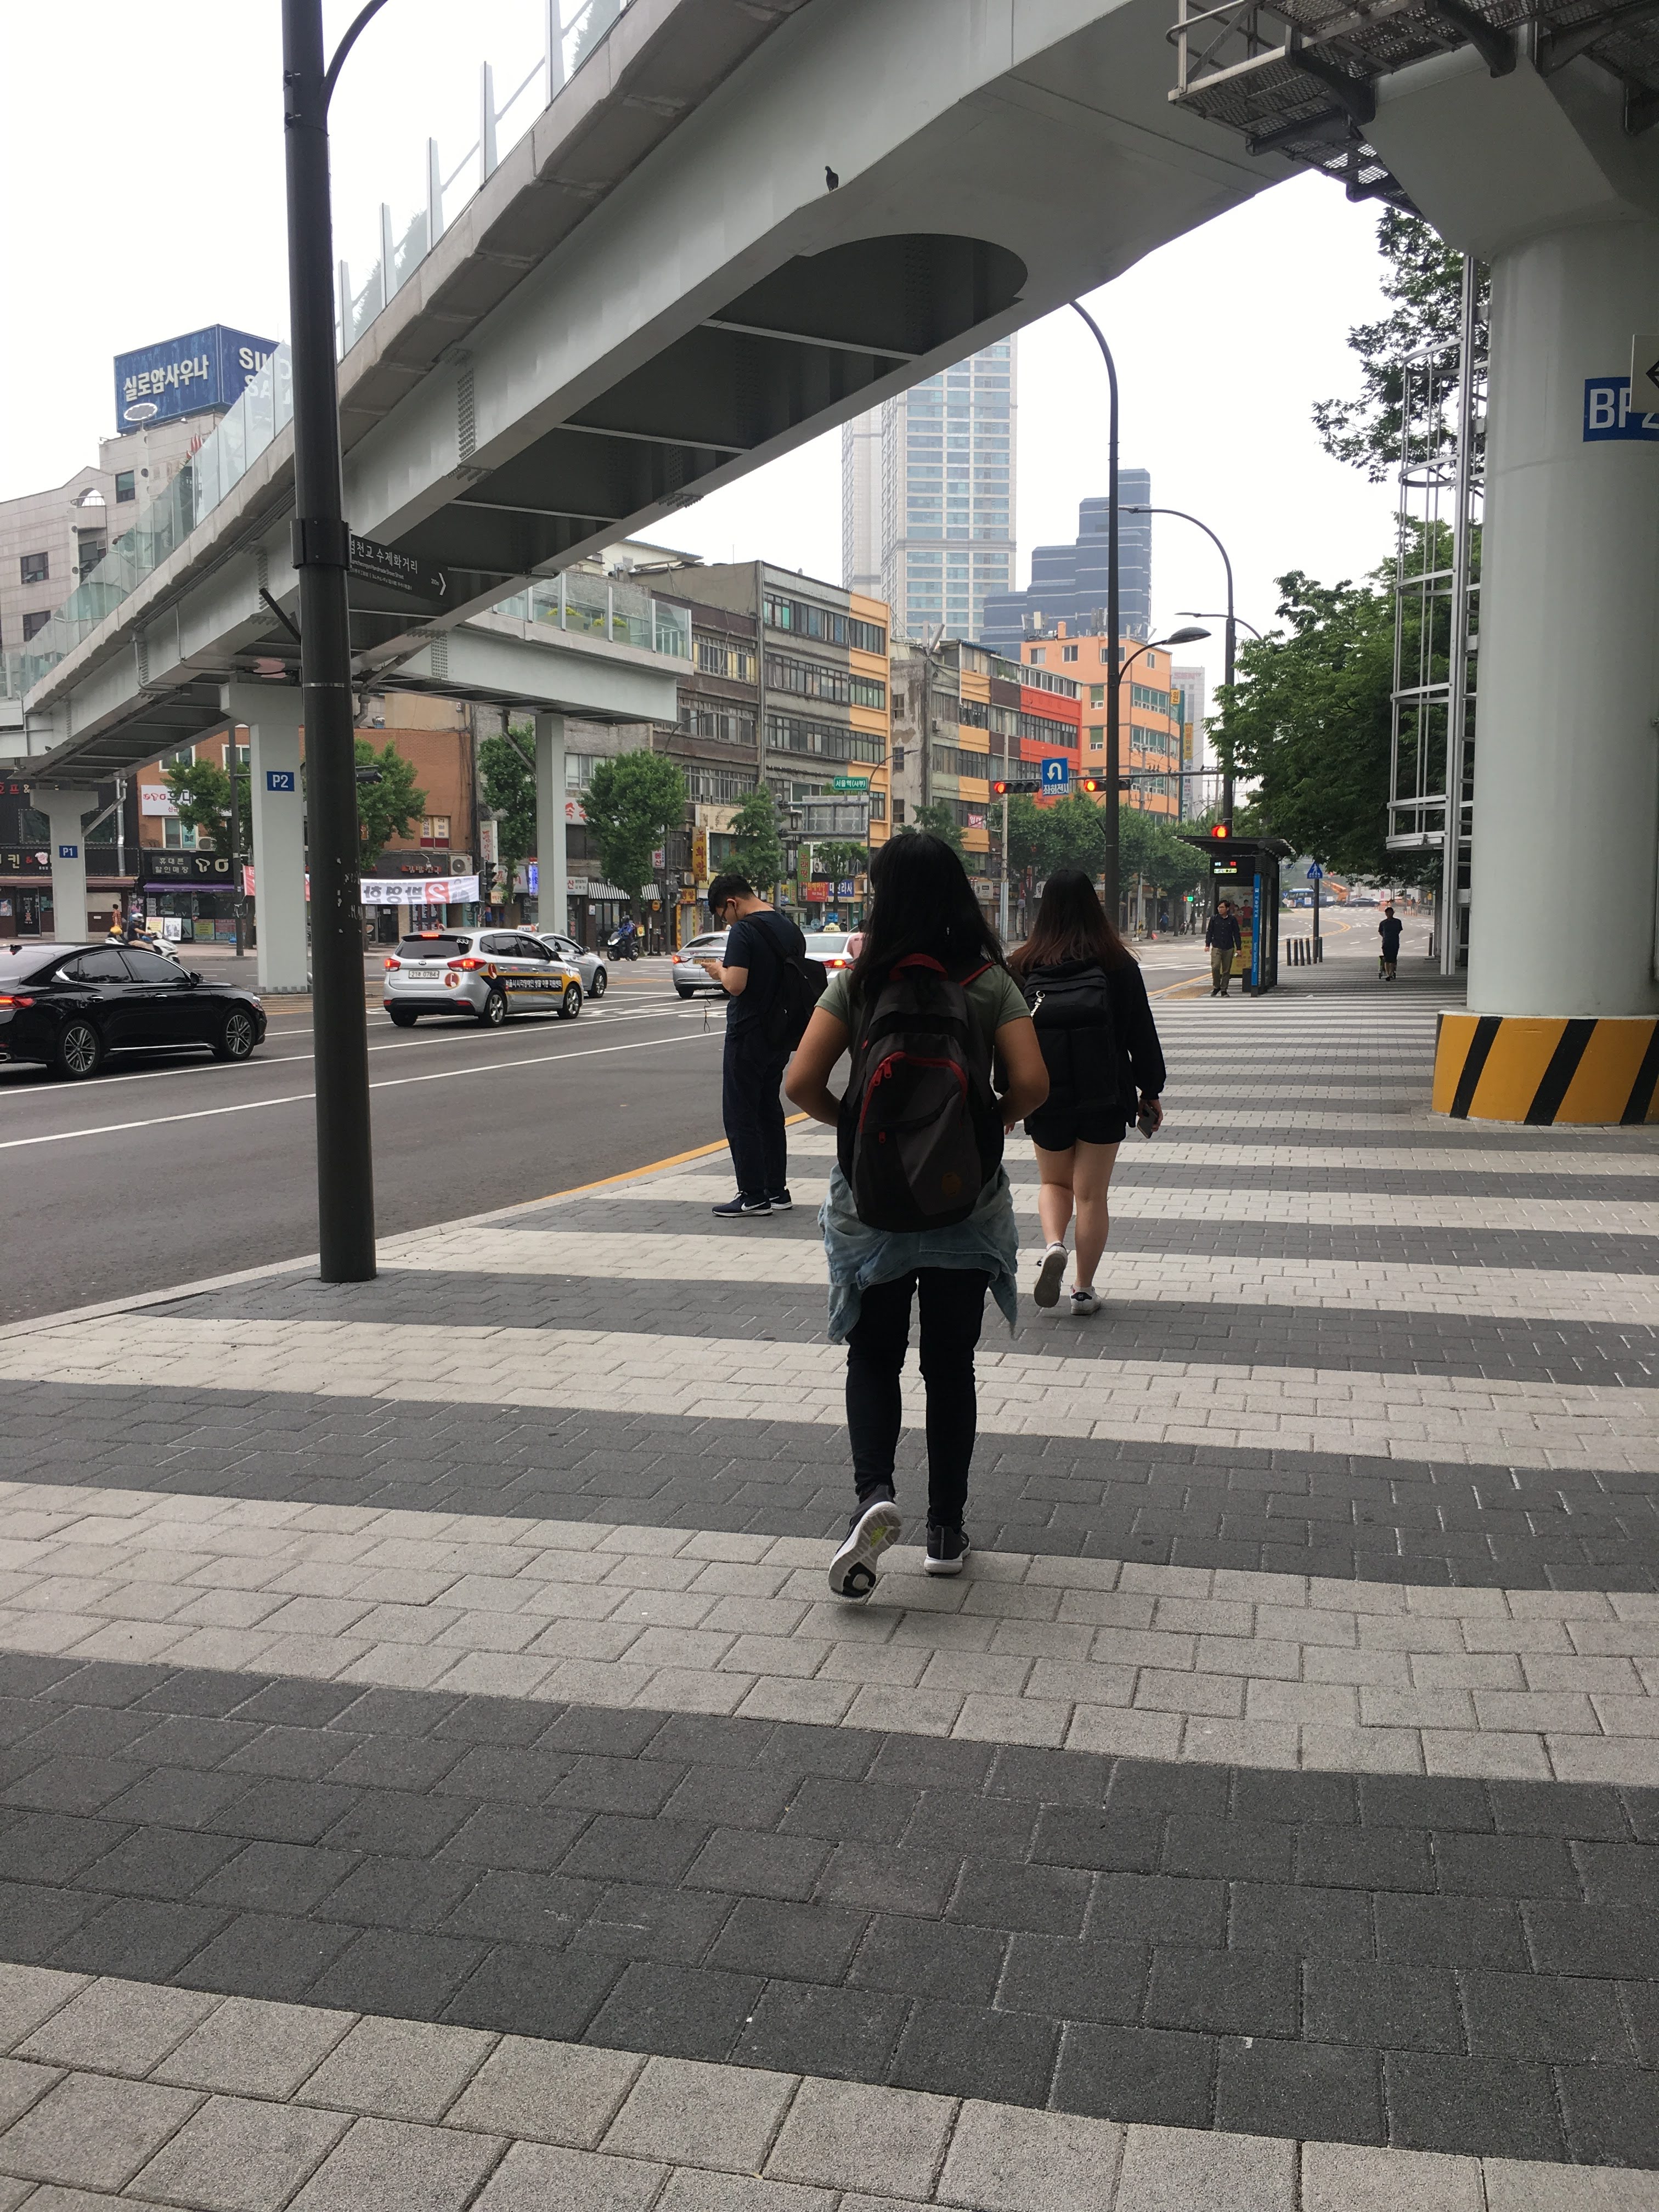
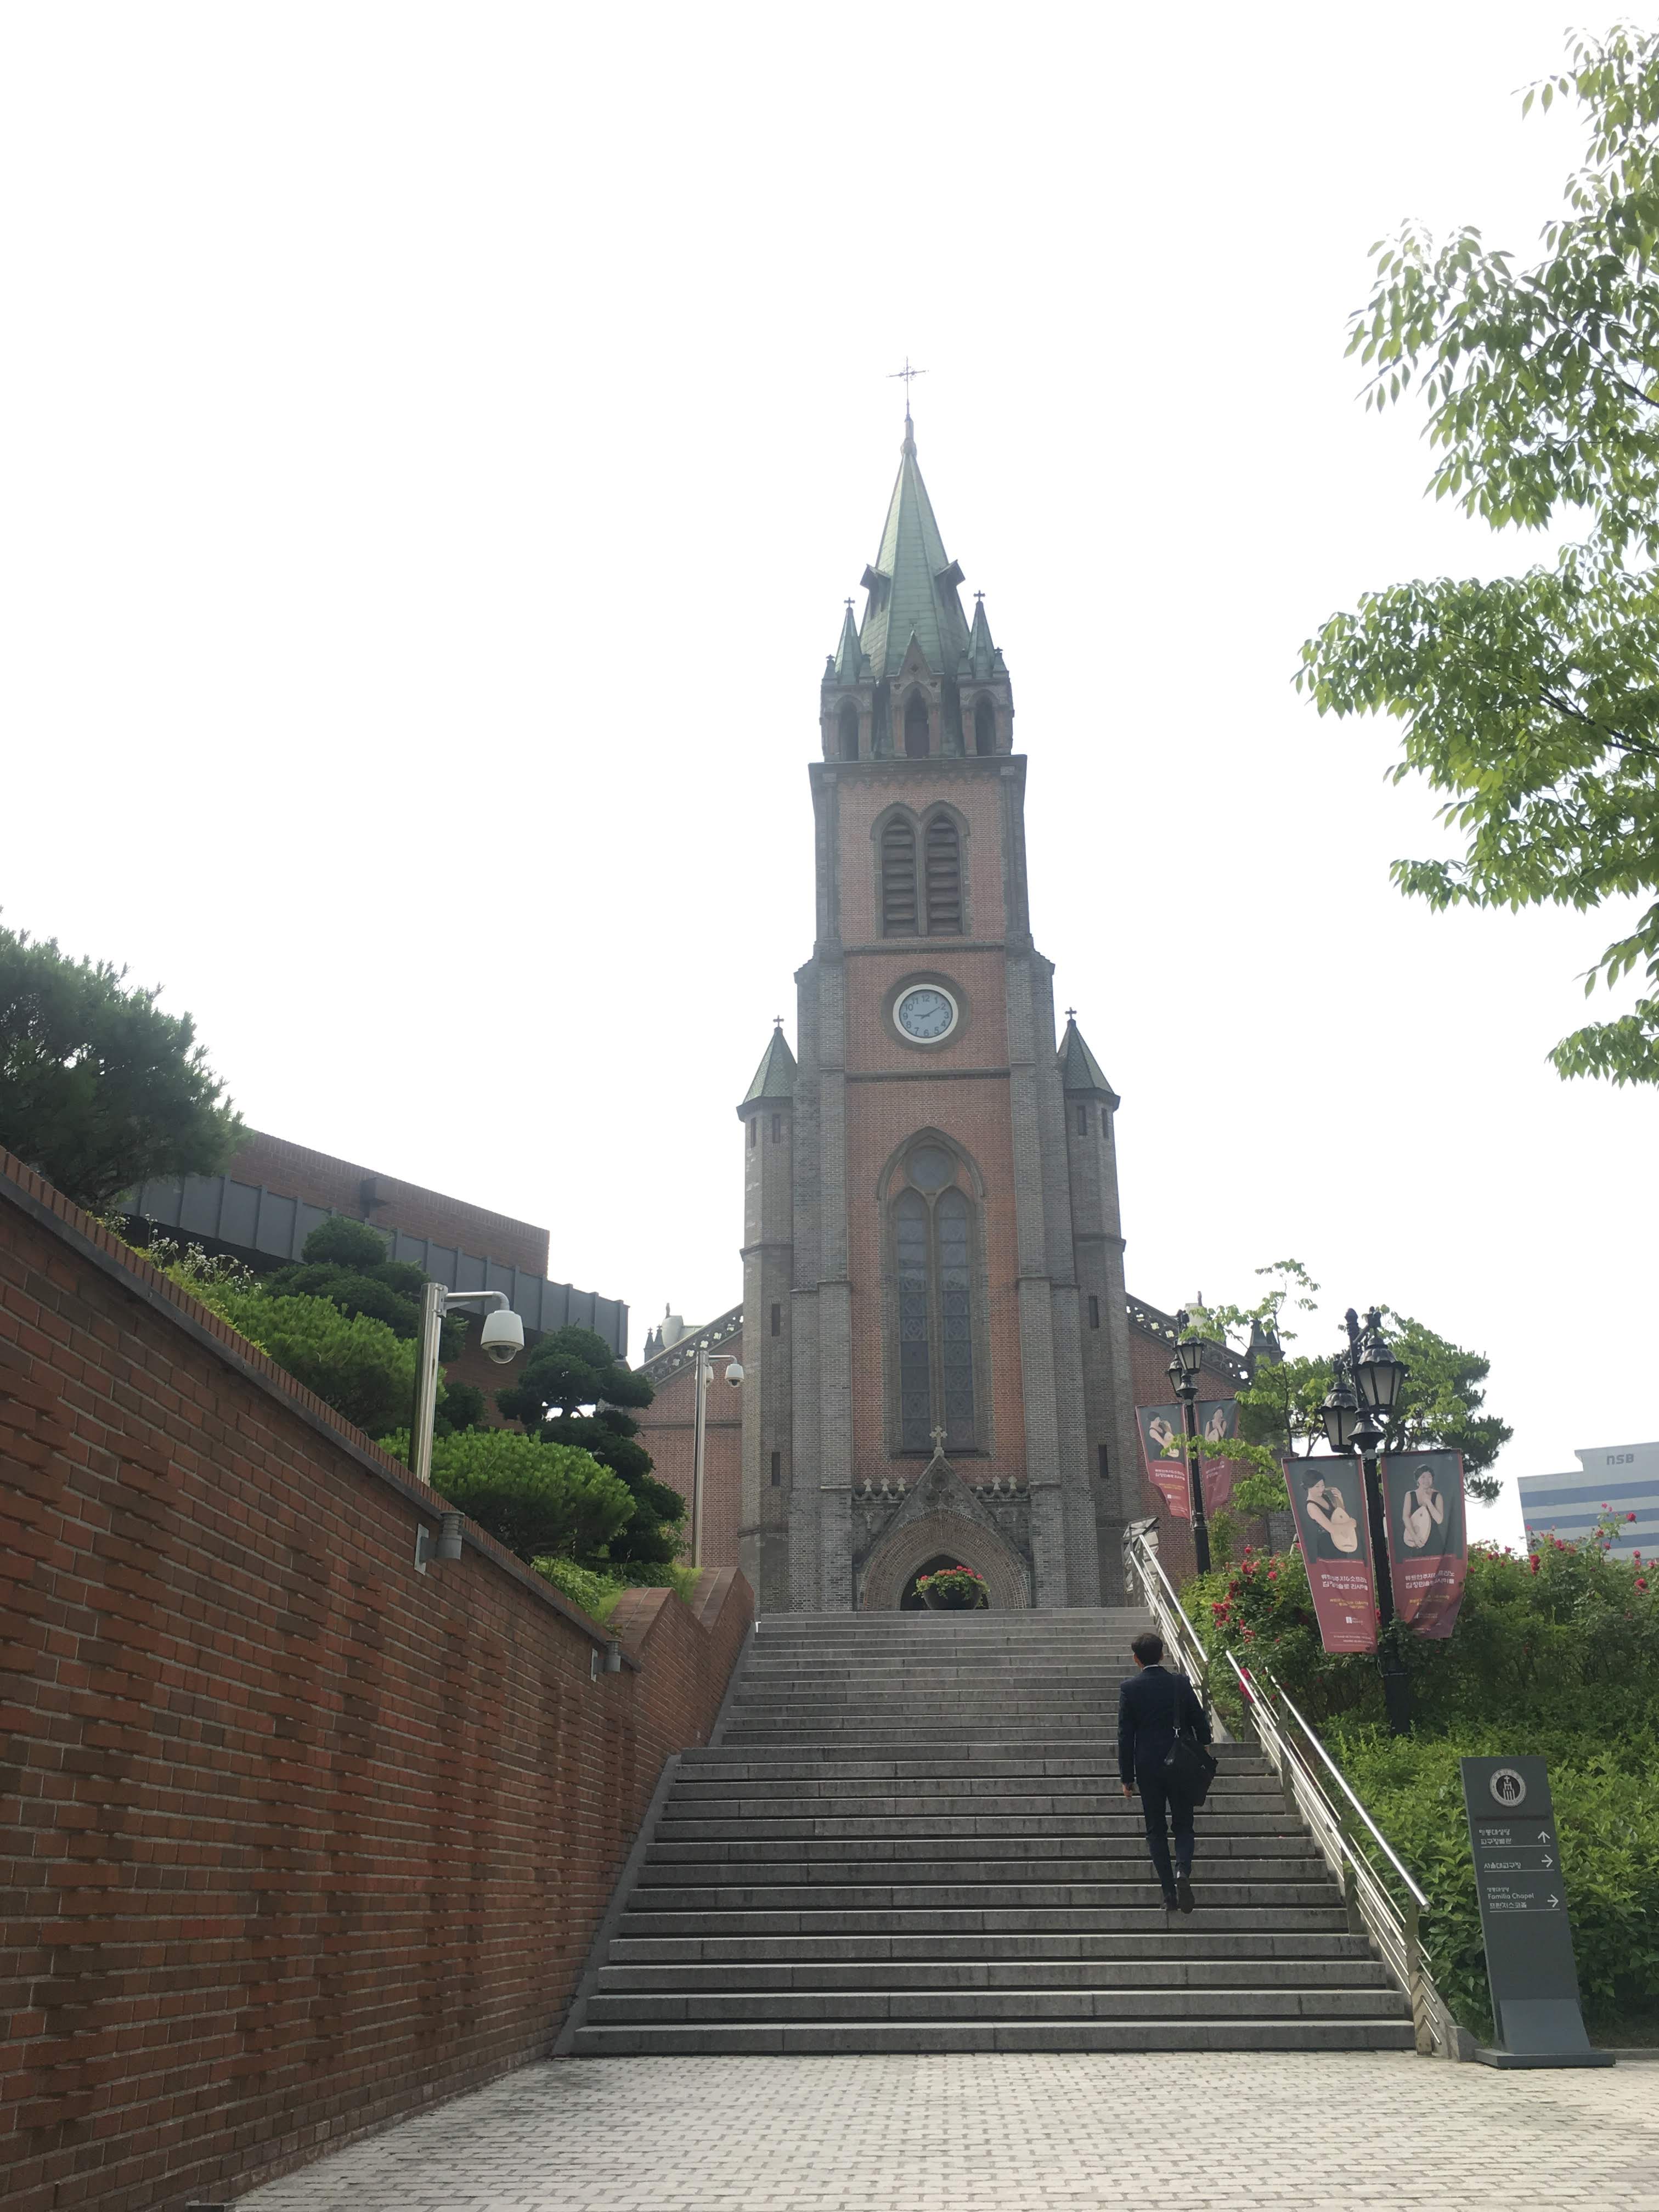
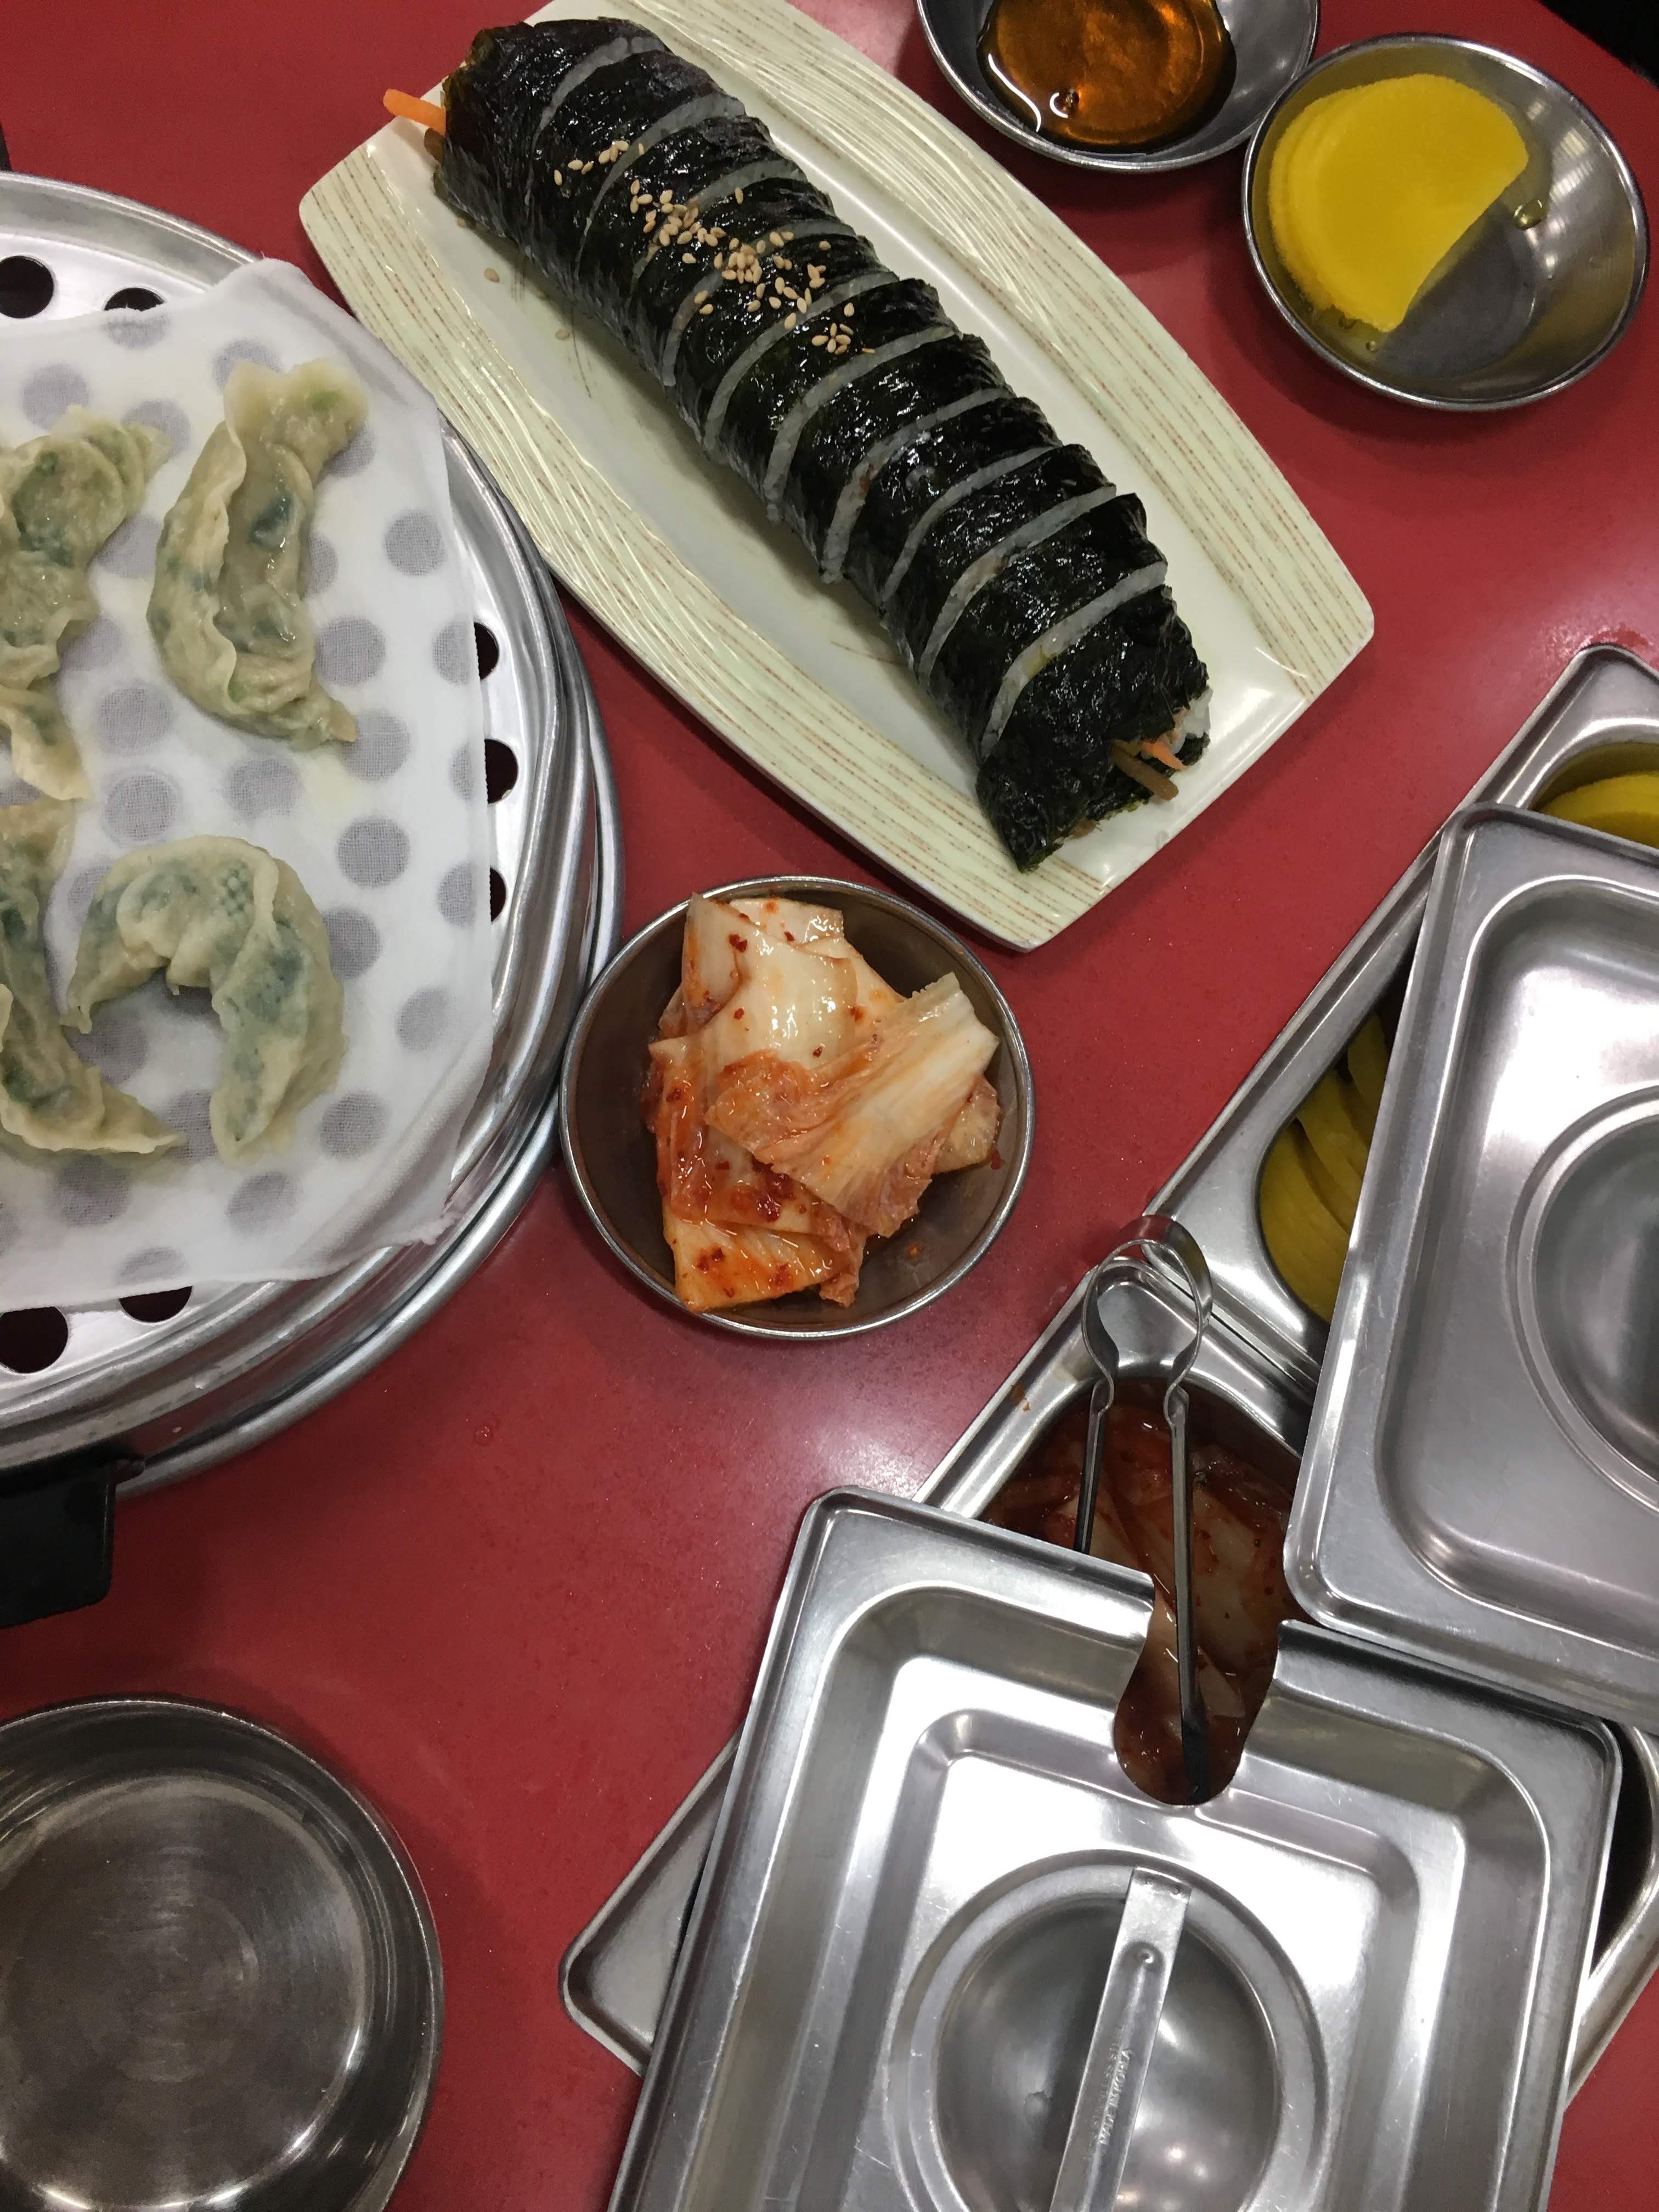
8:00 – 10:00AM – Bfast, Myeongdong Cathedral
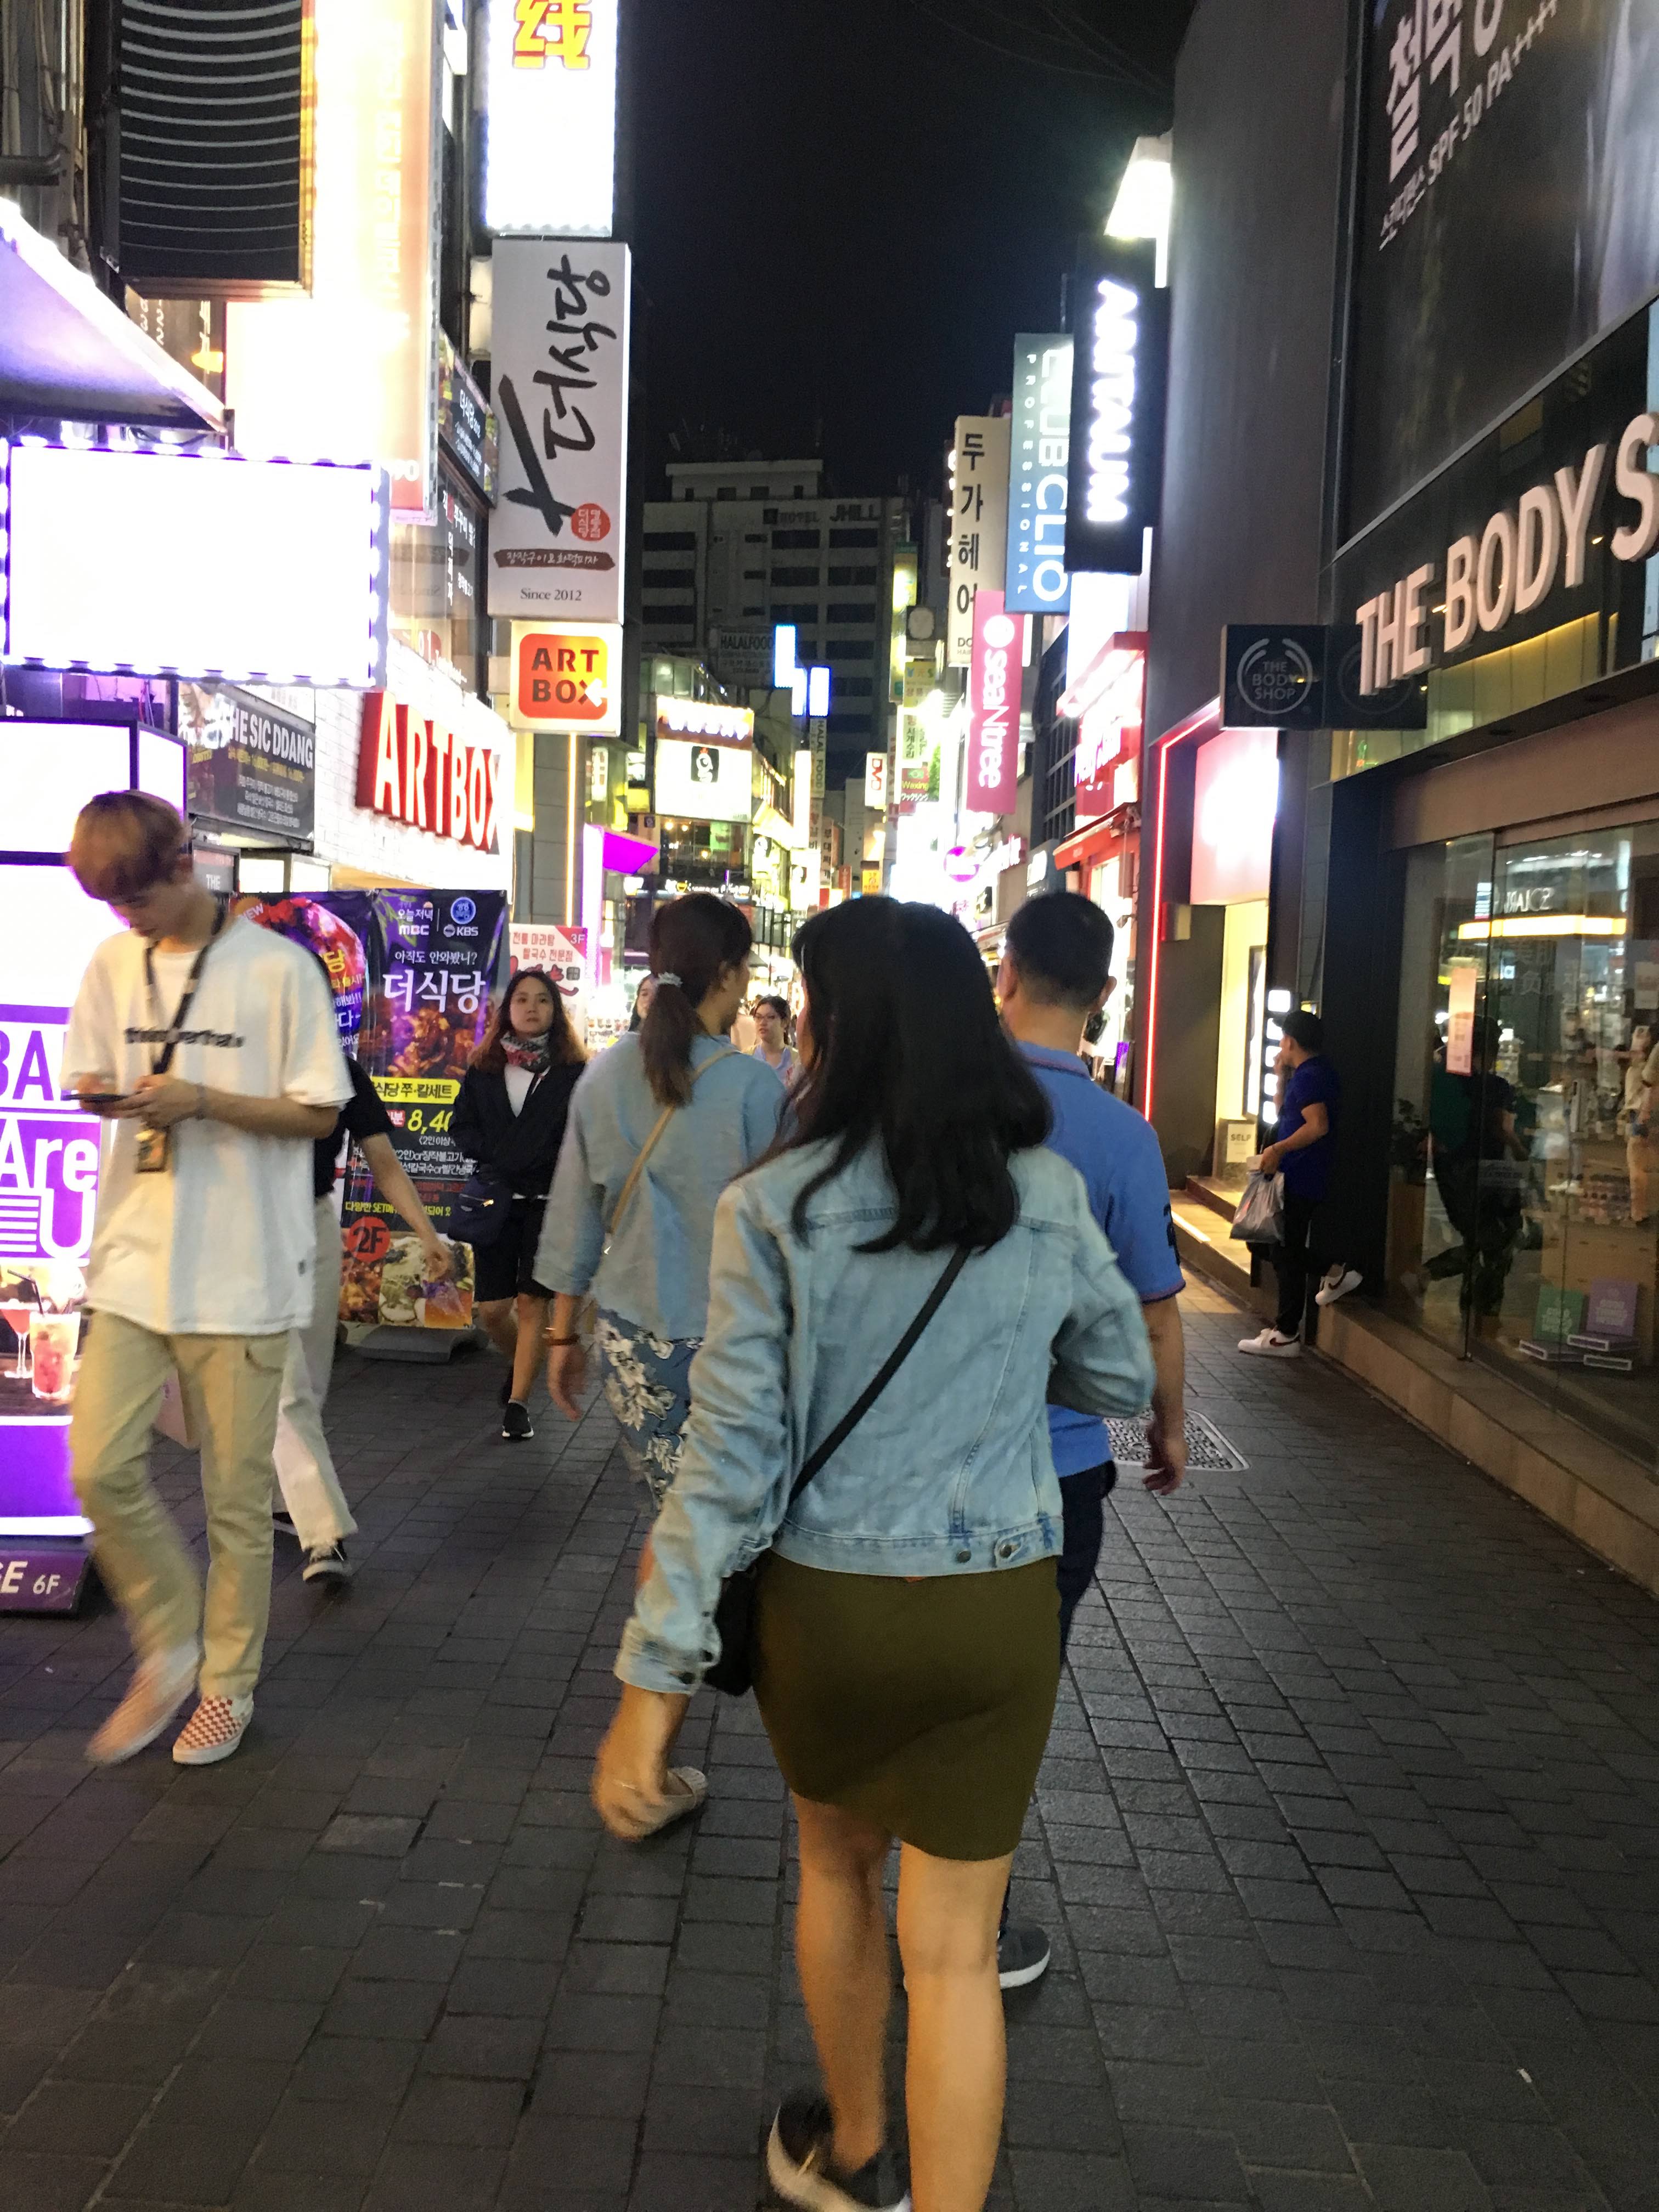
10:00 – 1:00PM – Myeongdong and Hoehyon (lunch + makeup and beauty products shopping)
1:20 – 2:20PM – Seoul Station to Jongno
2:30 – 7:00PM – Rest time
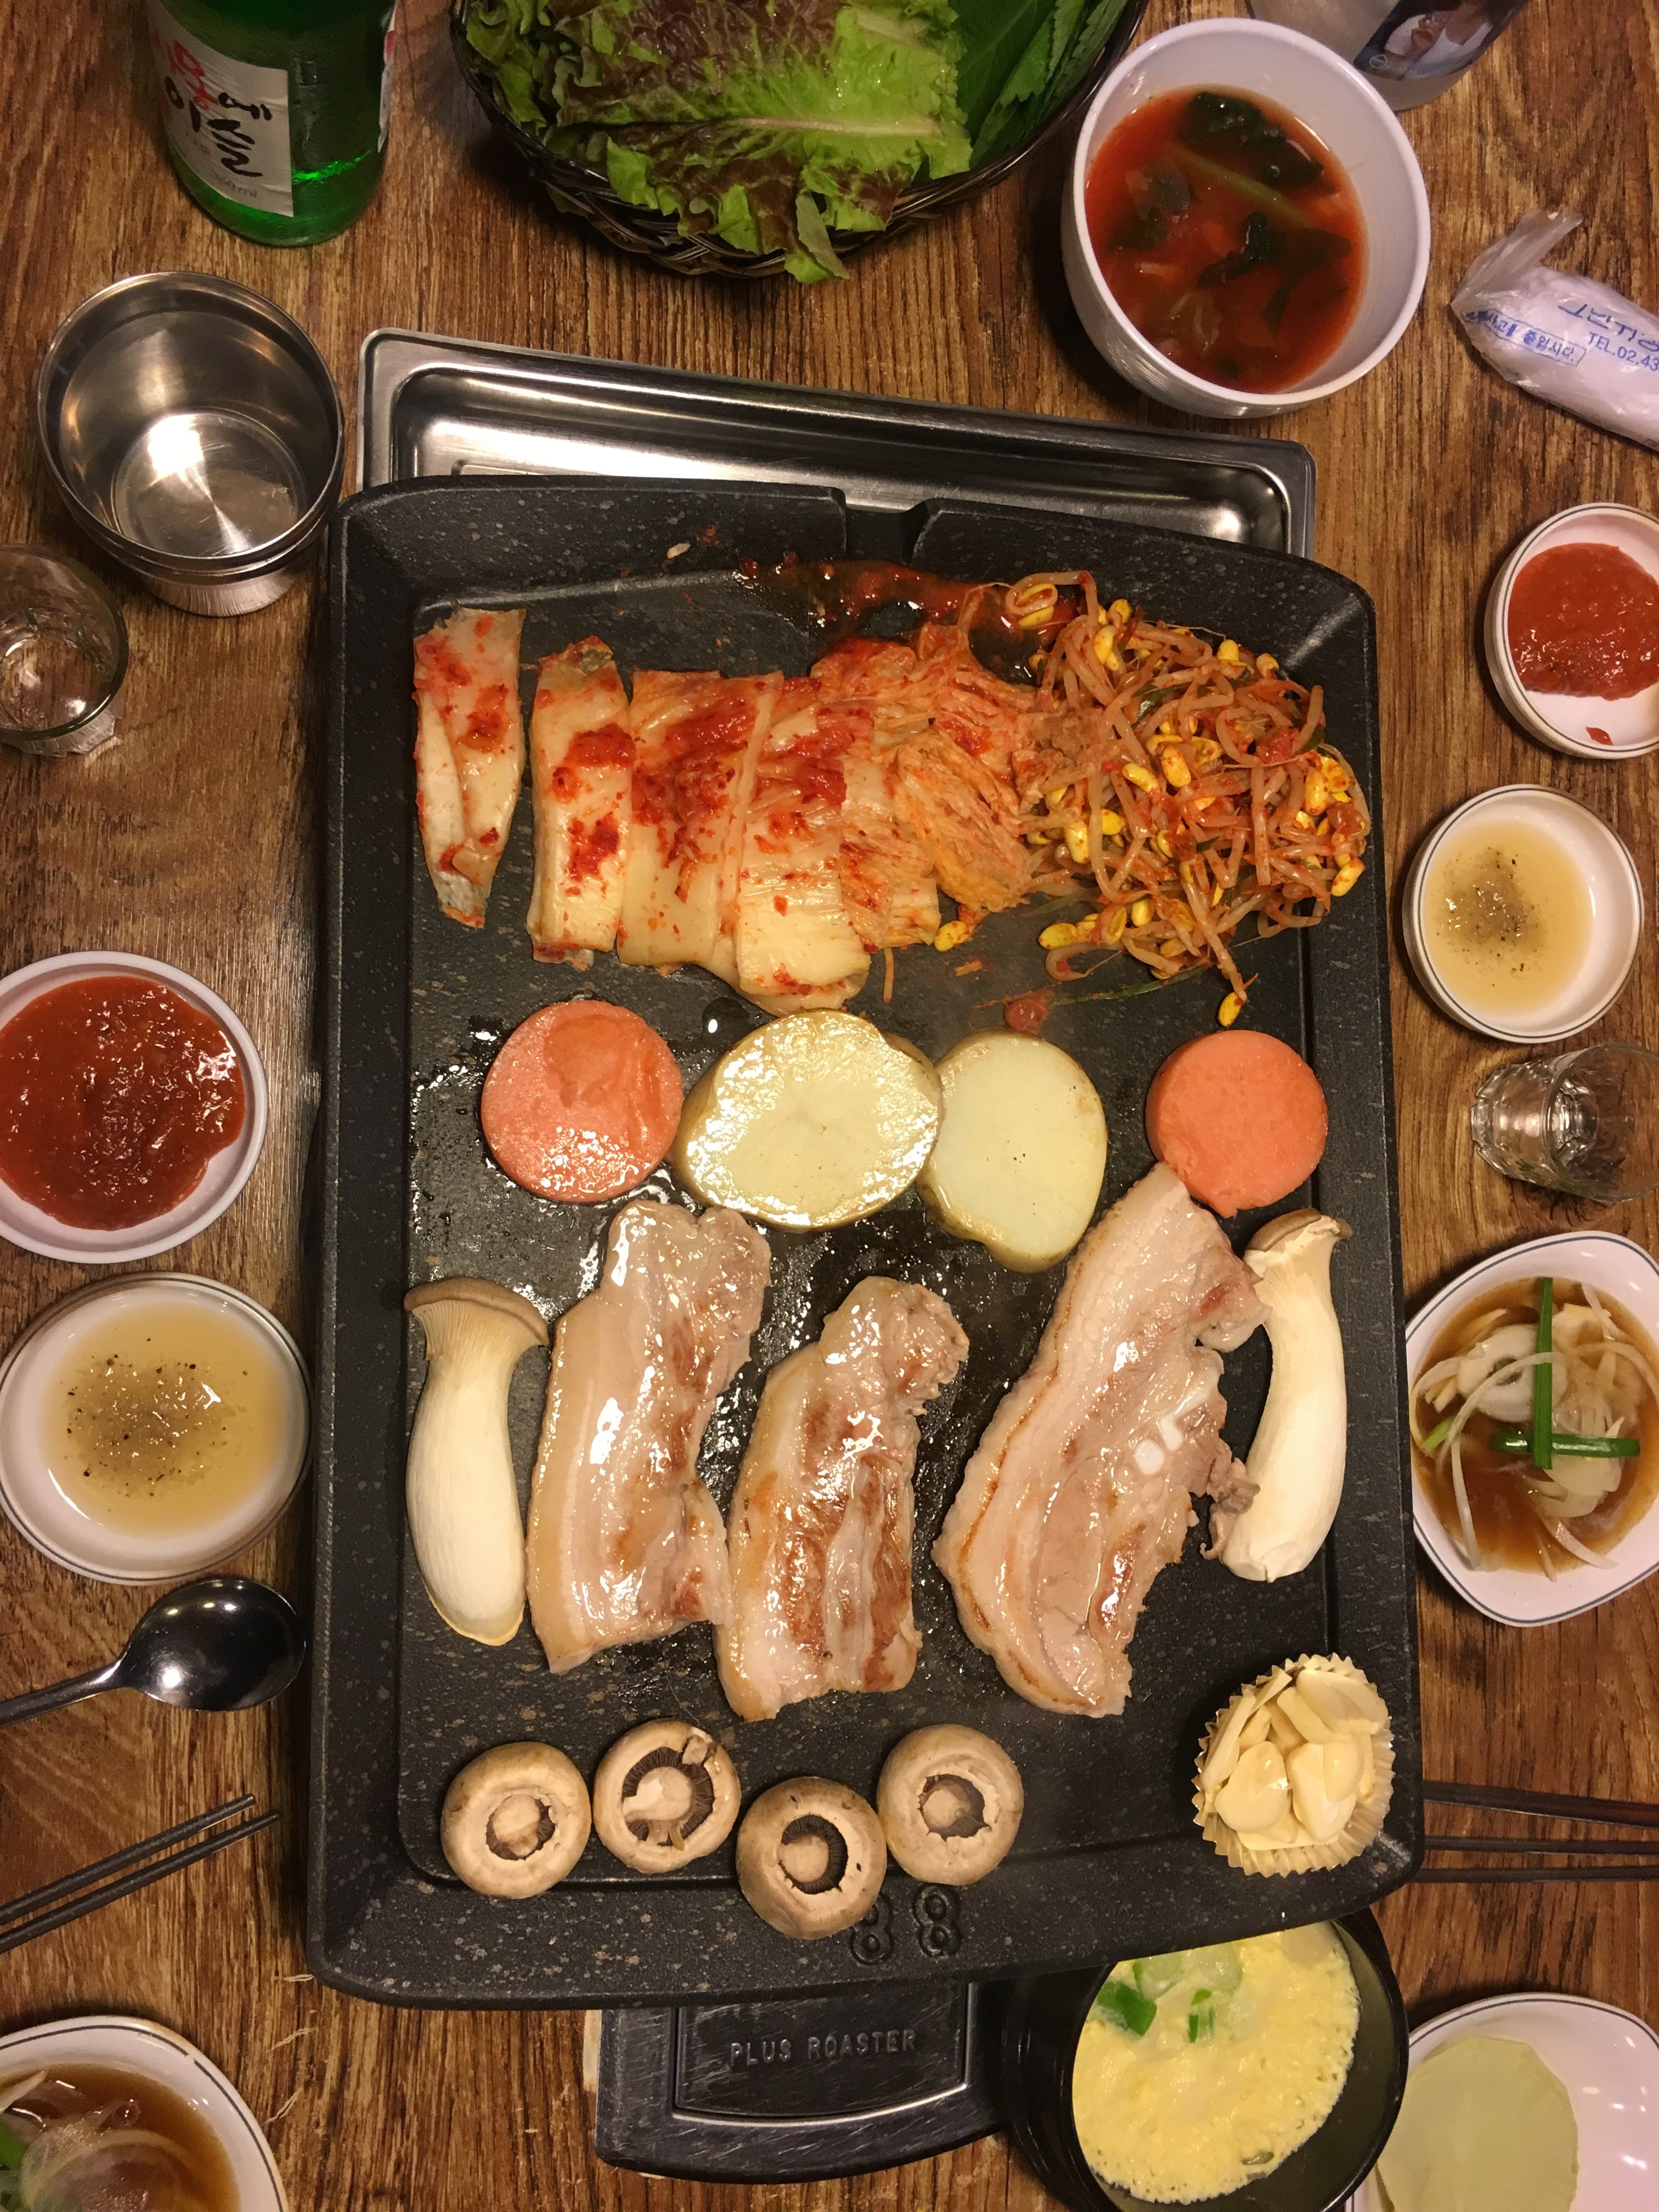
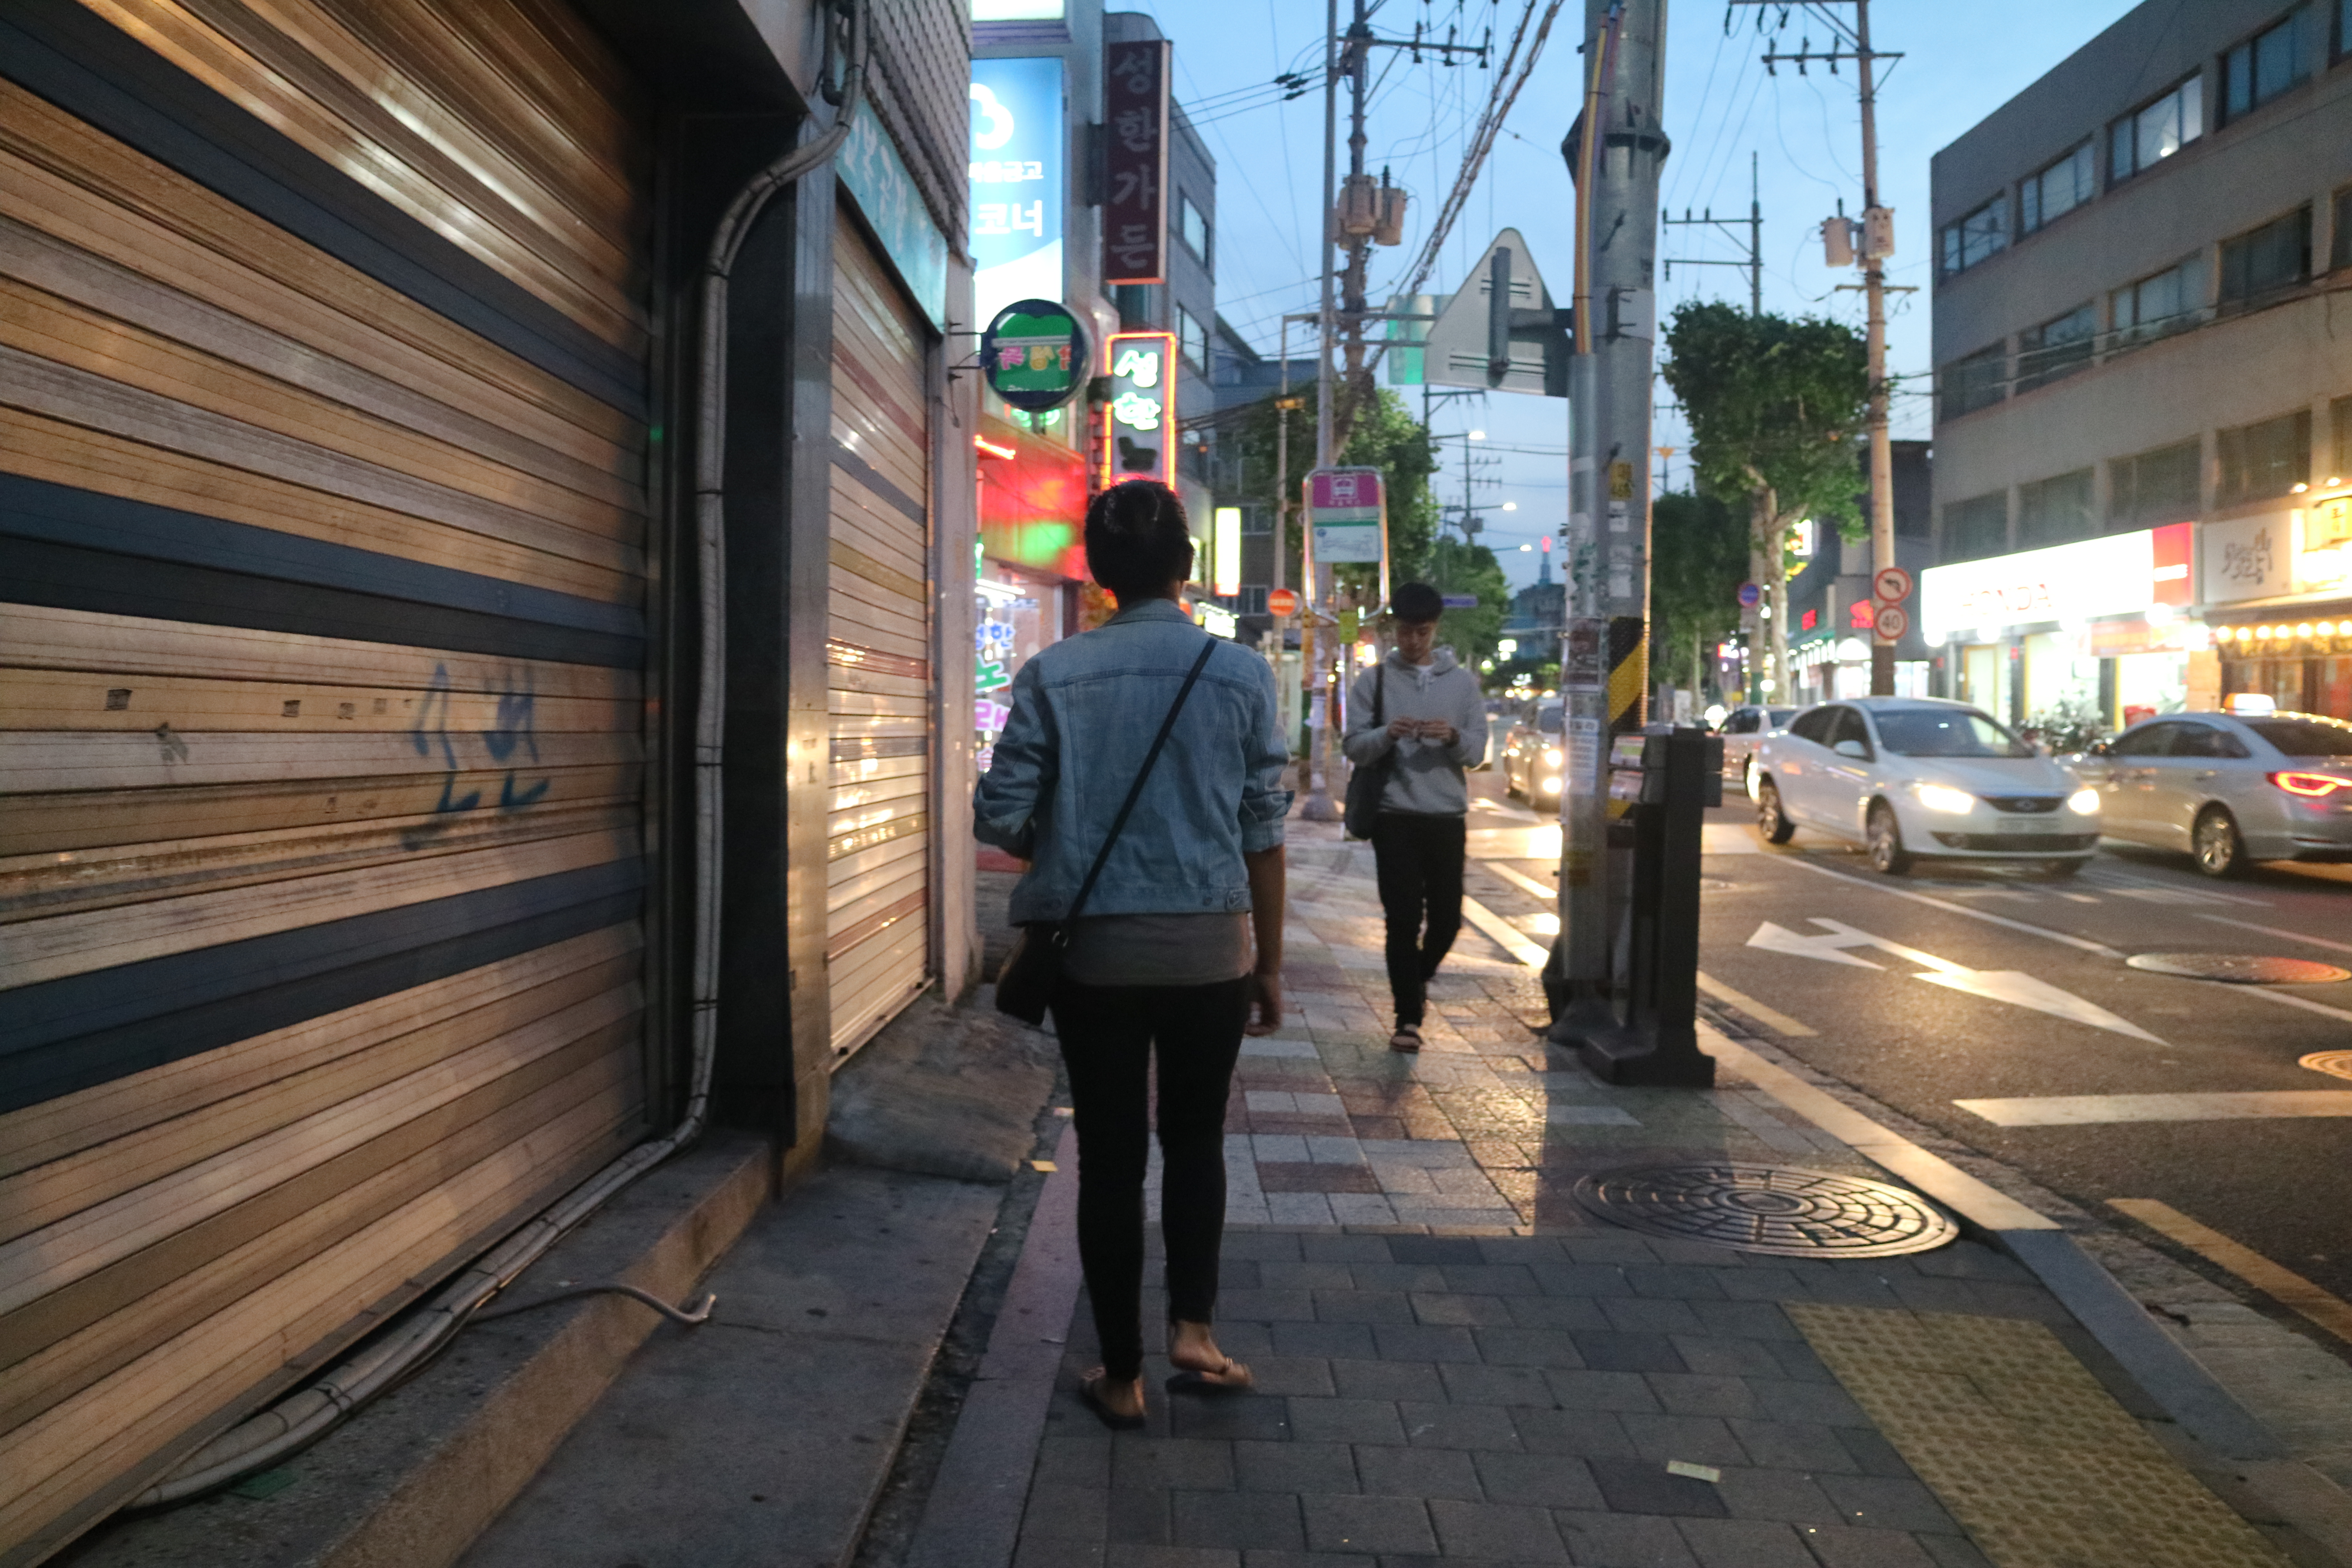
7:30 – 9:40PM – Strolled around Jongno + dinner
10:00PM – Sleep time
Day 2
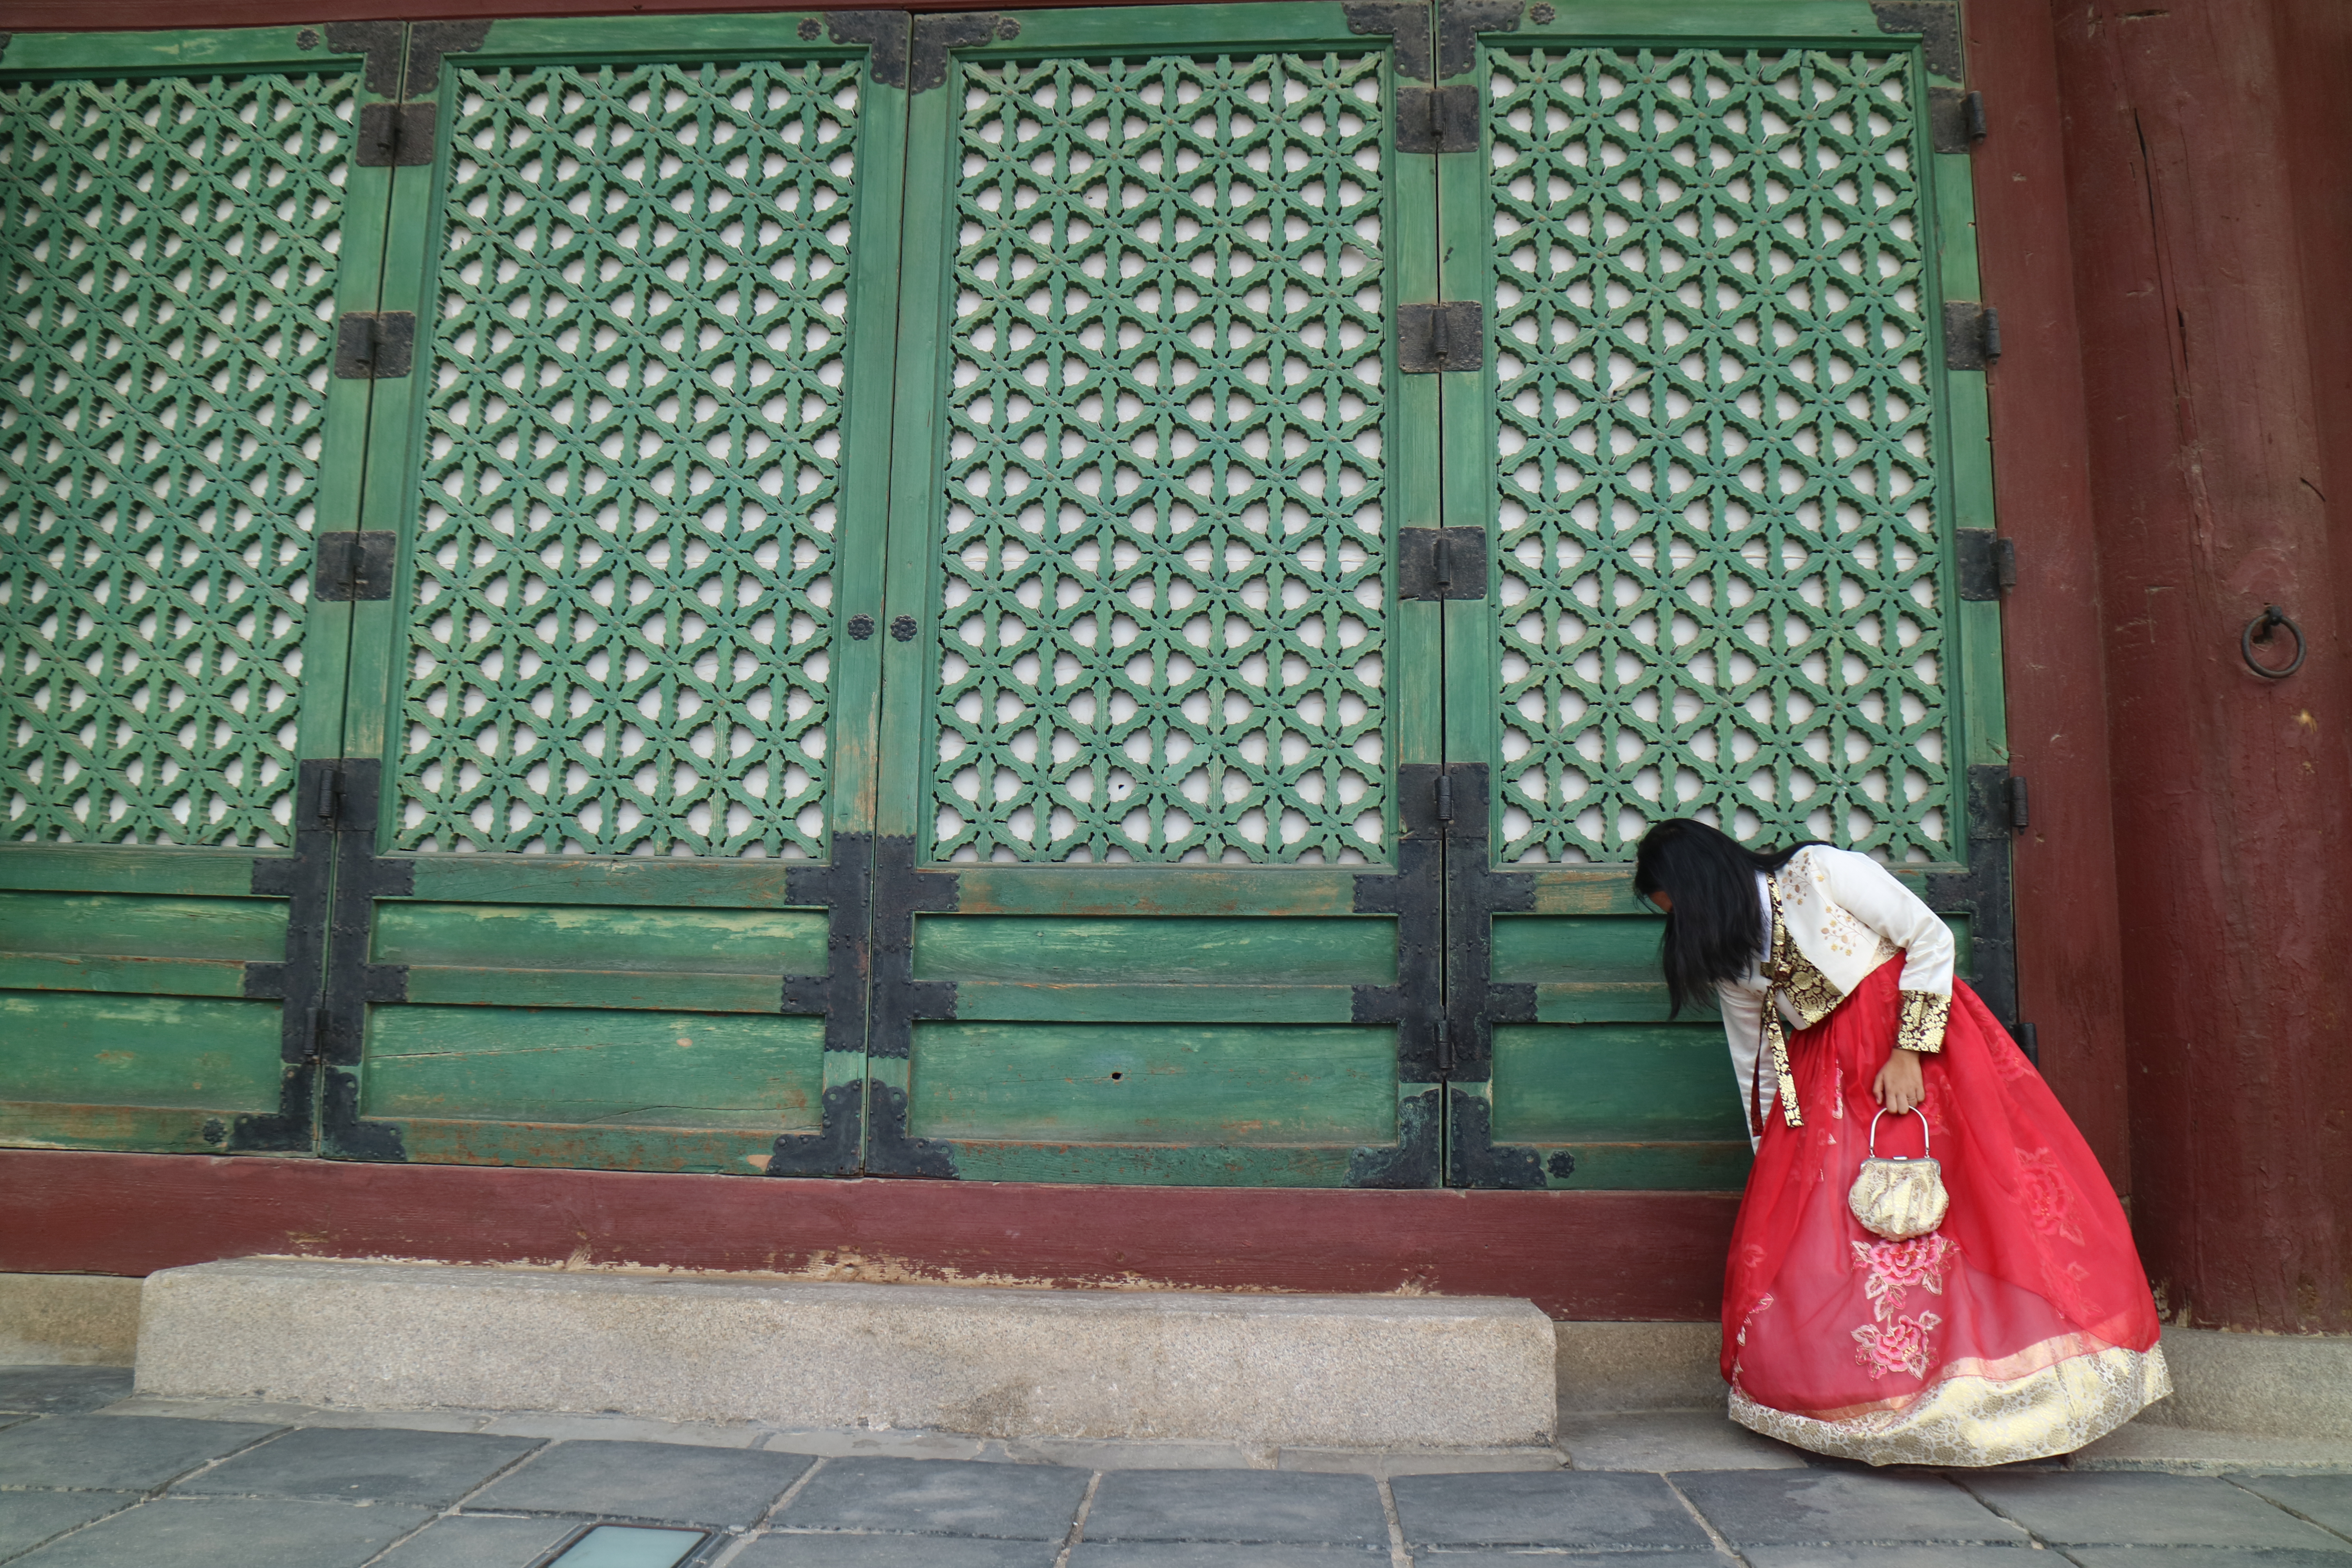
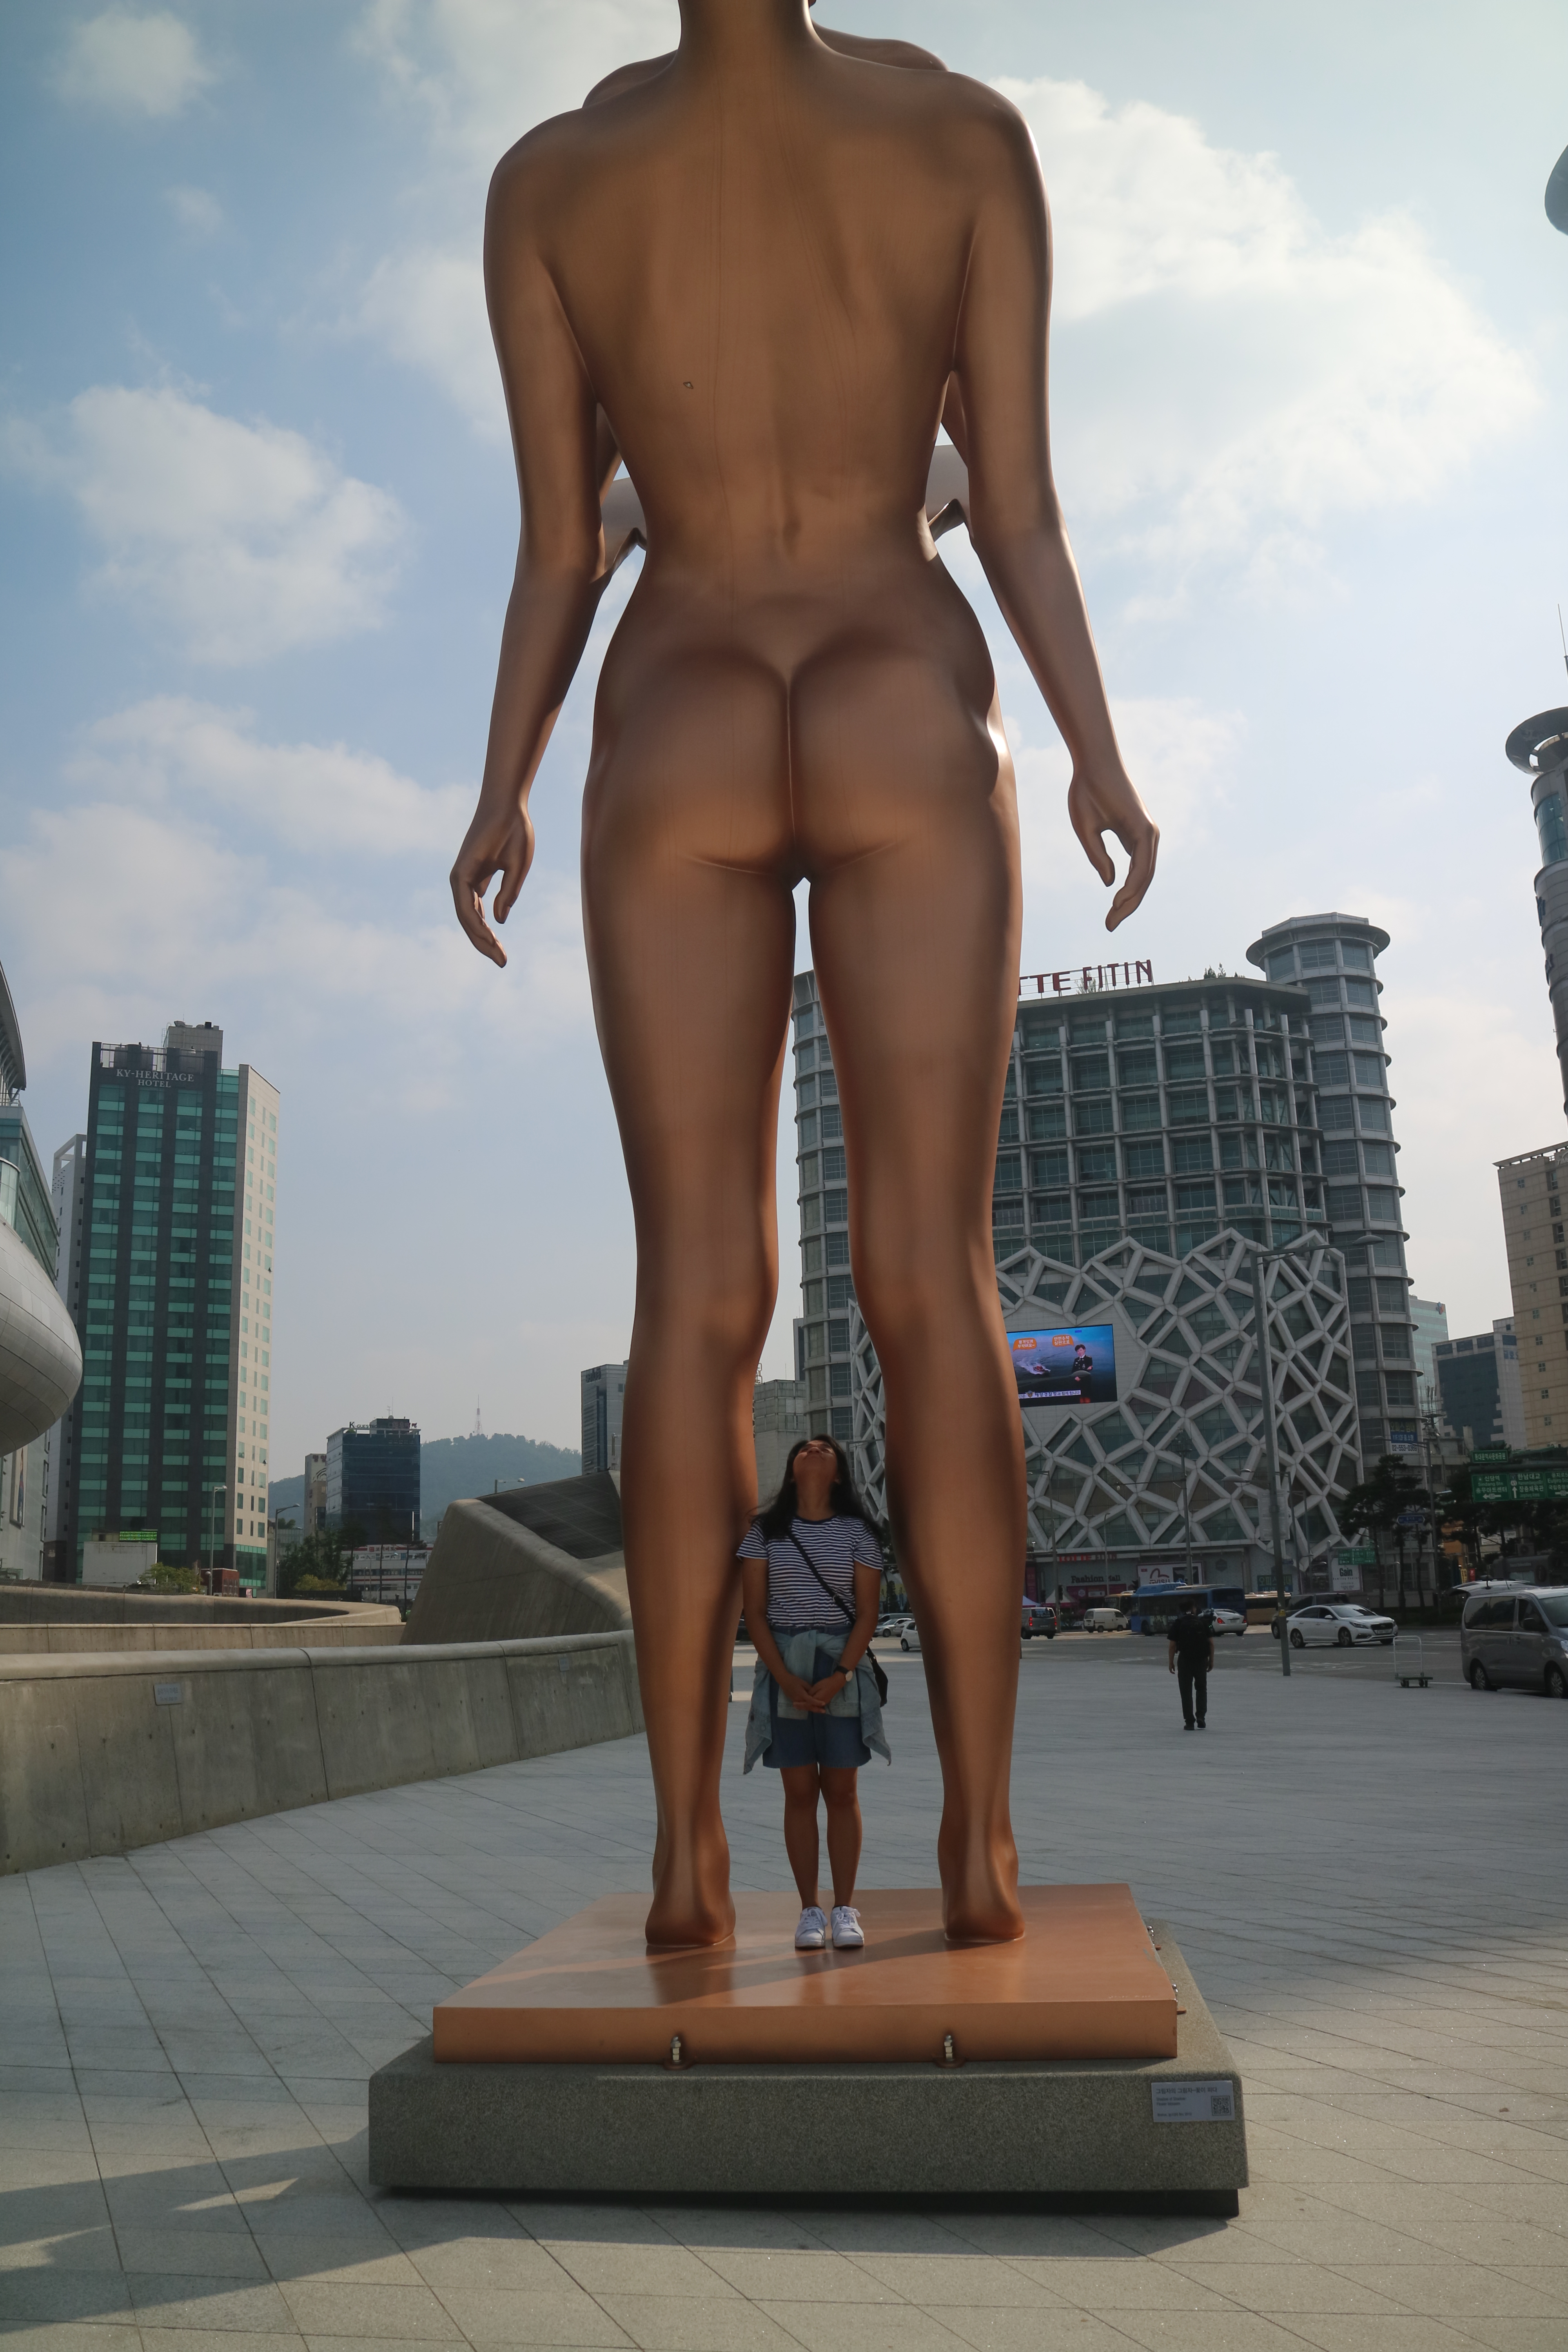
9:00 – 9:30AM – Guesthouse to Gyeongbokgung Palace
10:00 – 3:00PM – Gyeongbokgung Palace, Bukchon Hanok Village and Changdeokgung Palace + lunch
3::30PM – 4:00PM – Gyeongbokgung Palace to Dongdaenum History and Culture Park
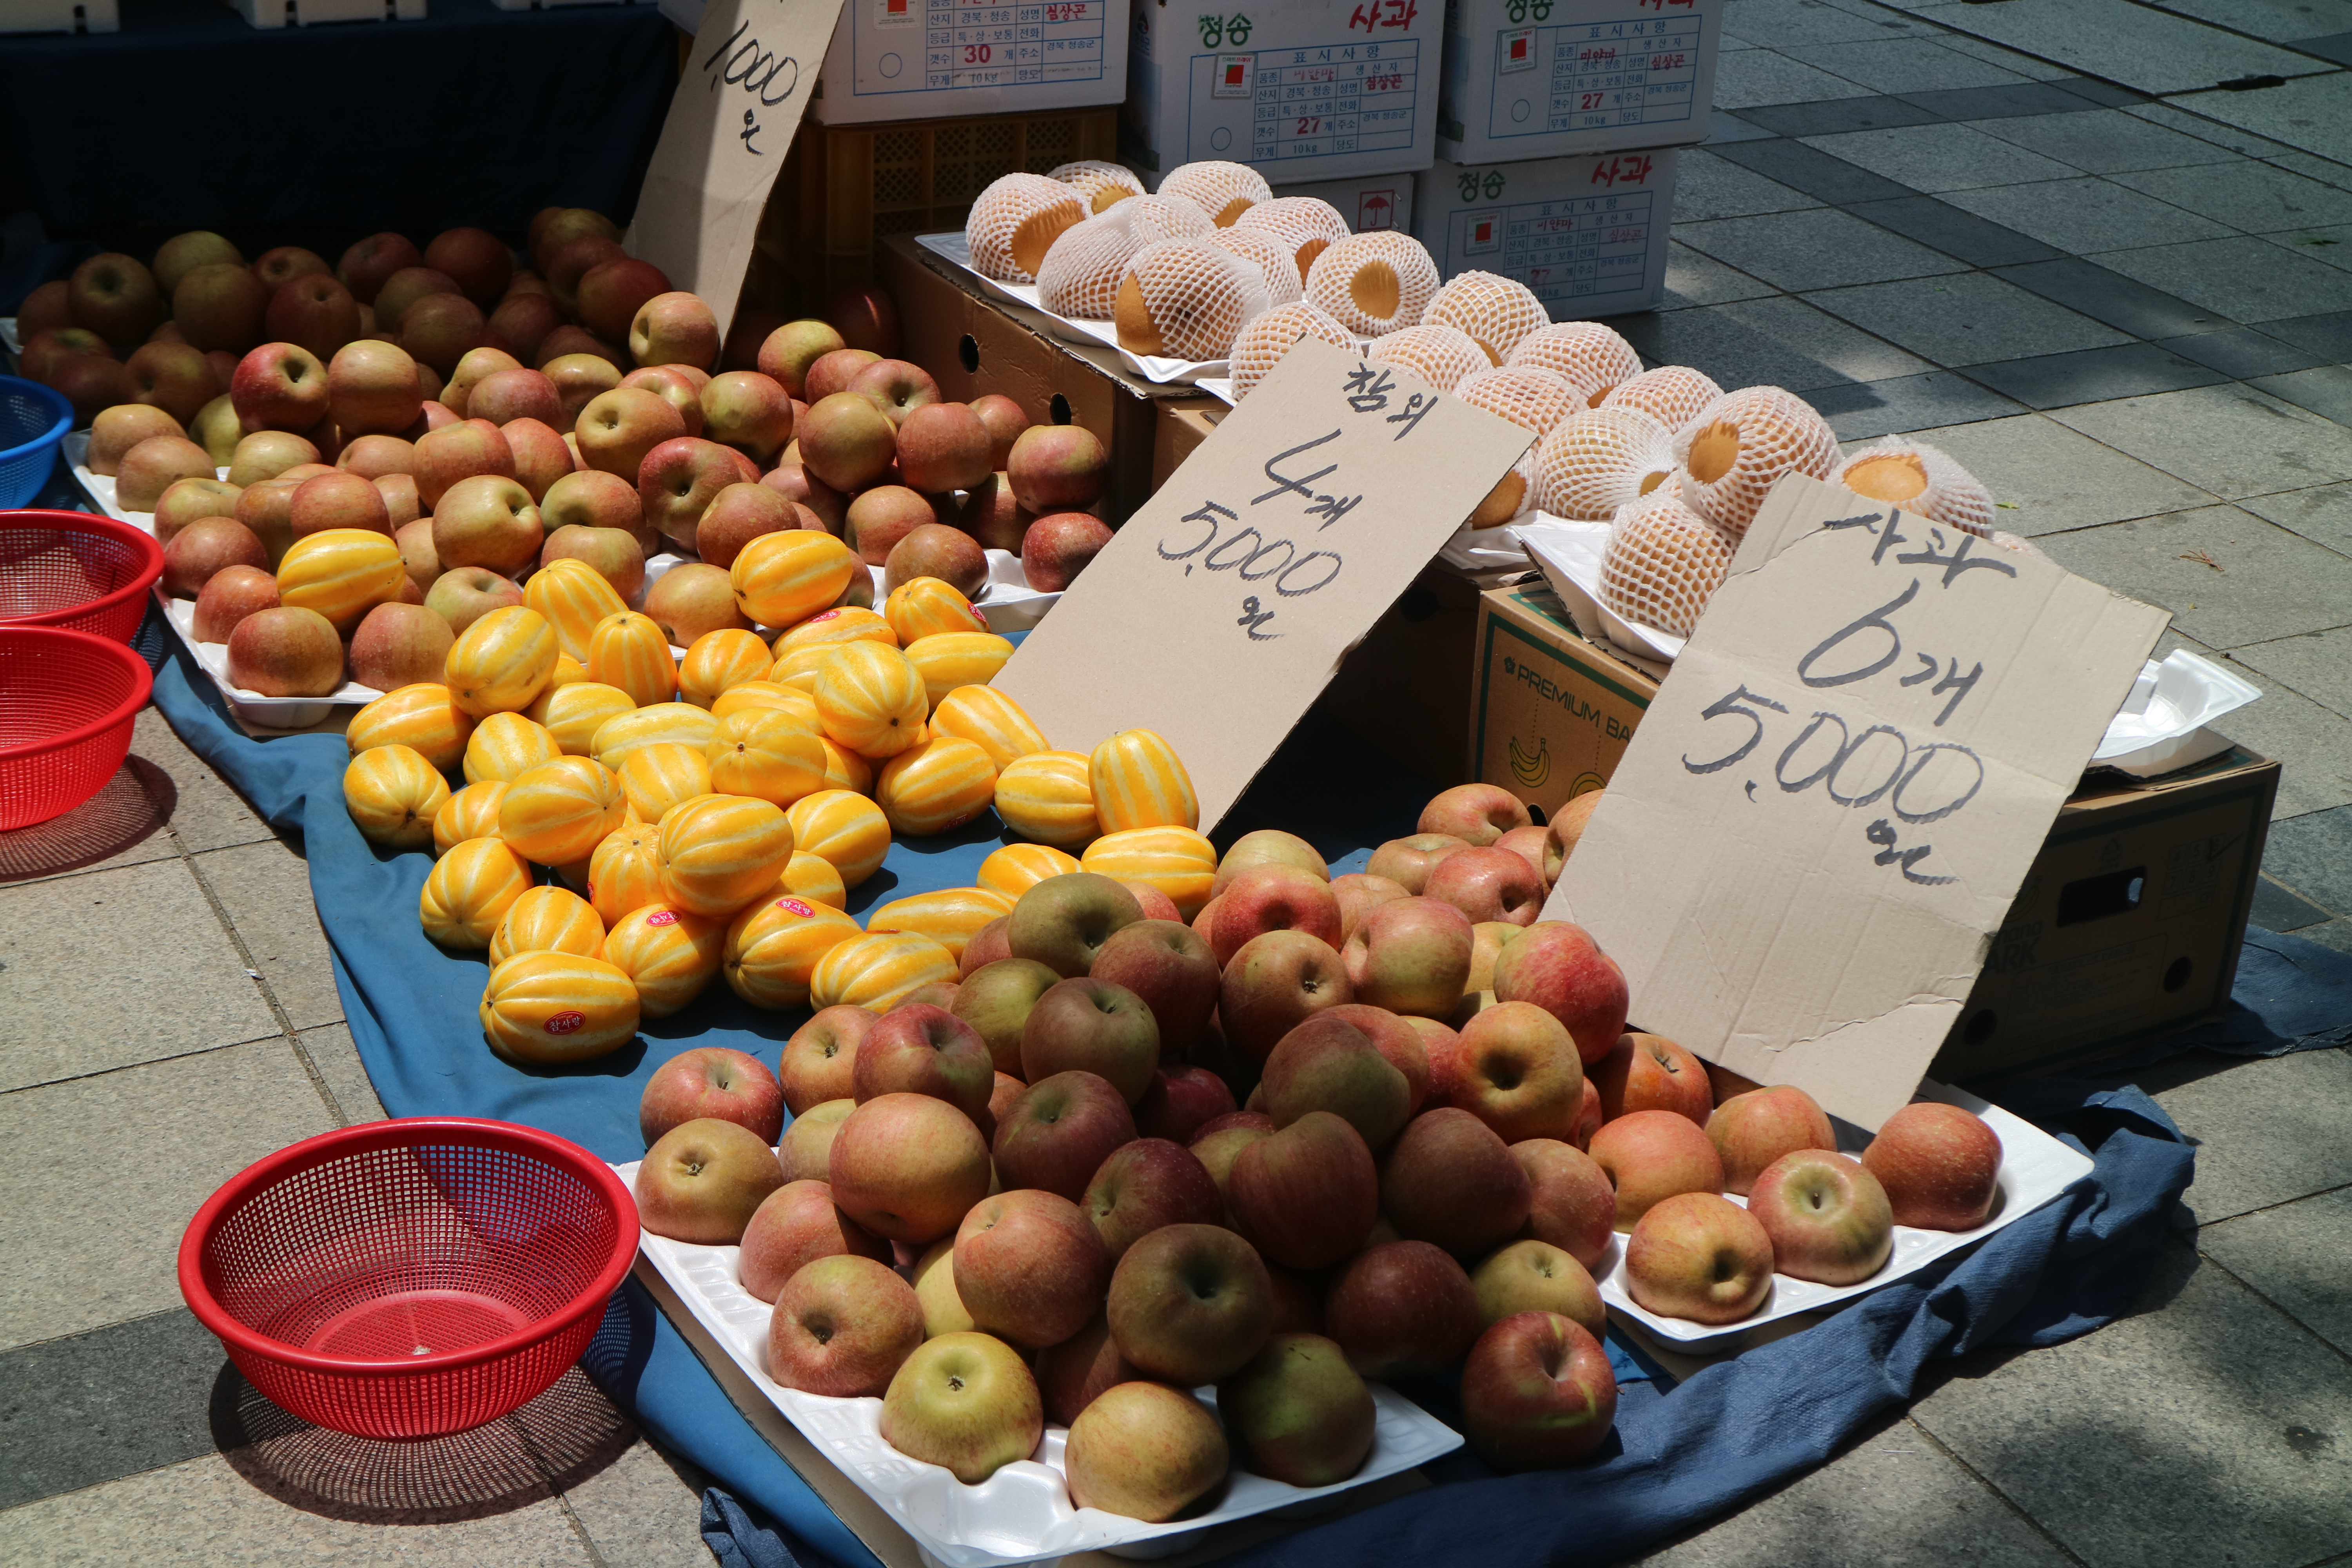
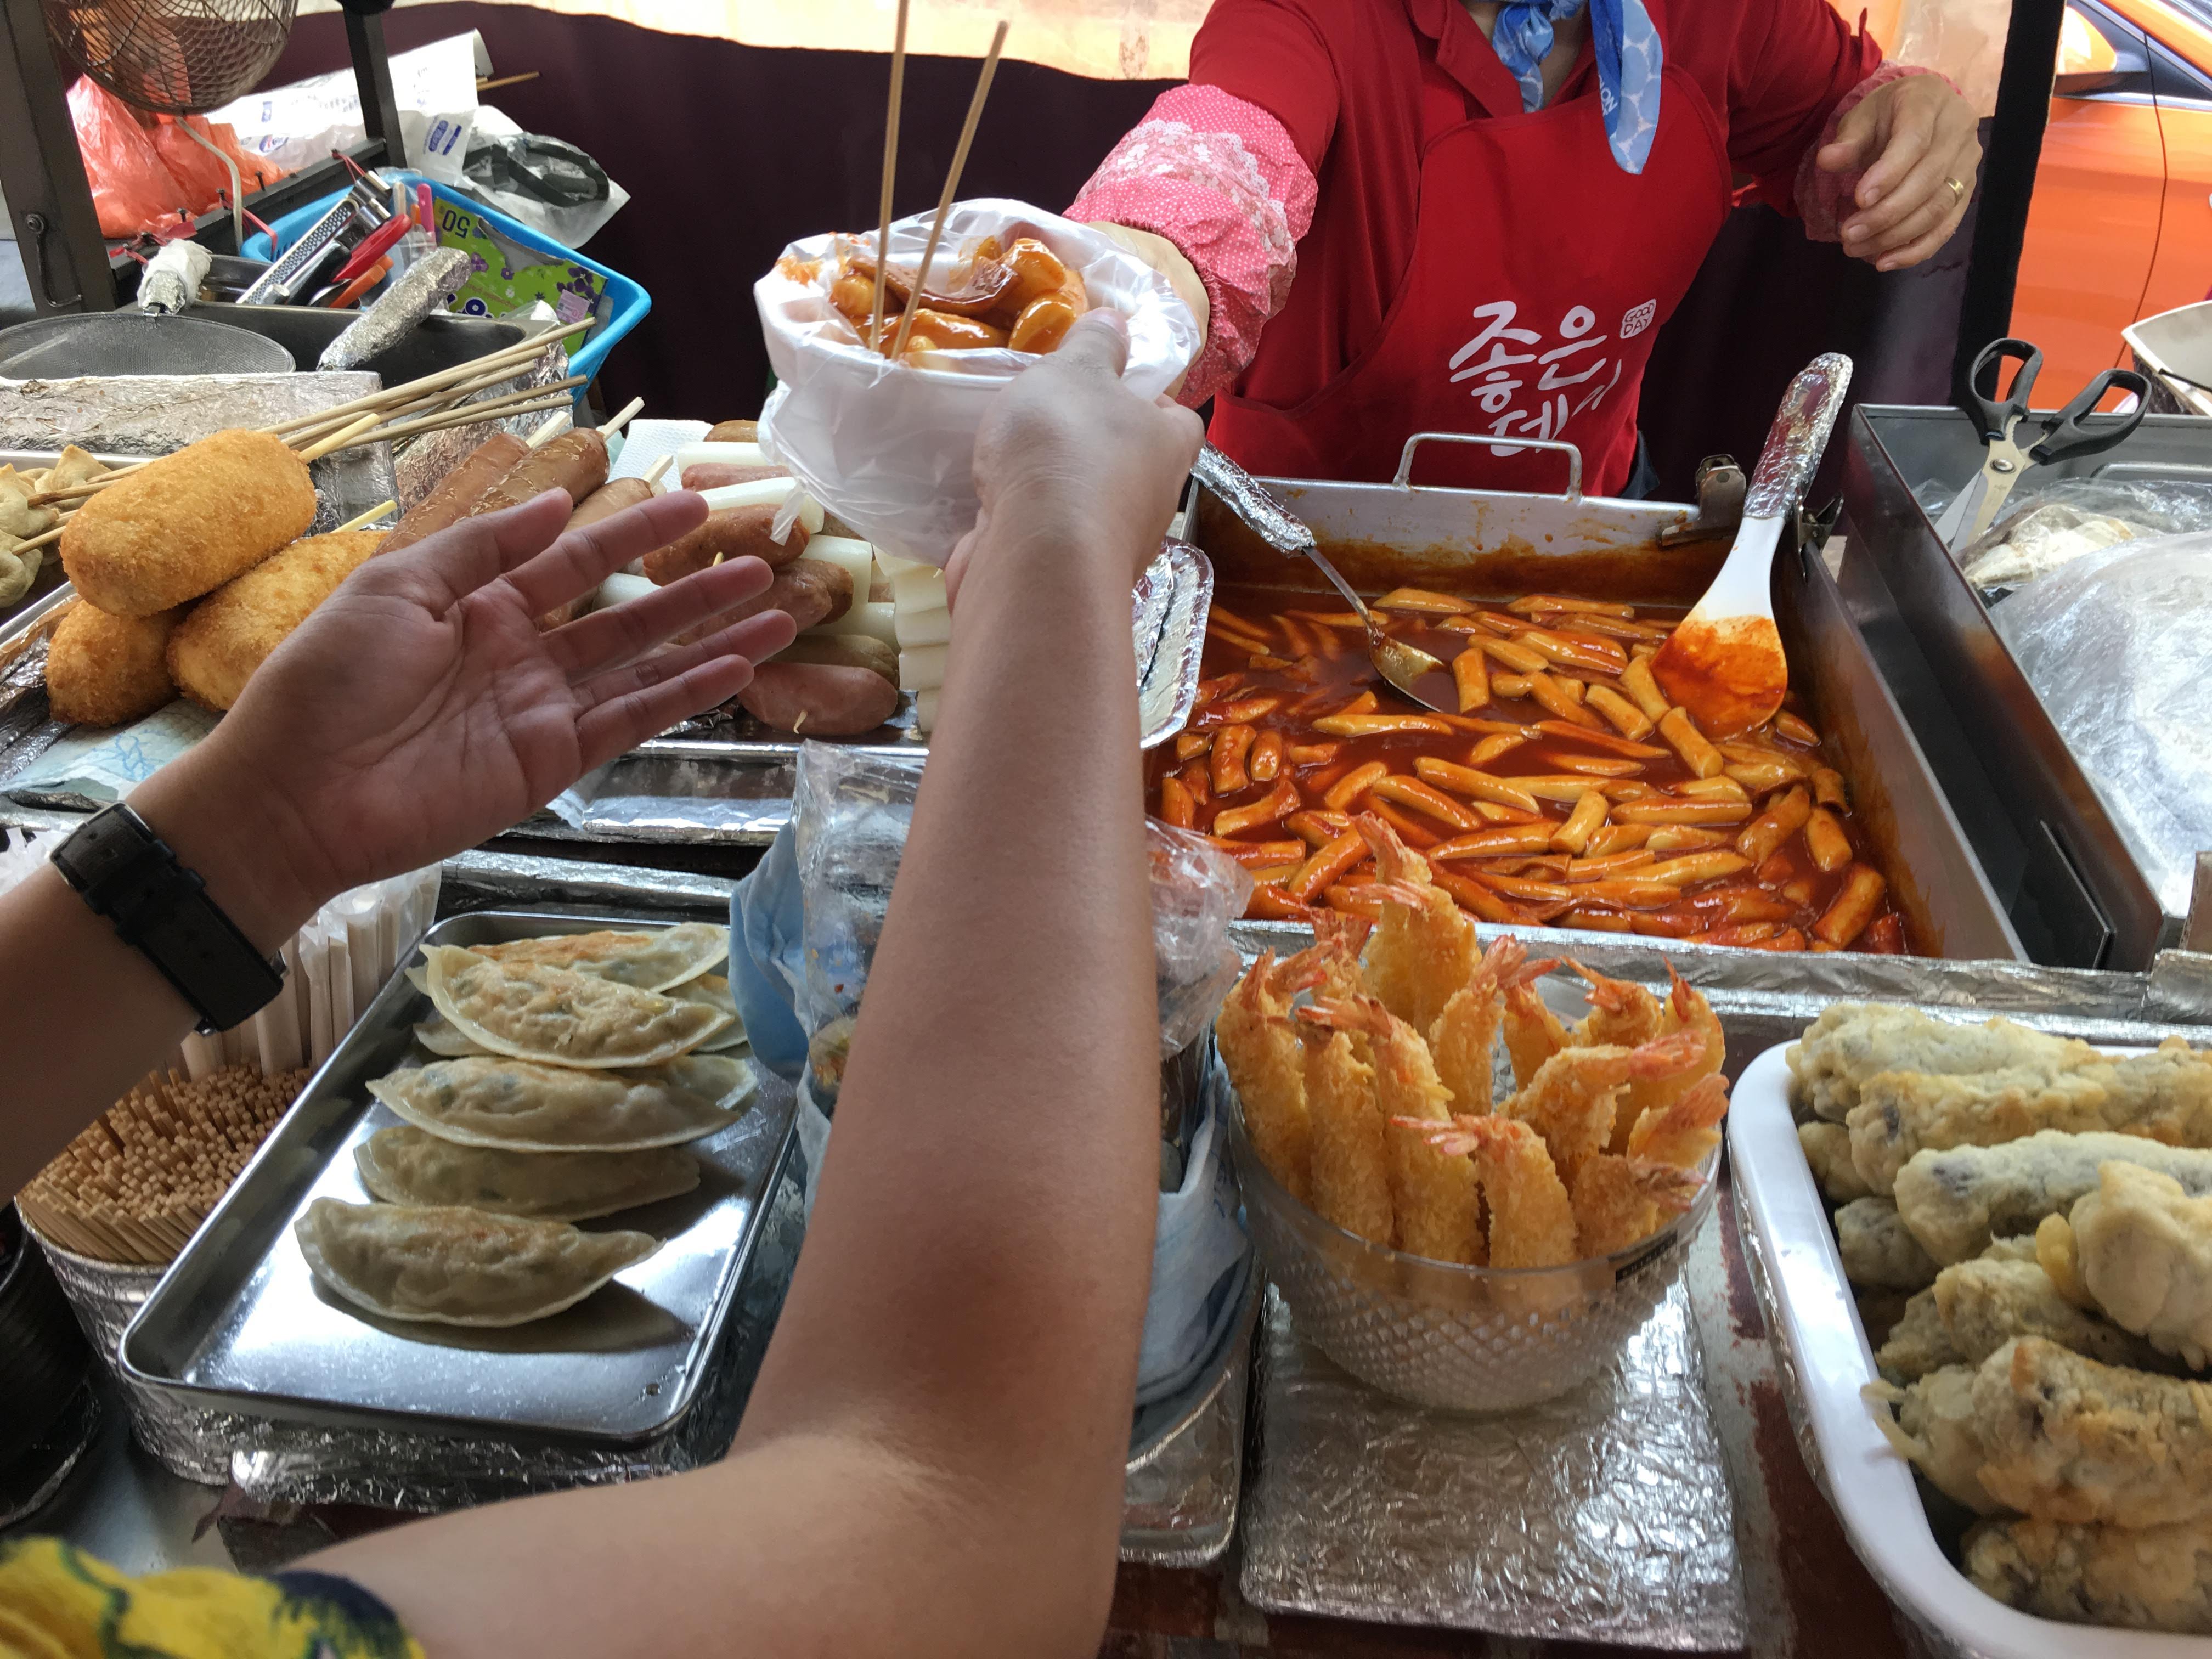
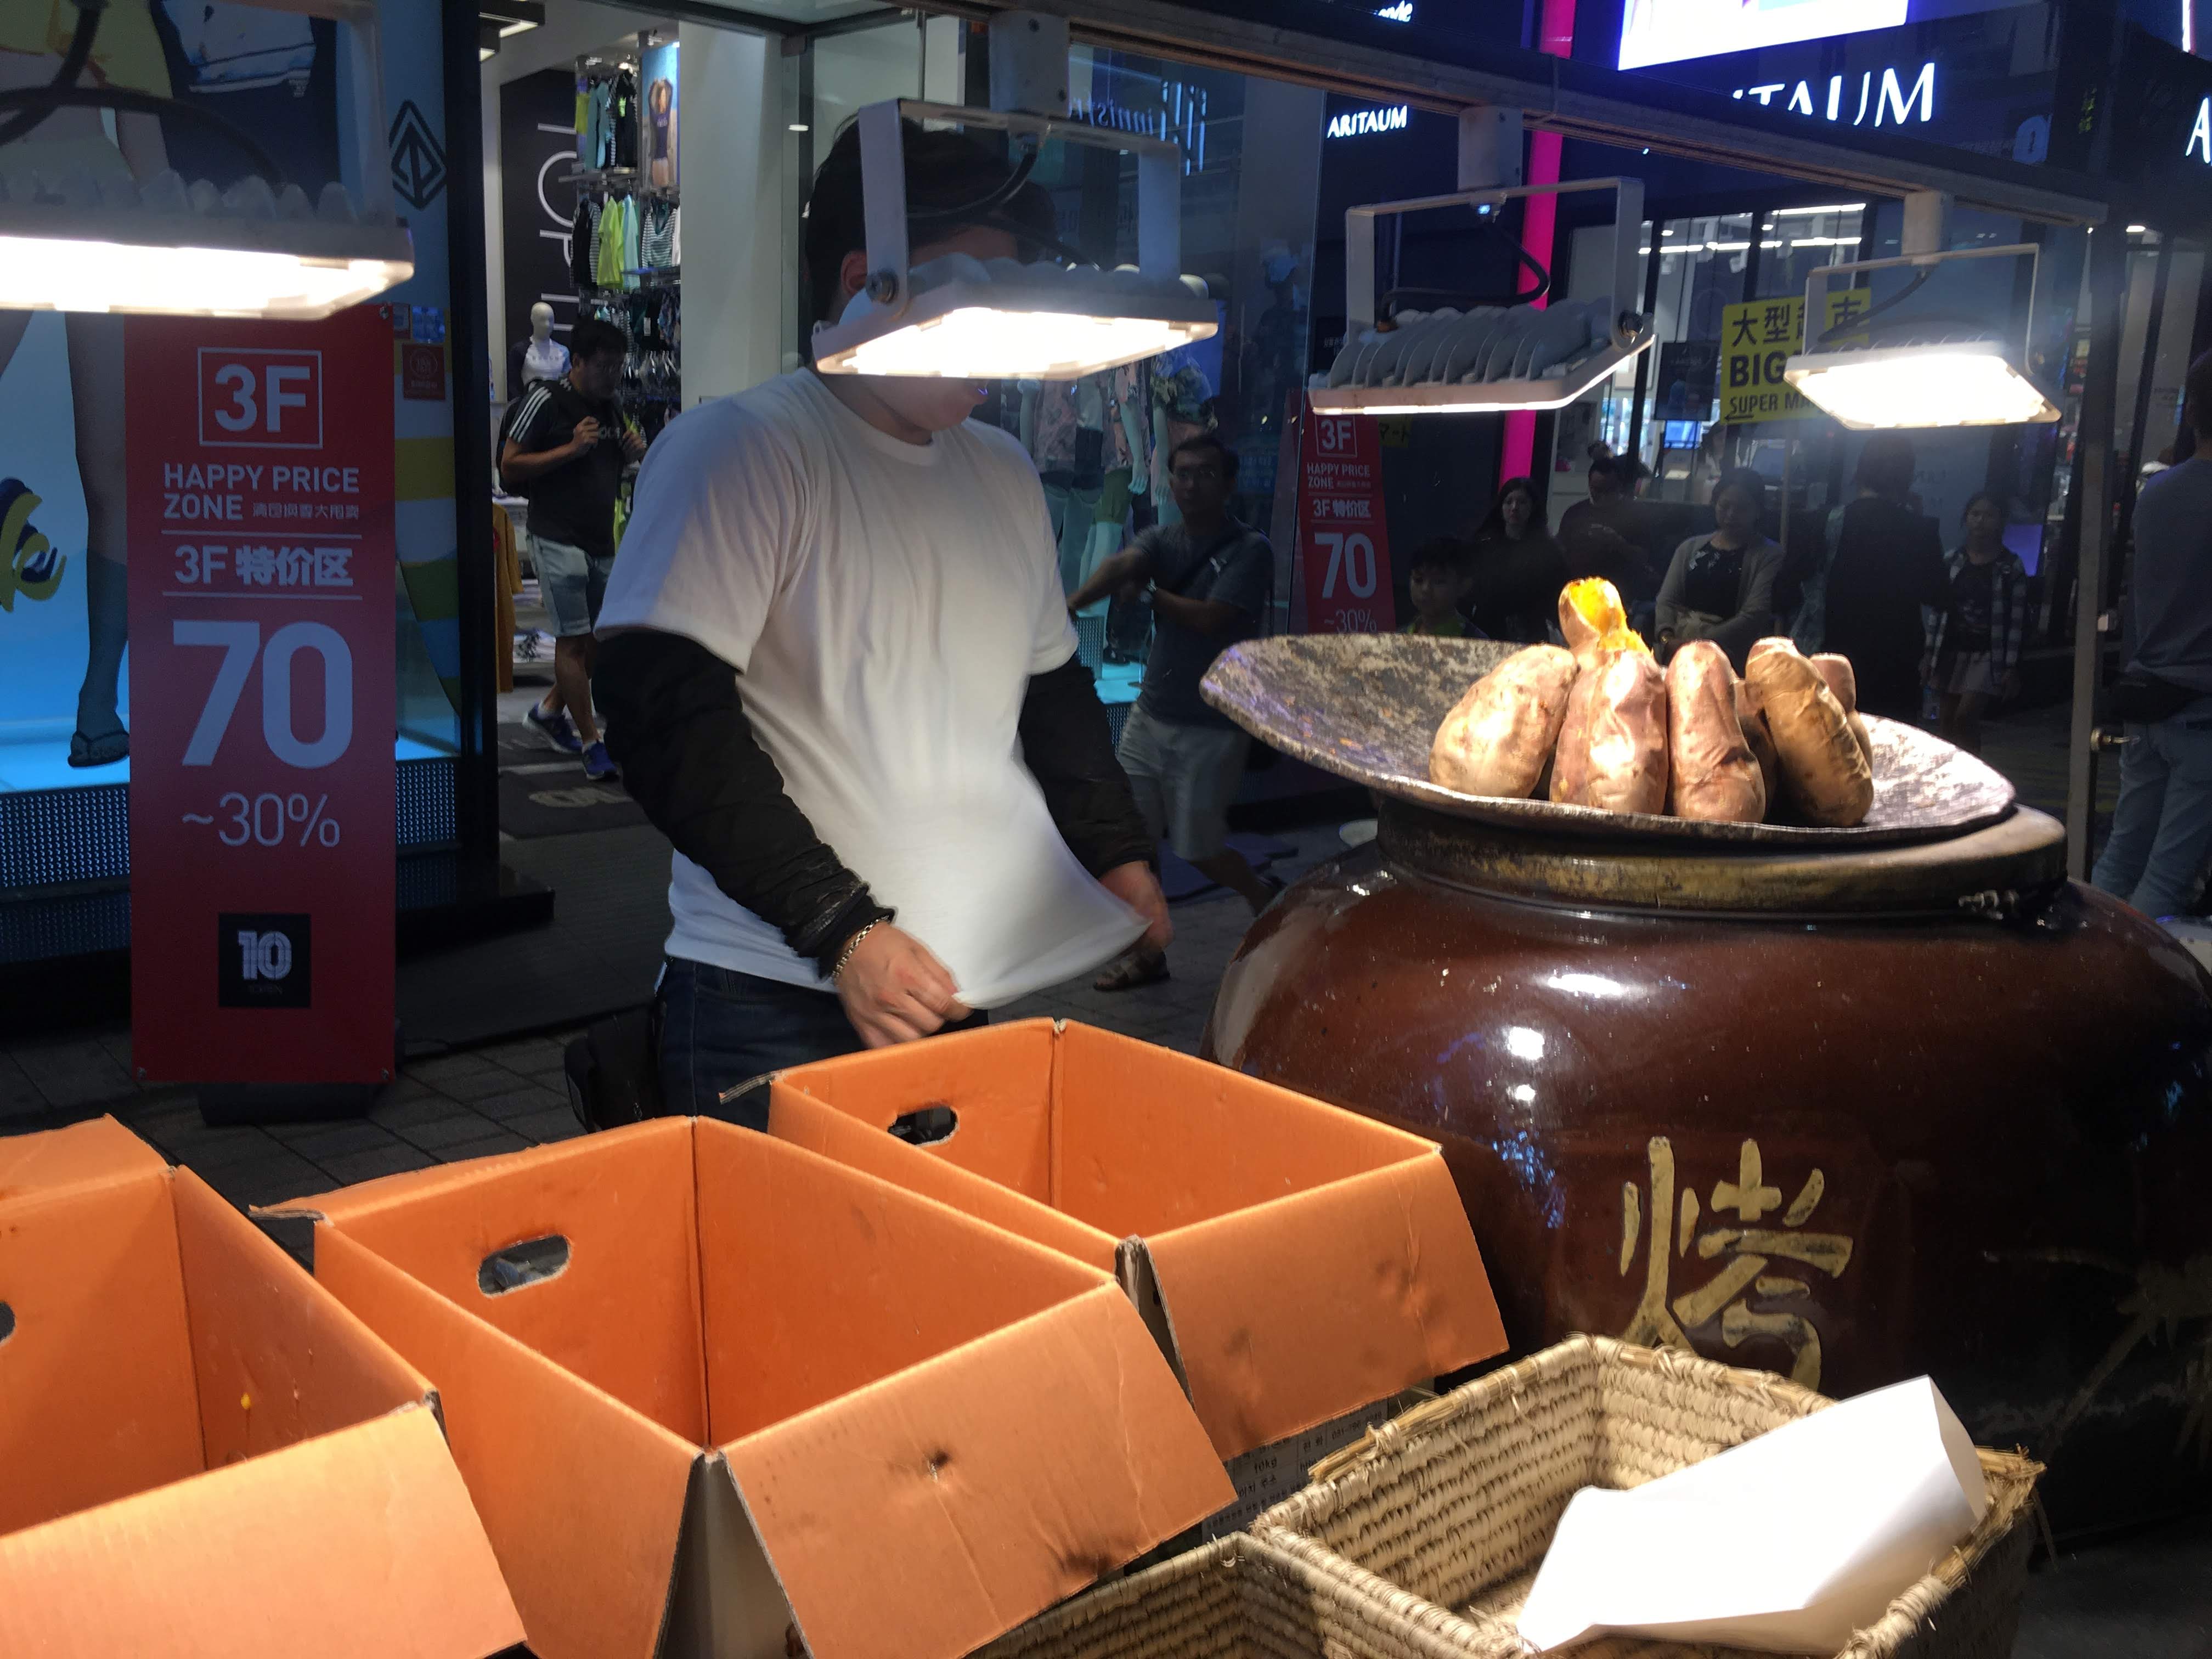
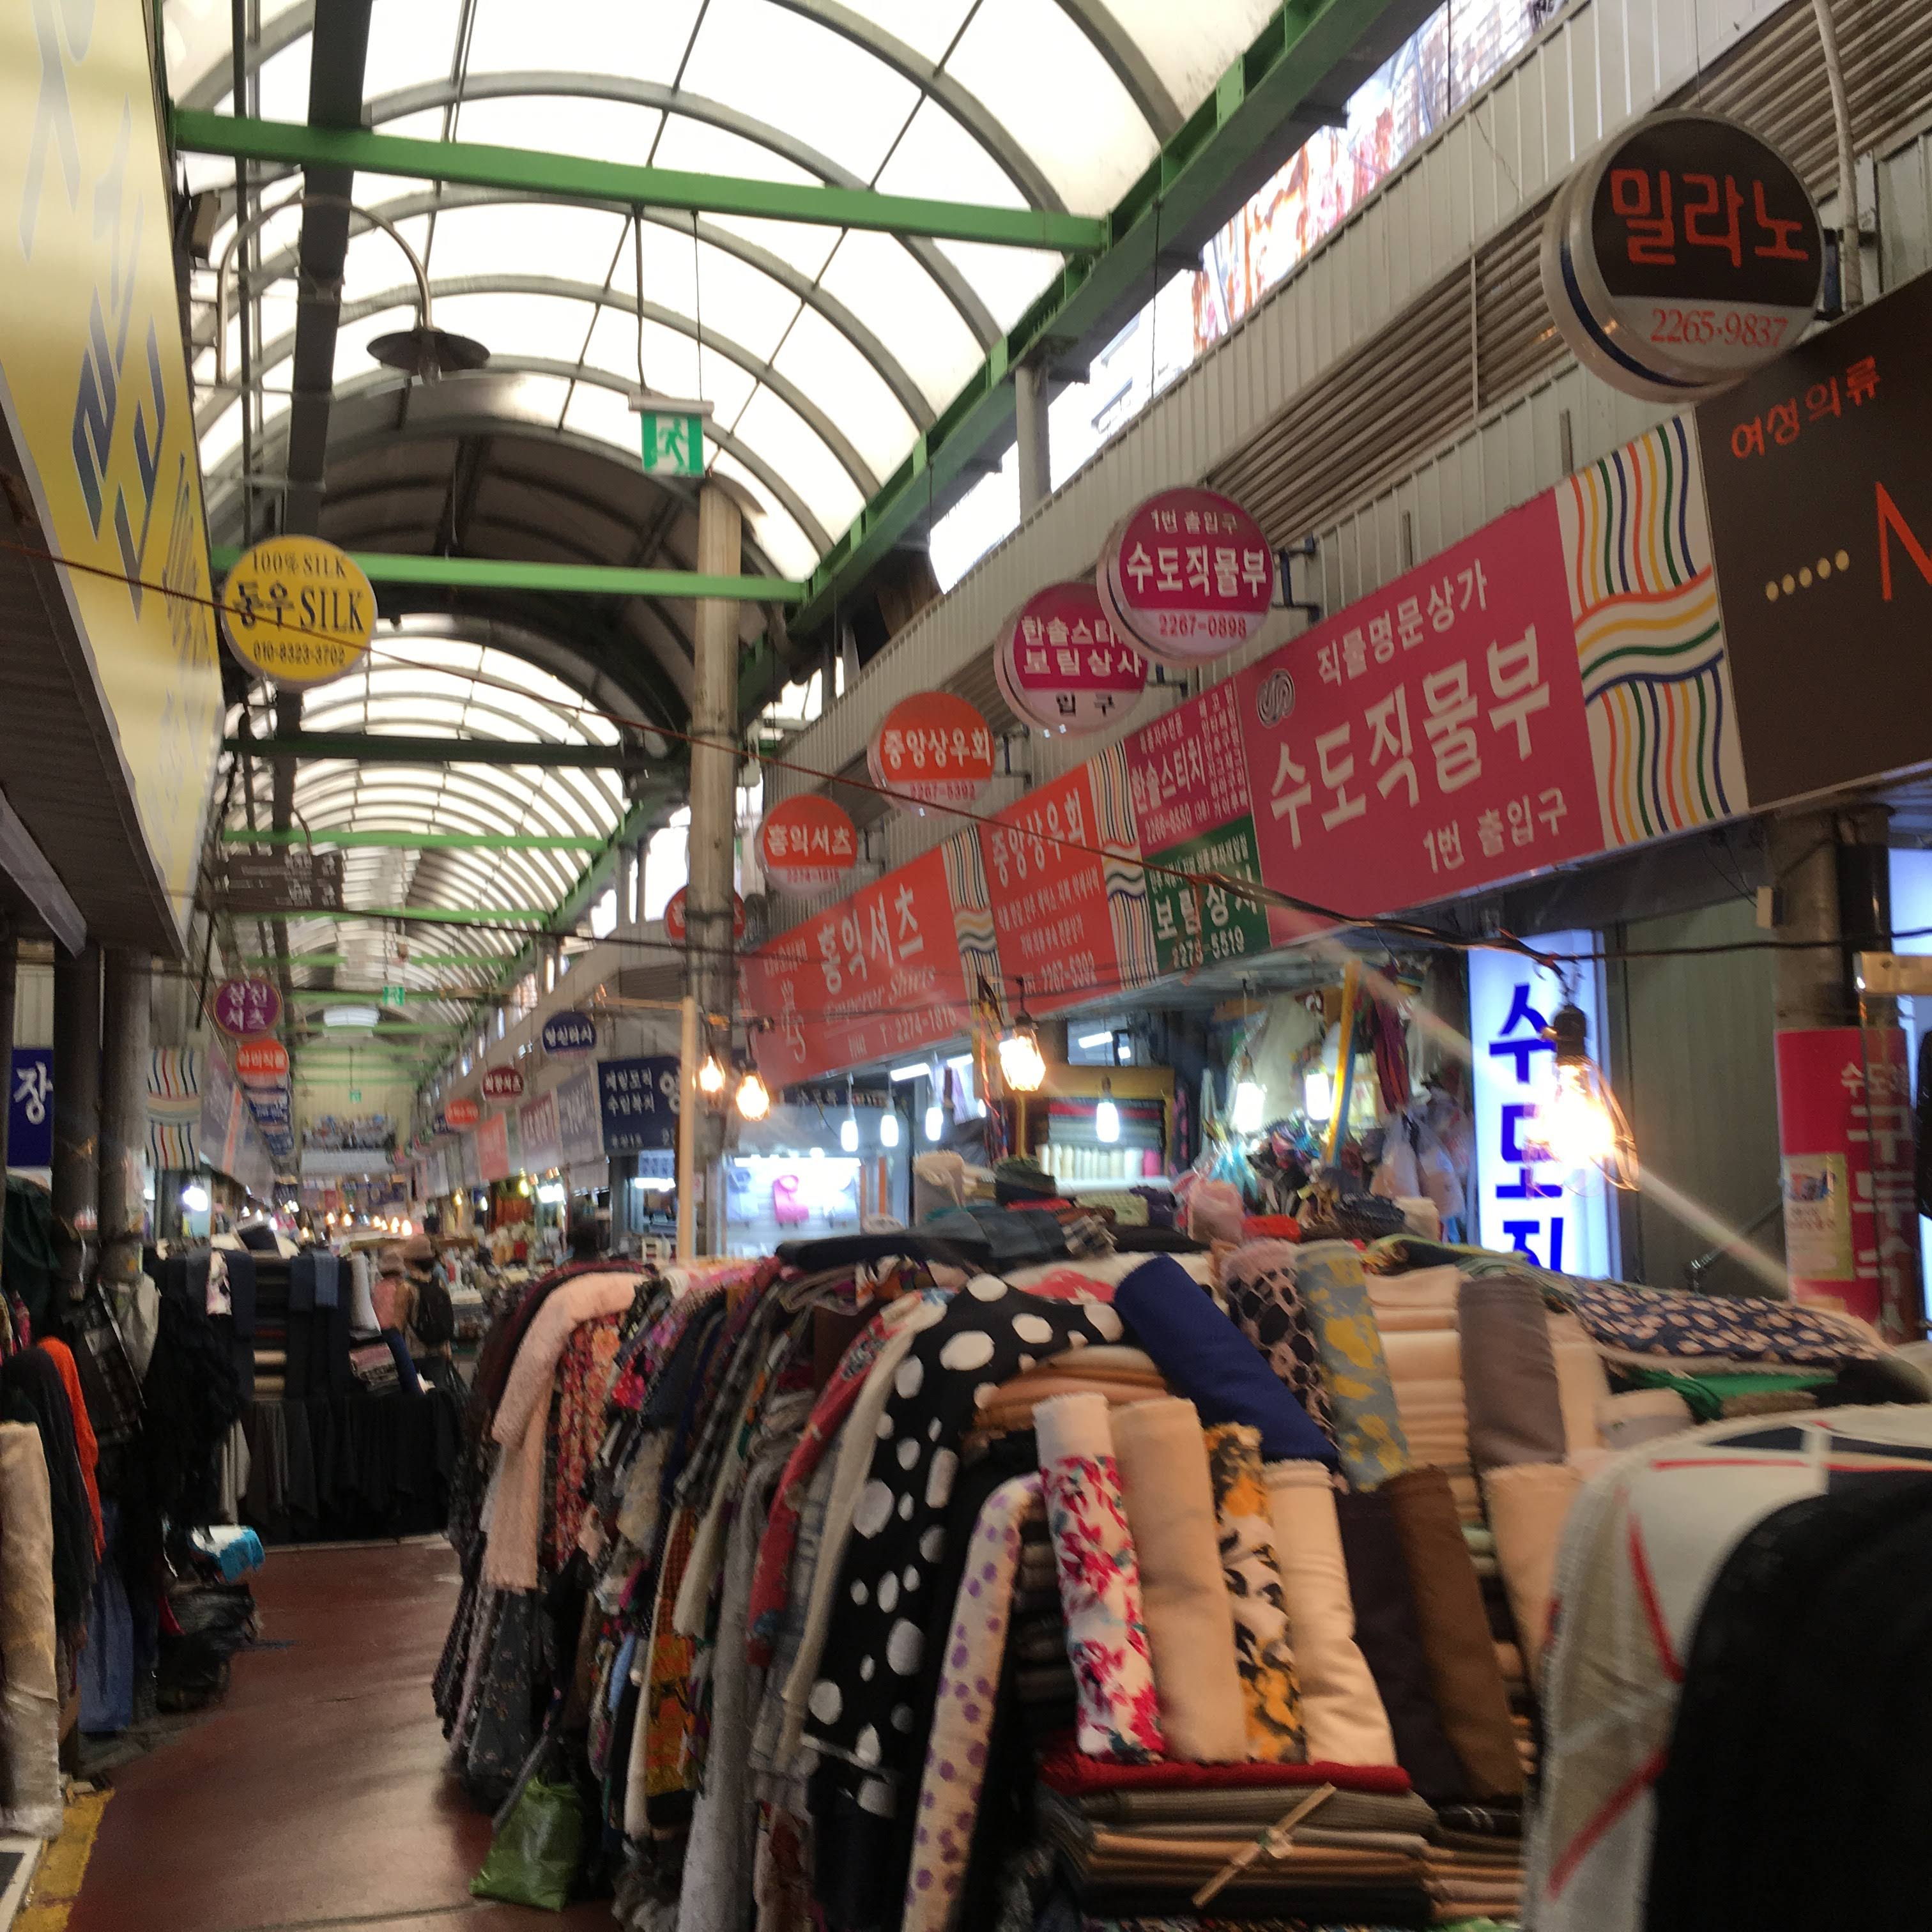
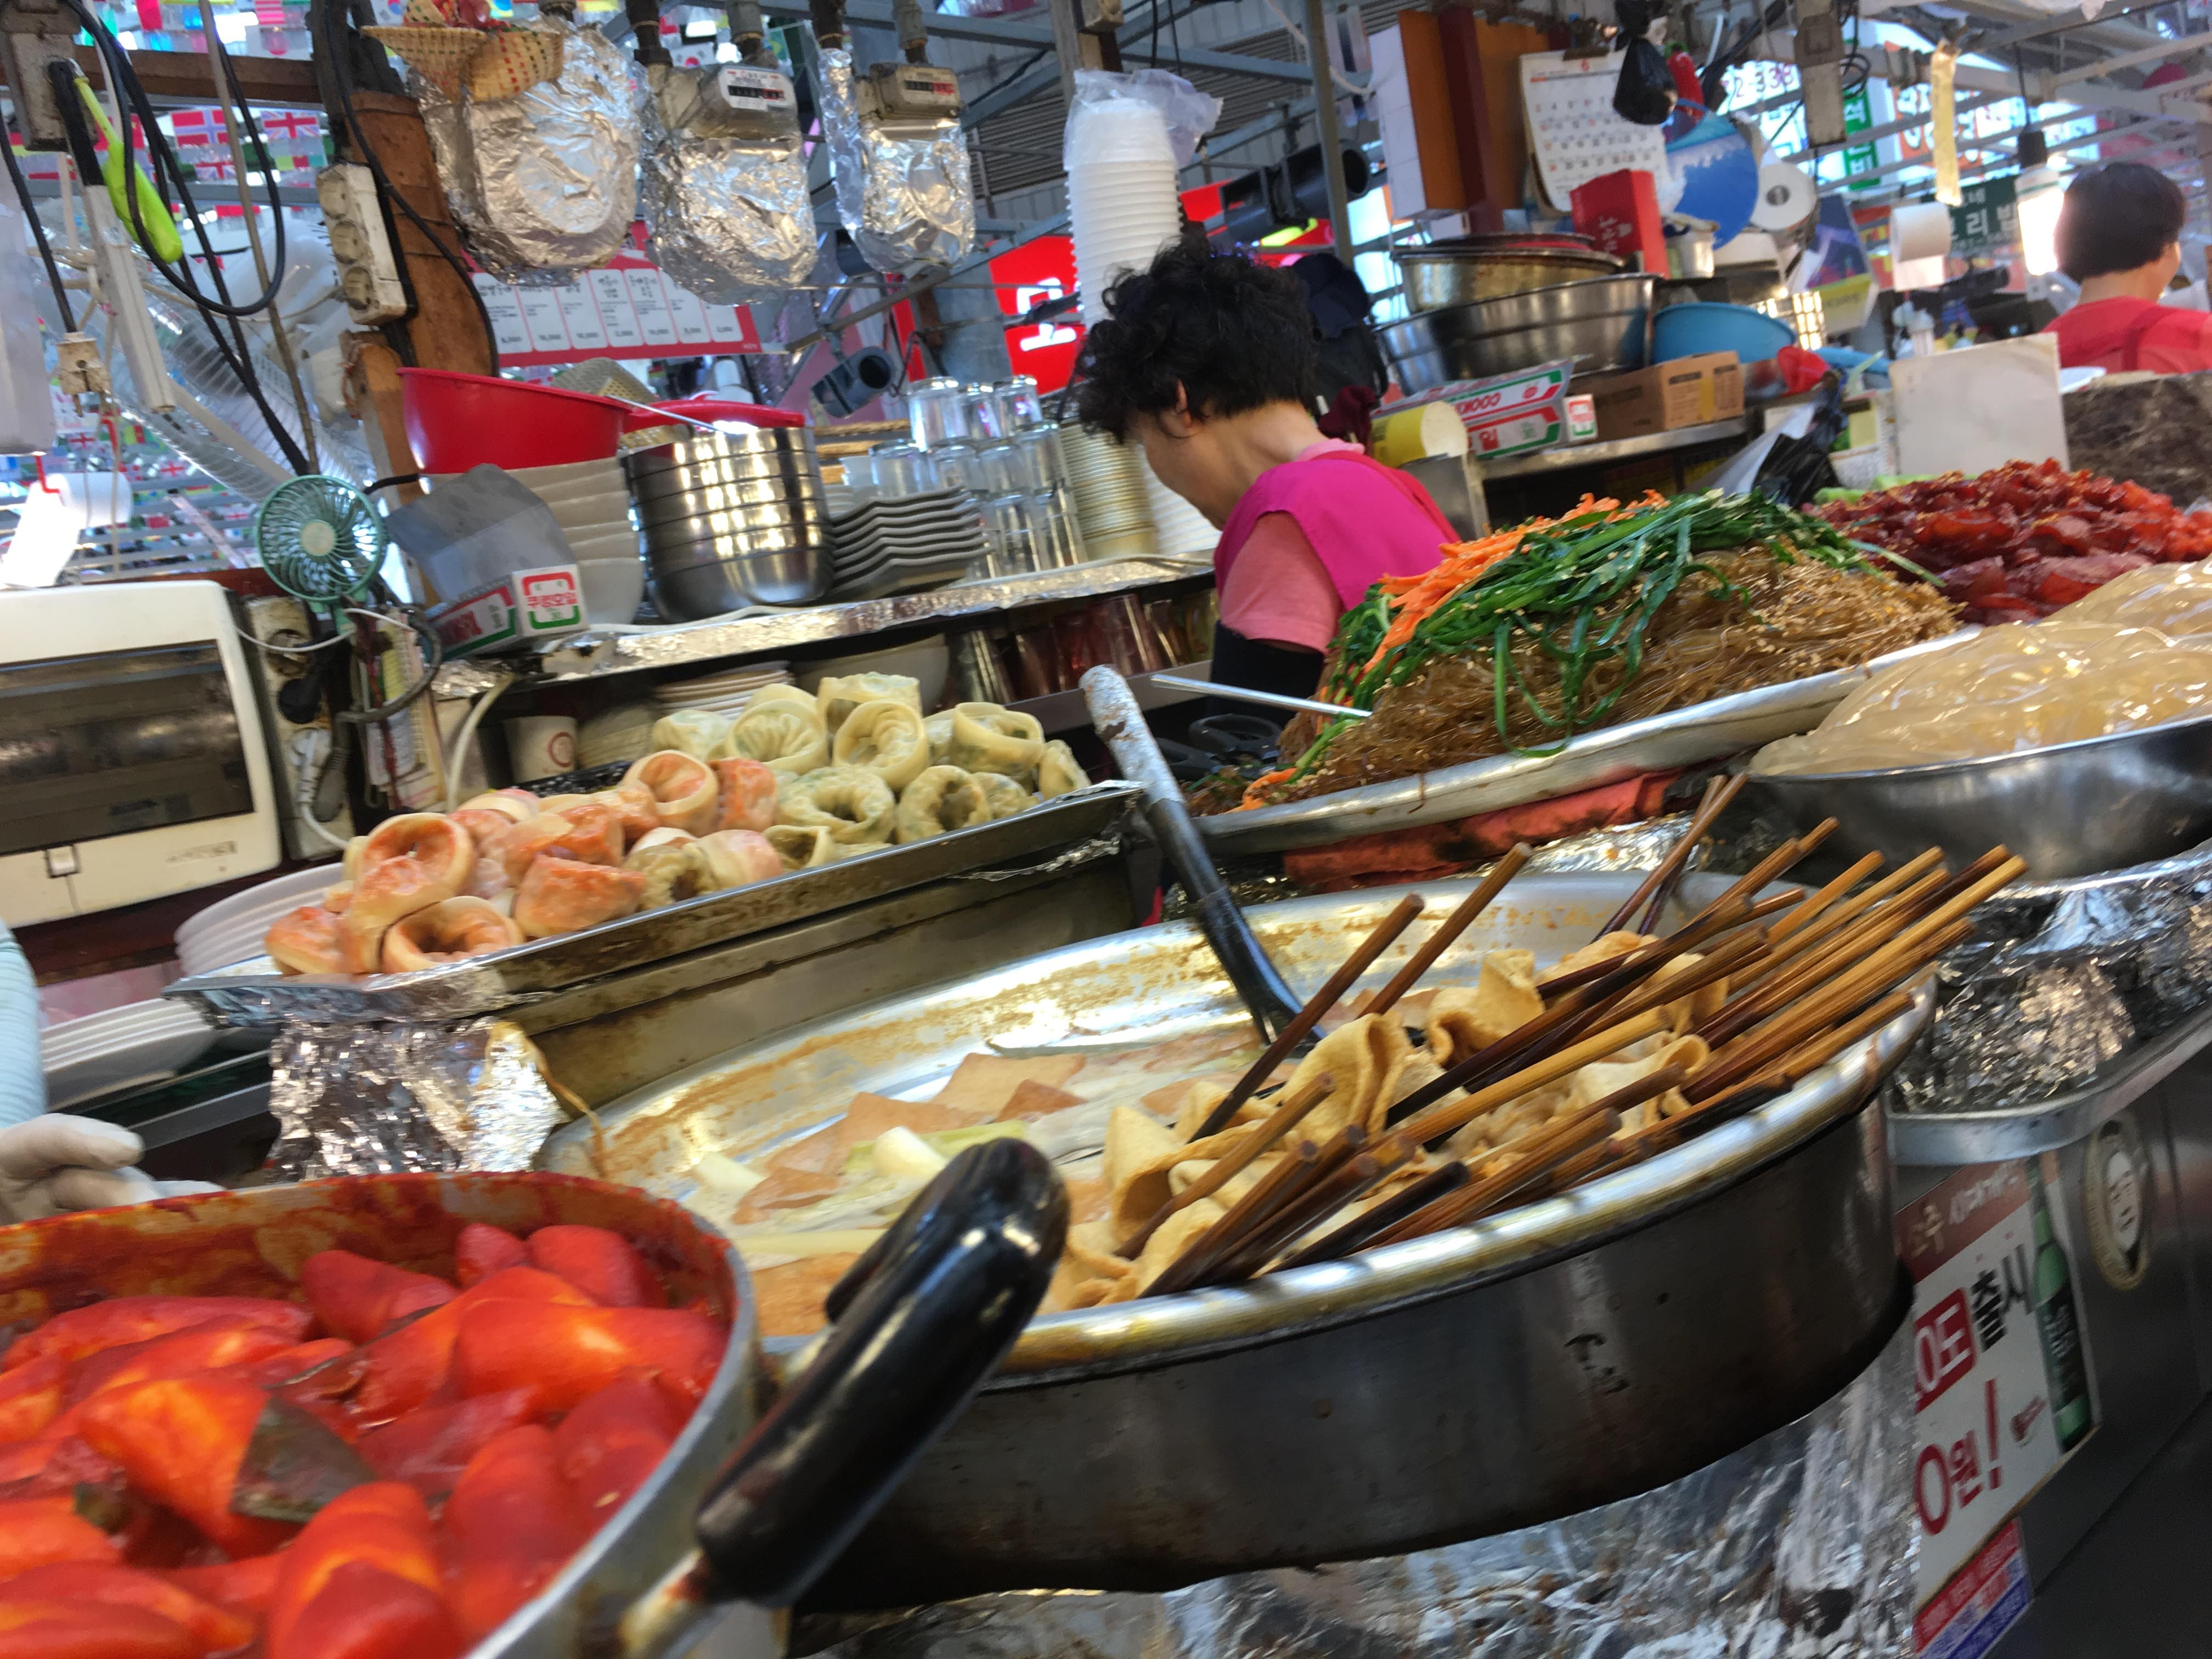
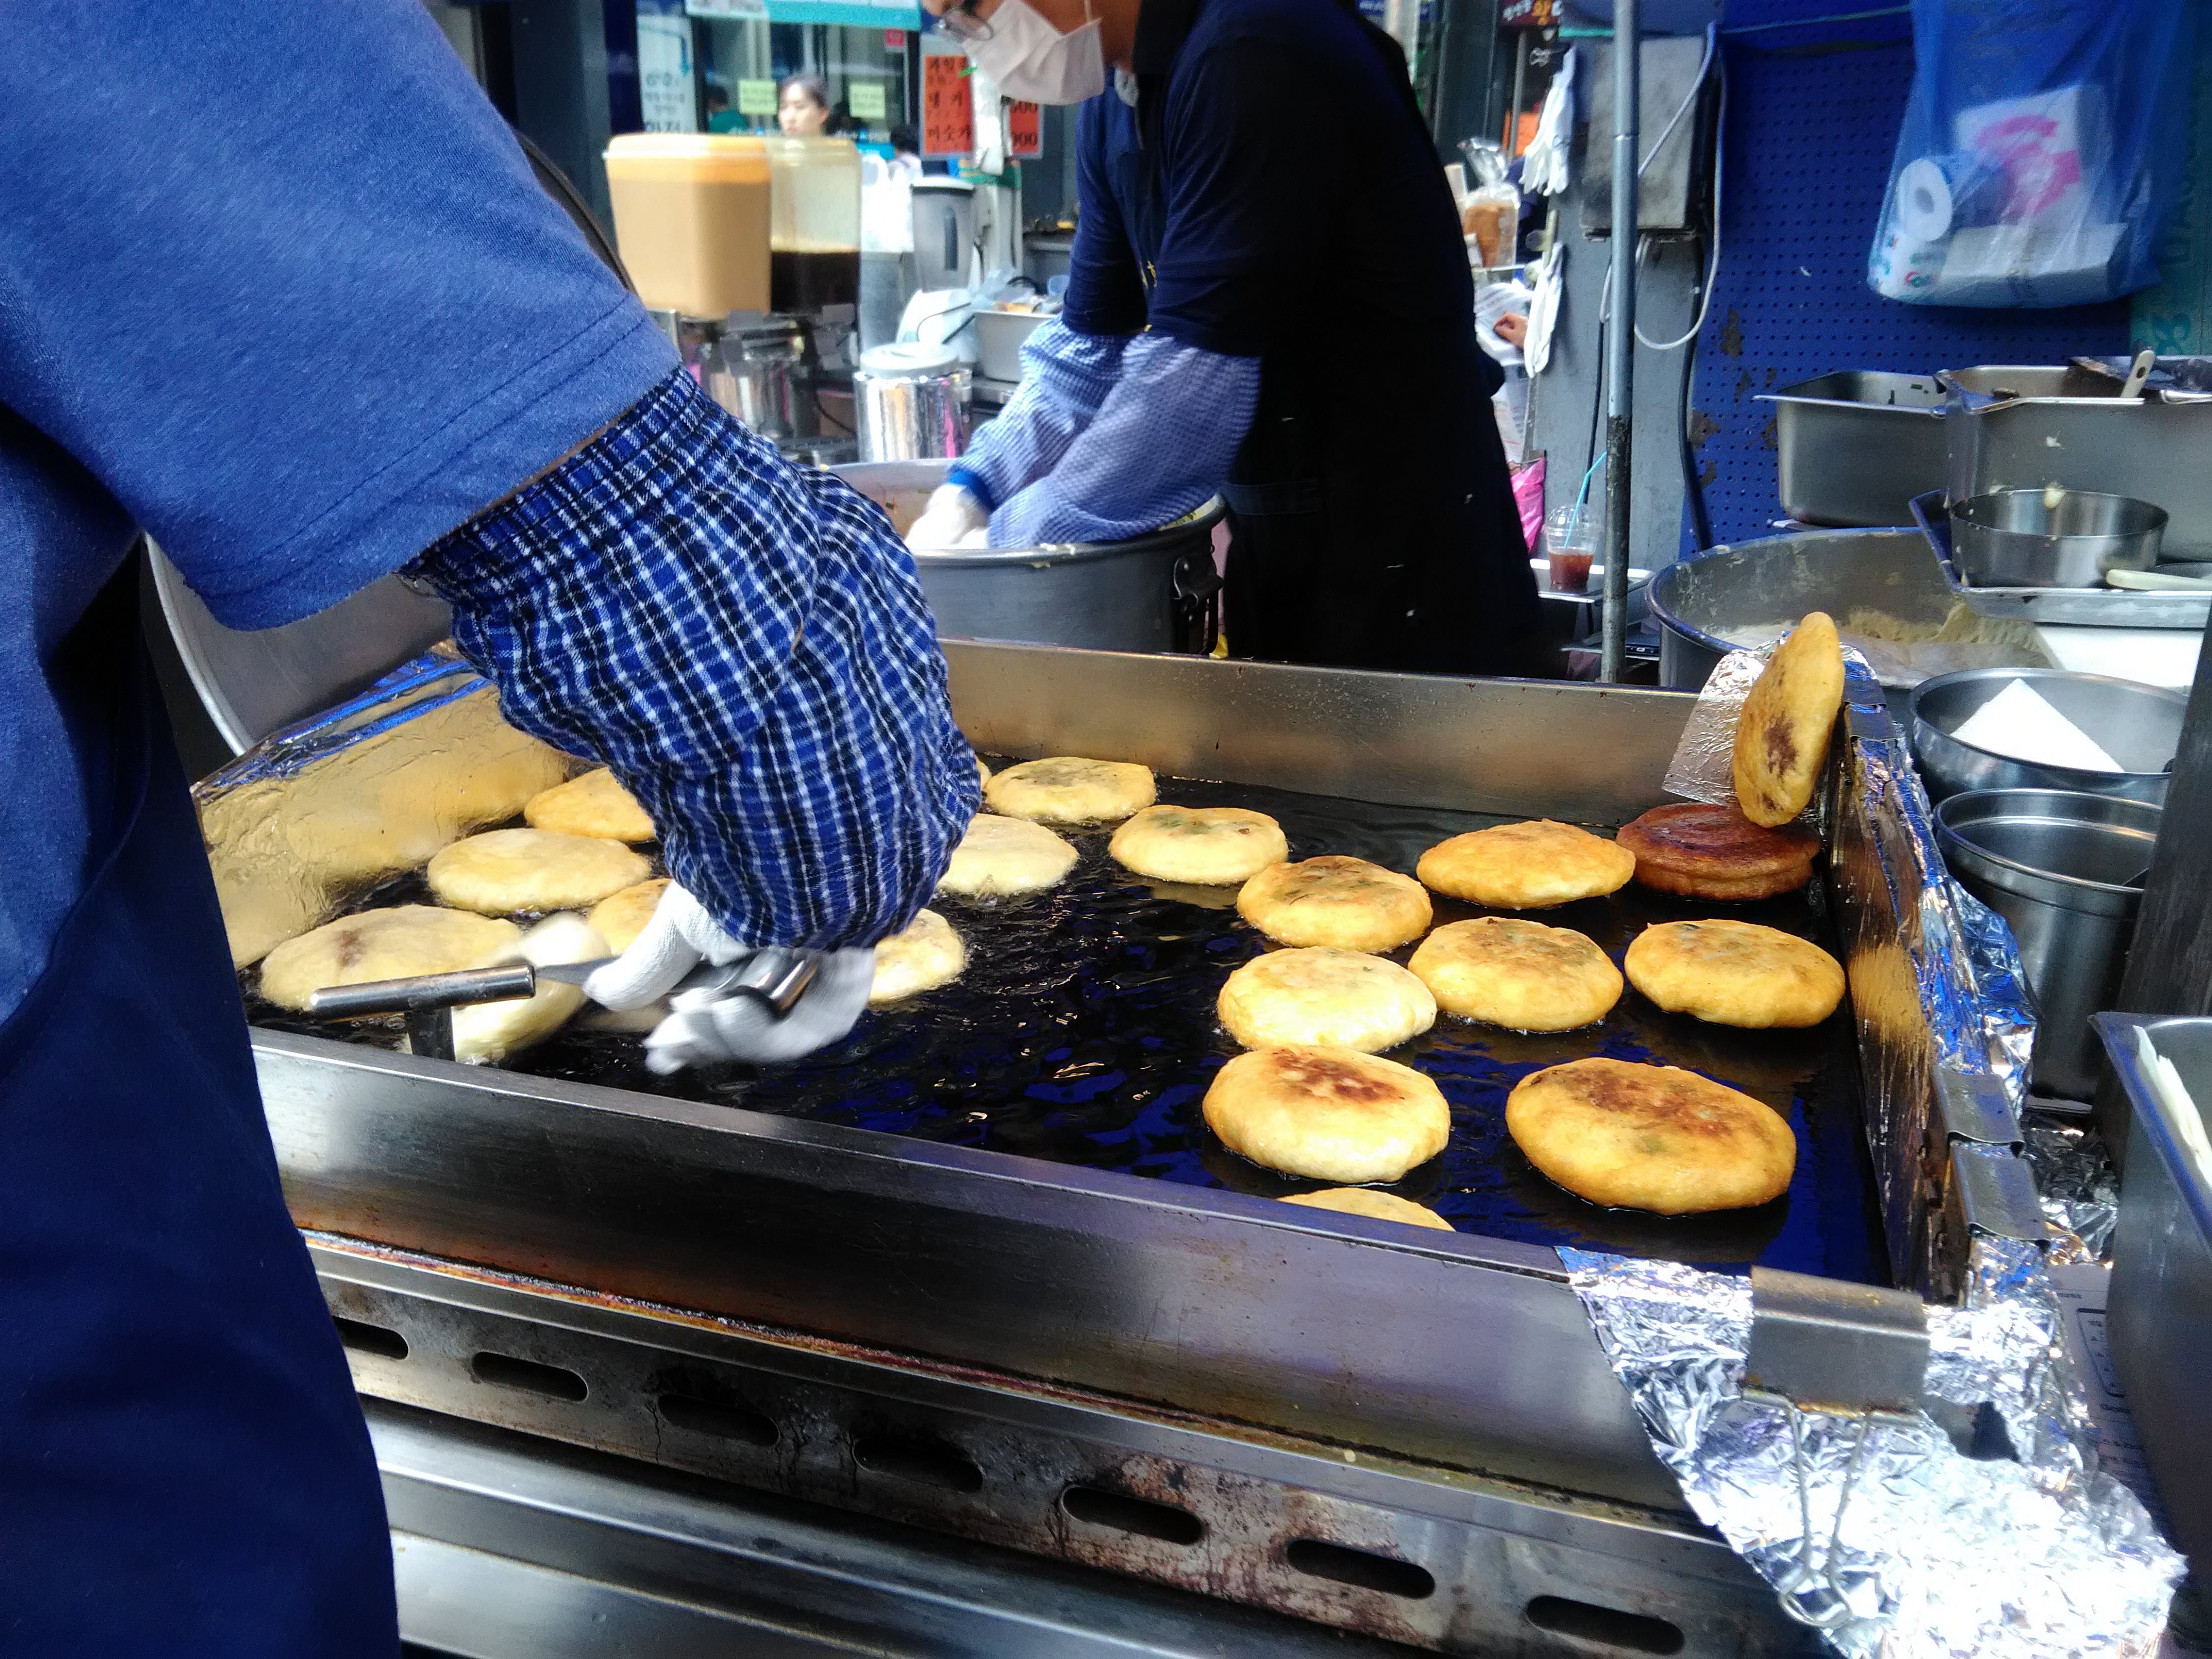
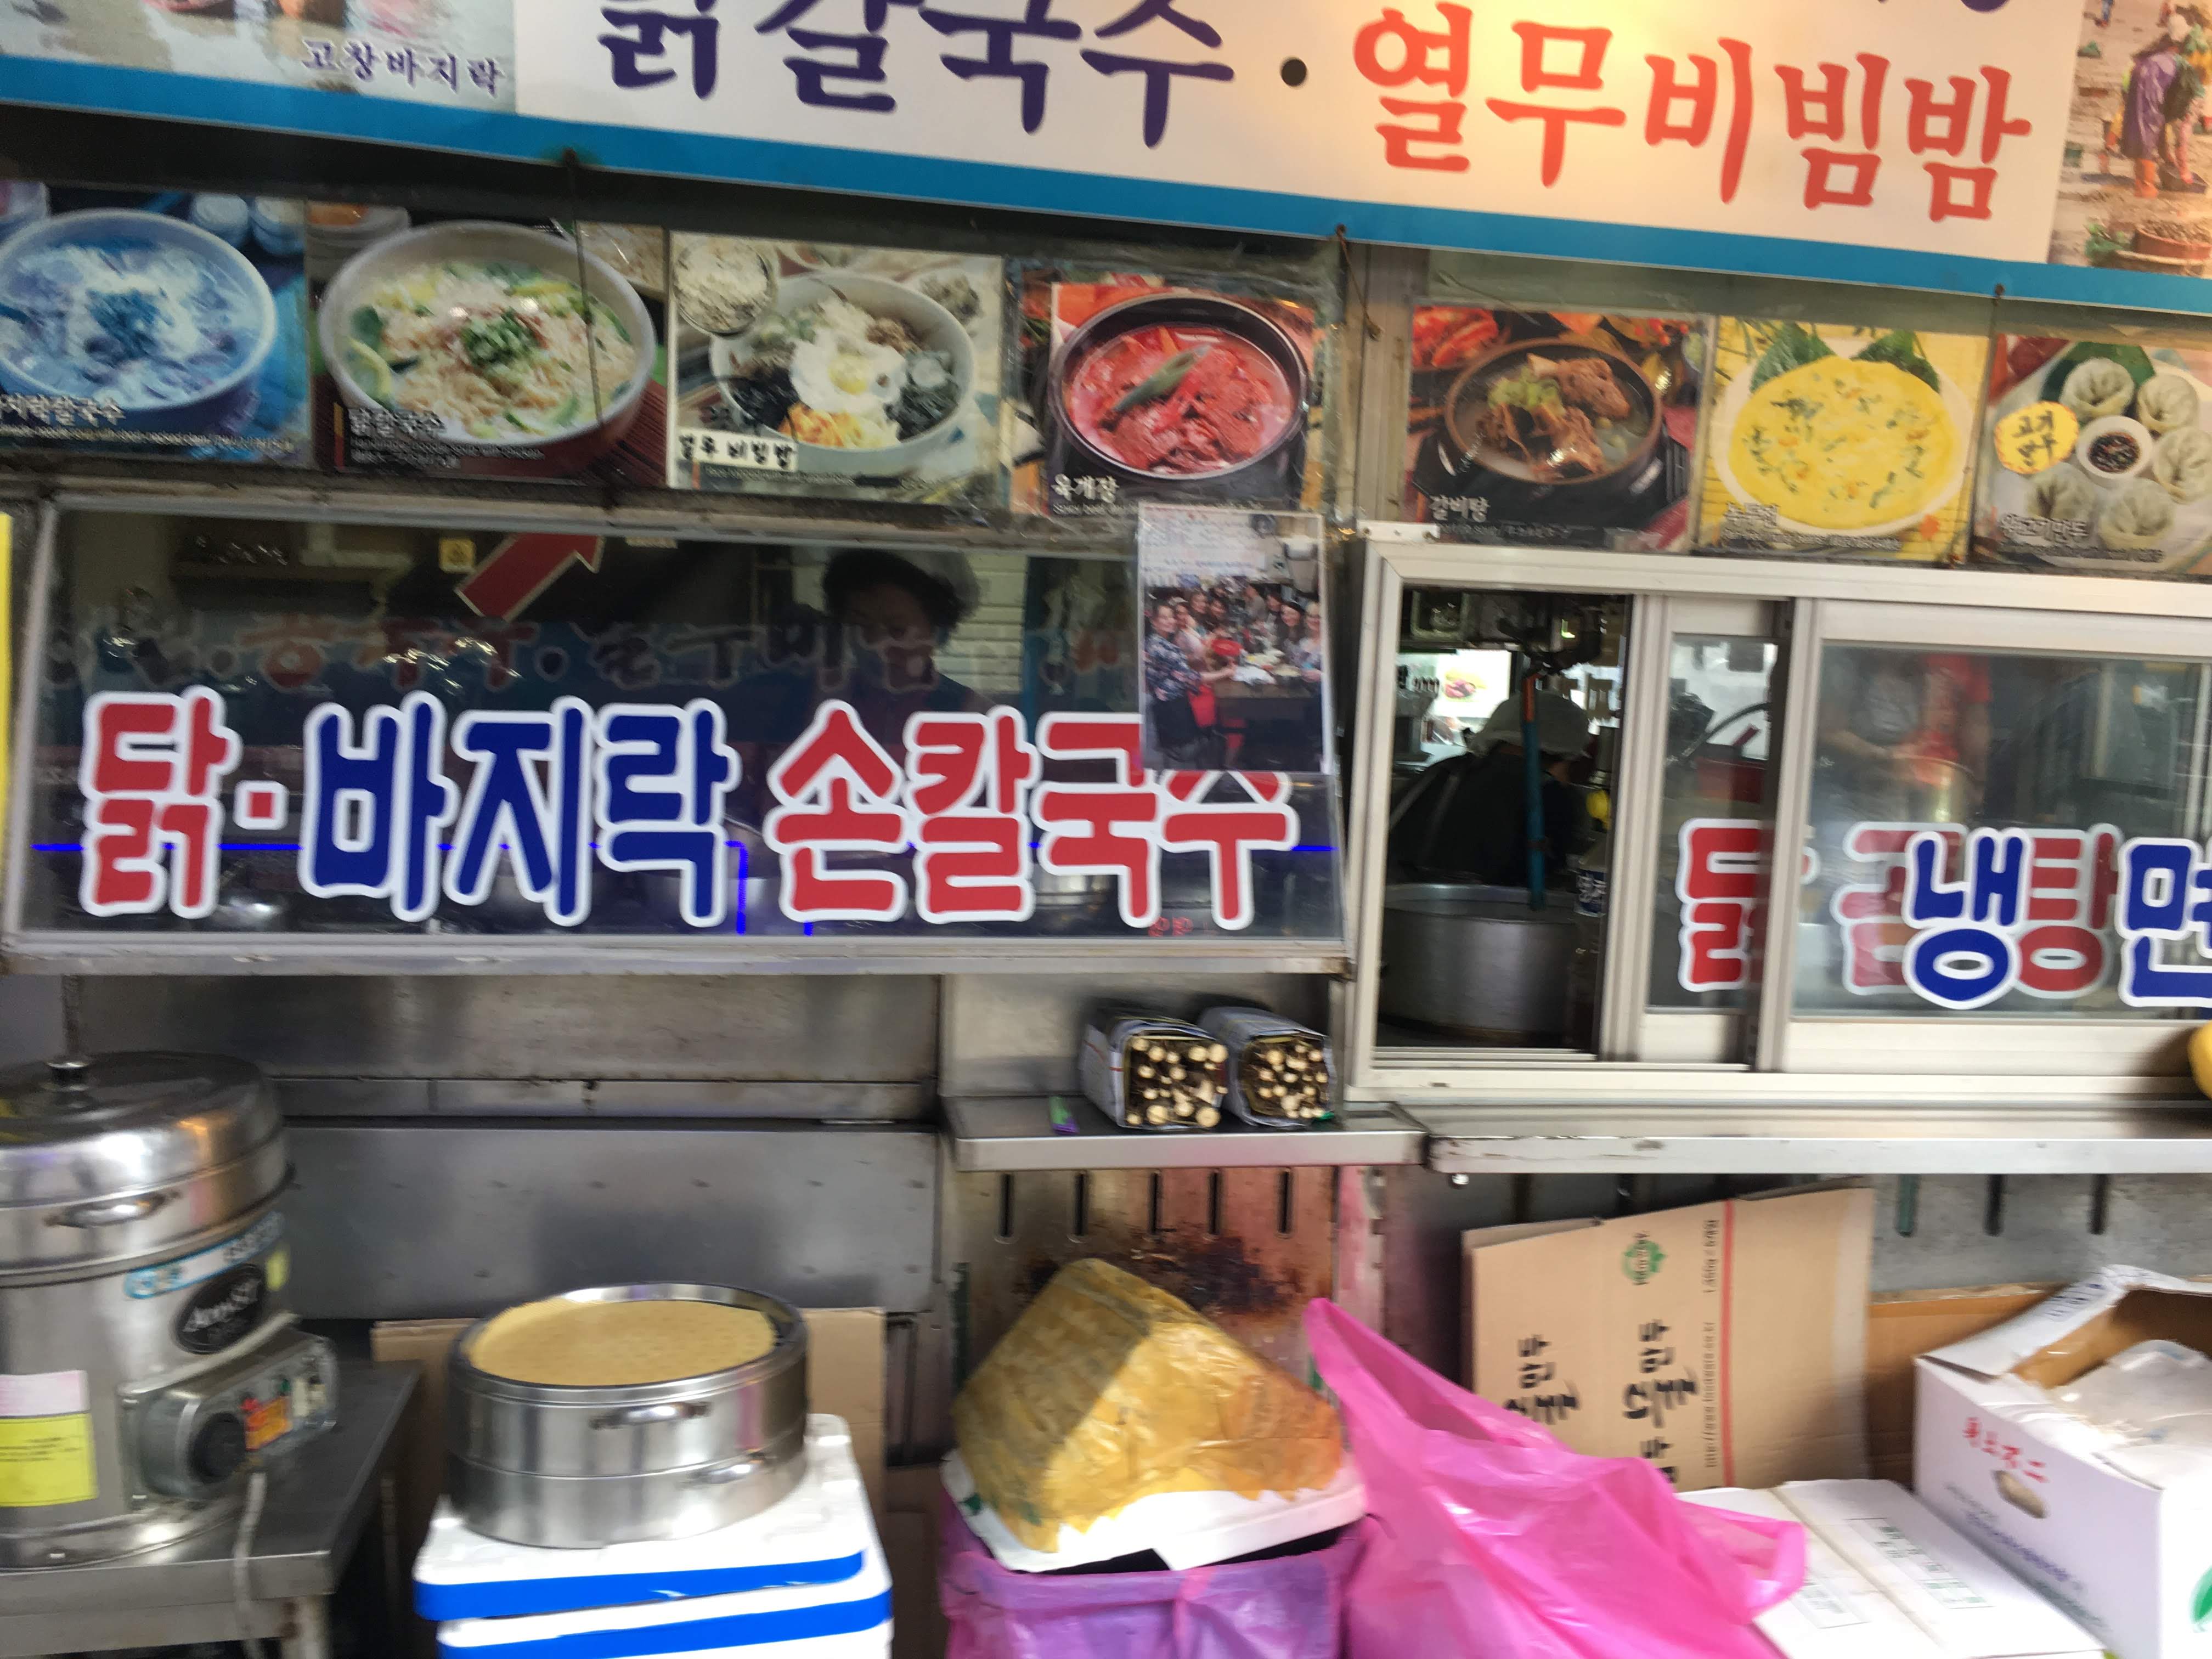
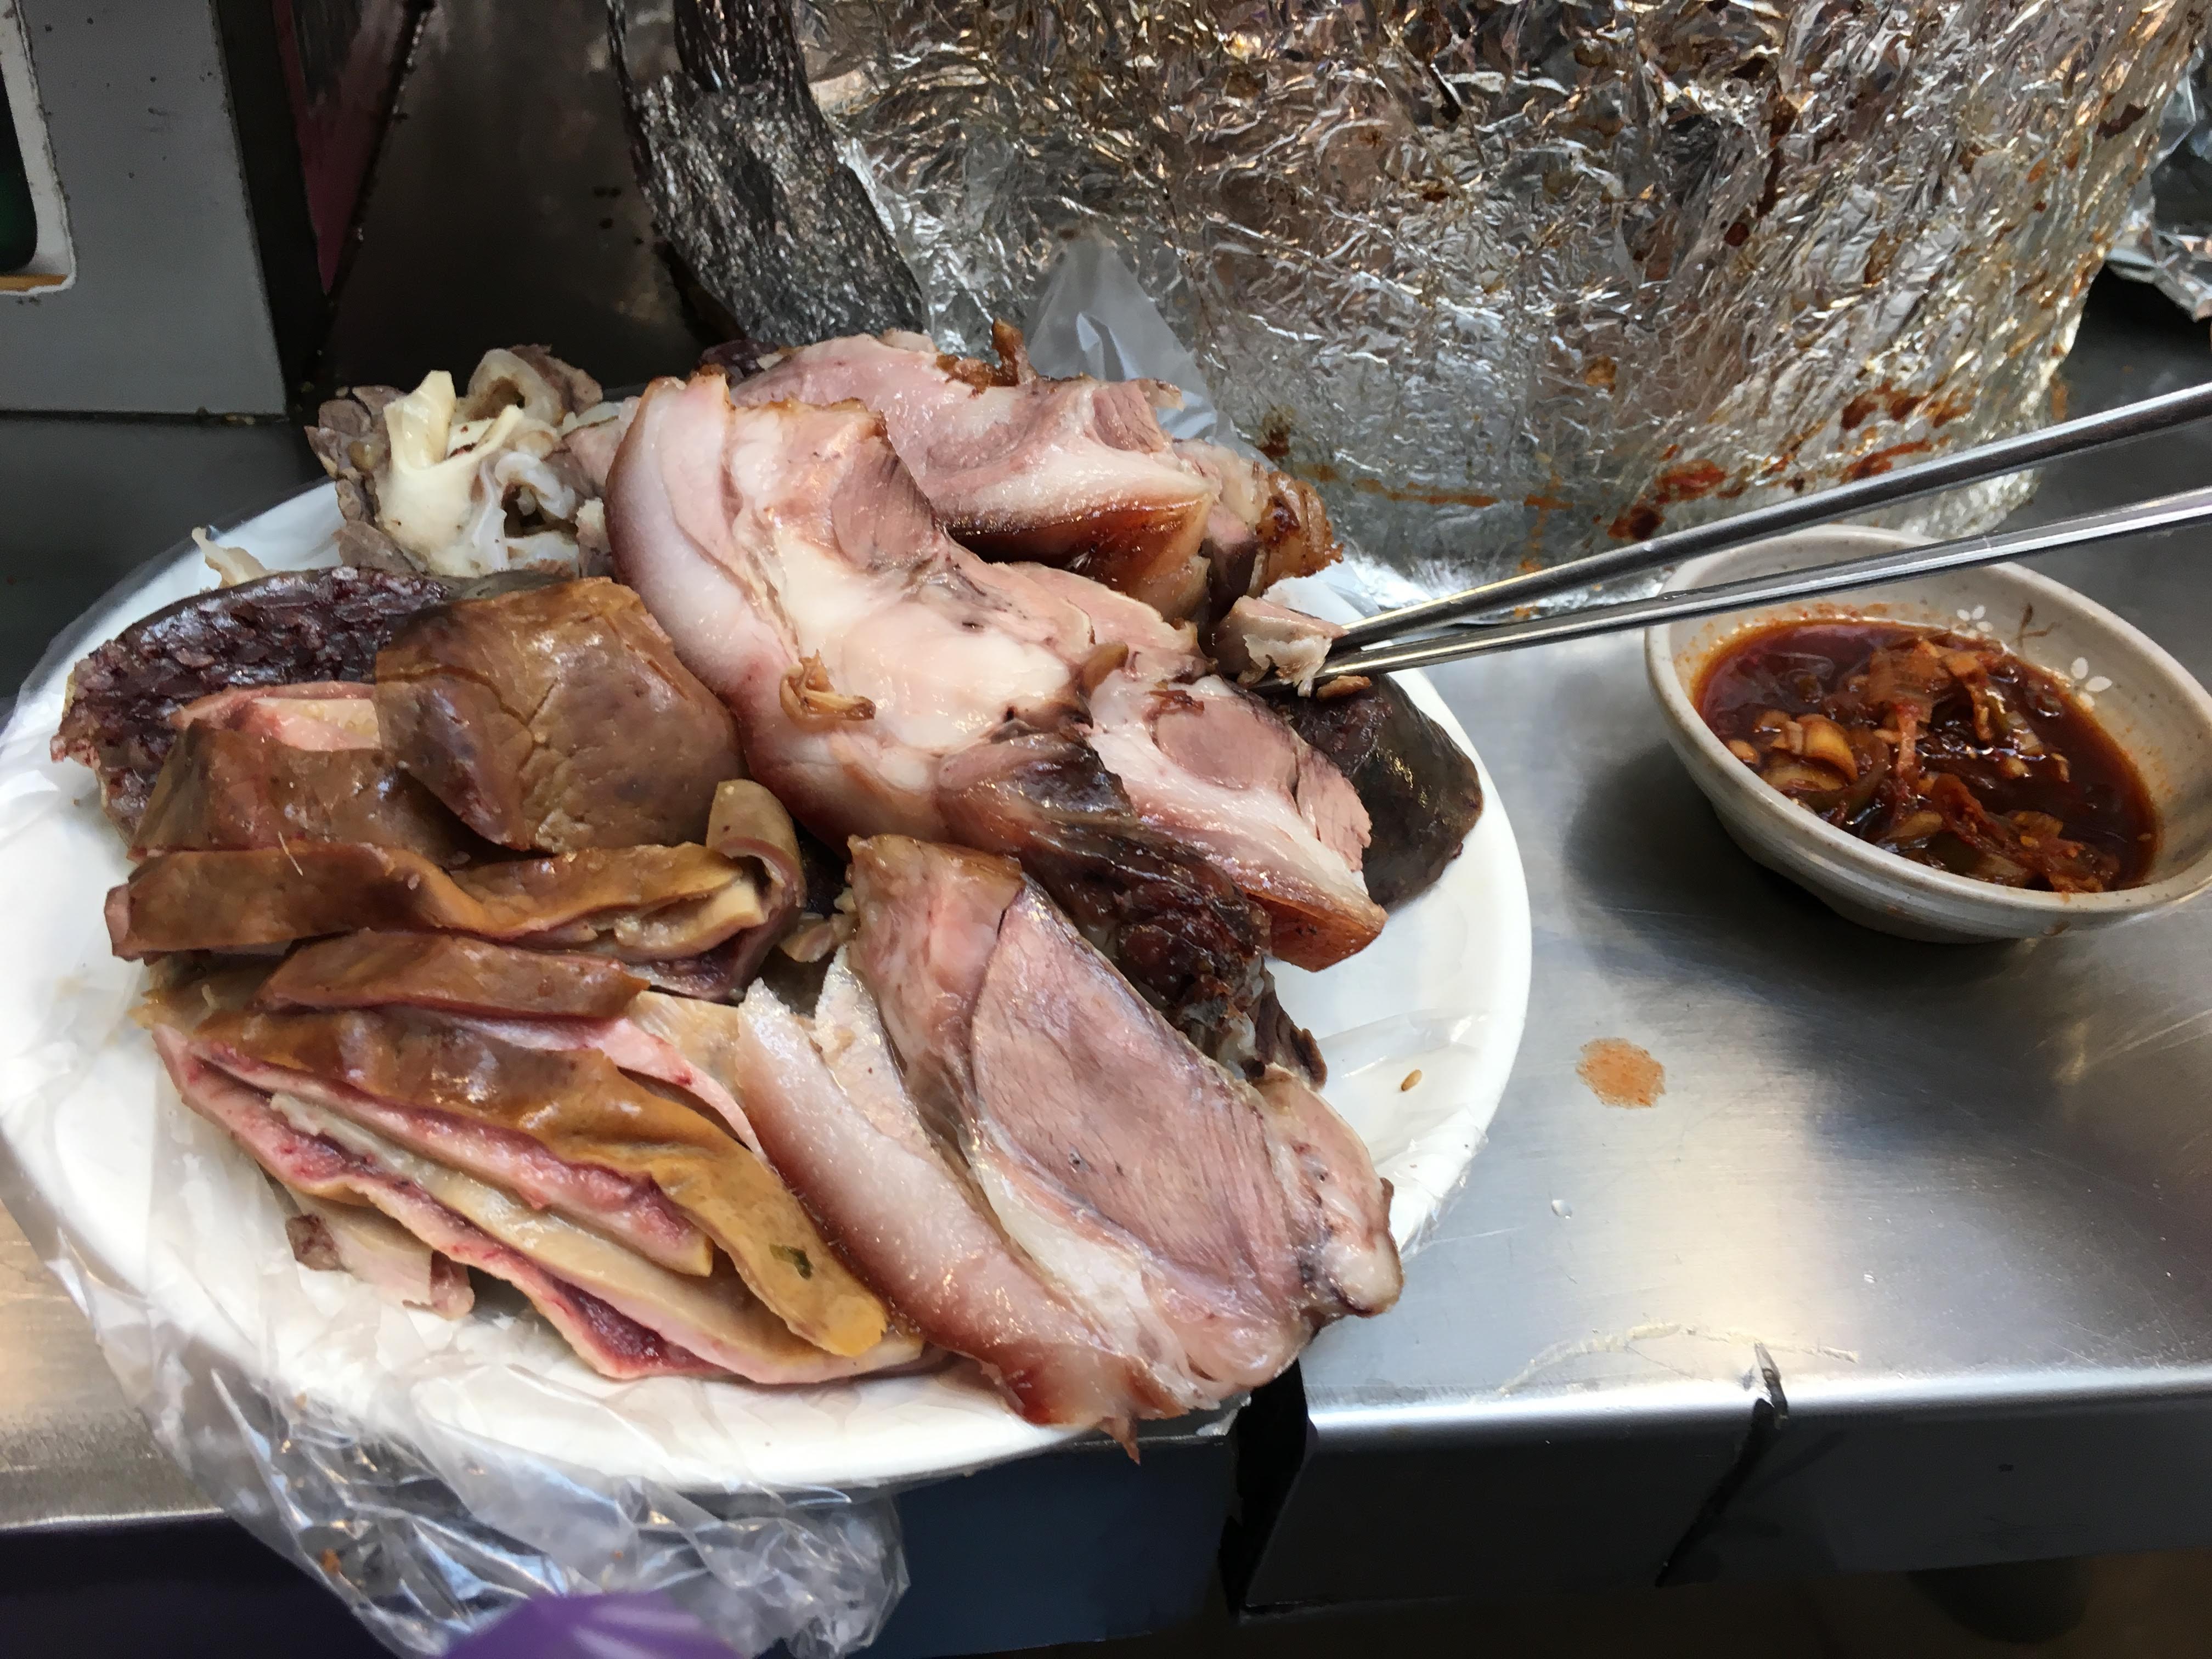
4:10PM – 9:00PM – Gwangjang market and Dongdaenum Park + dinner
10:00PM – Sleep time
Day 3
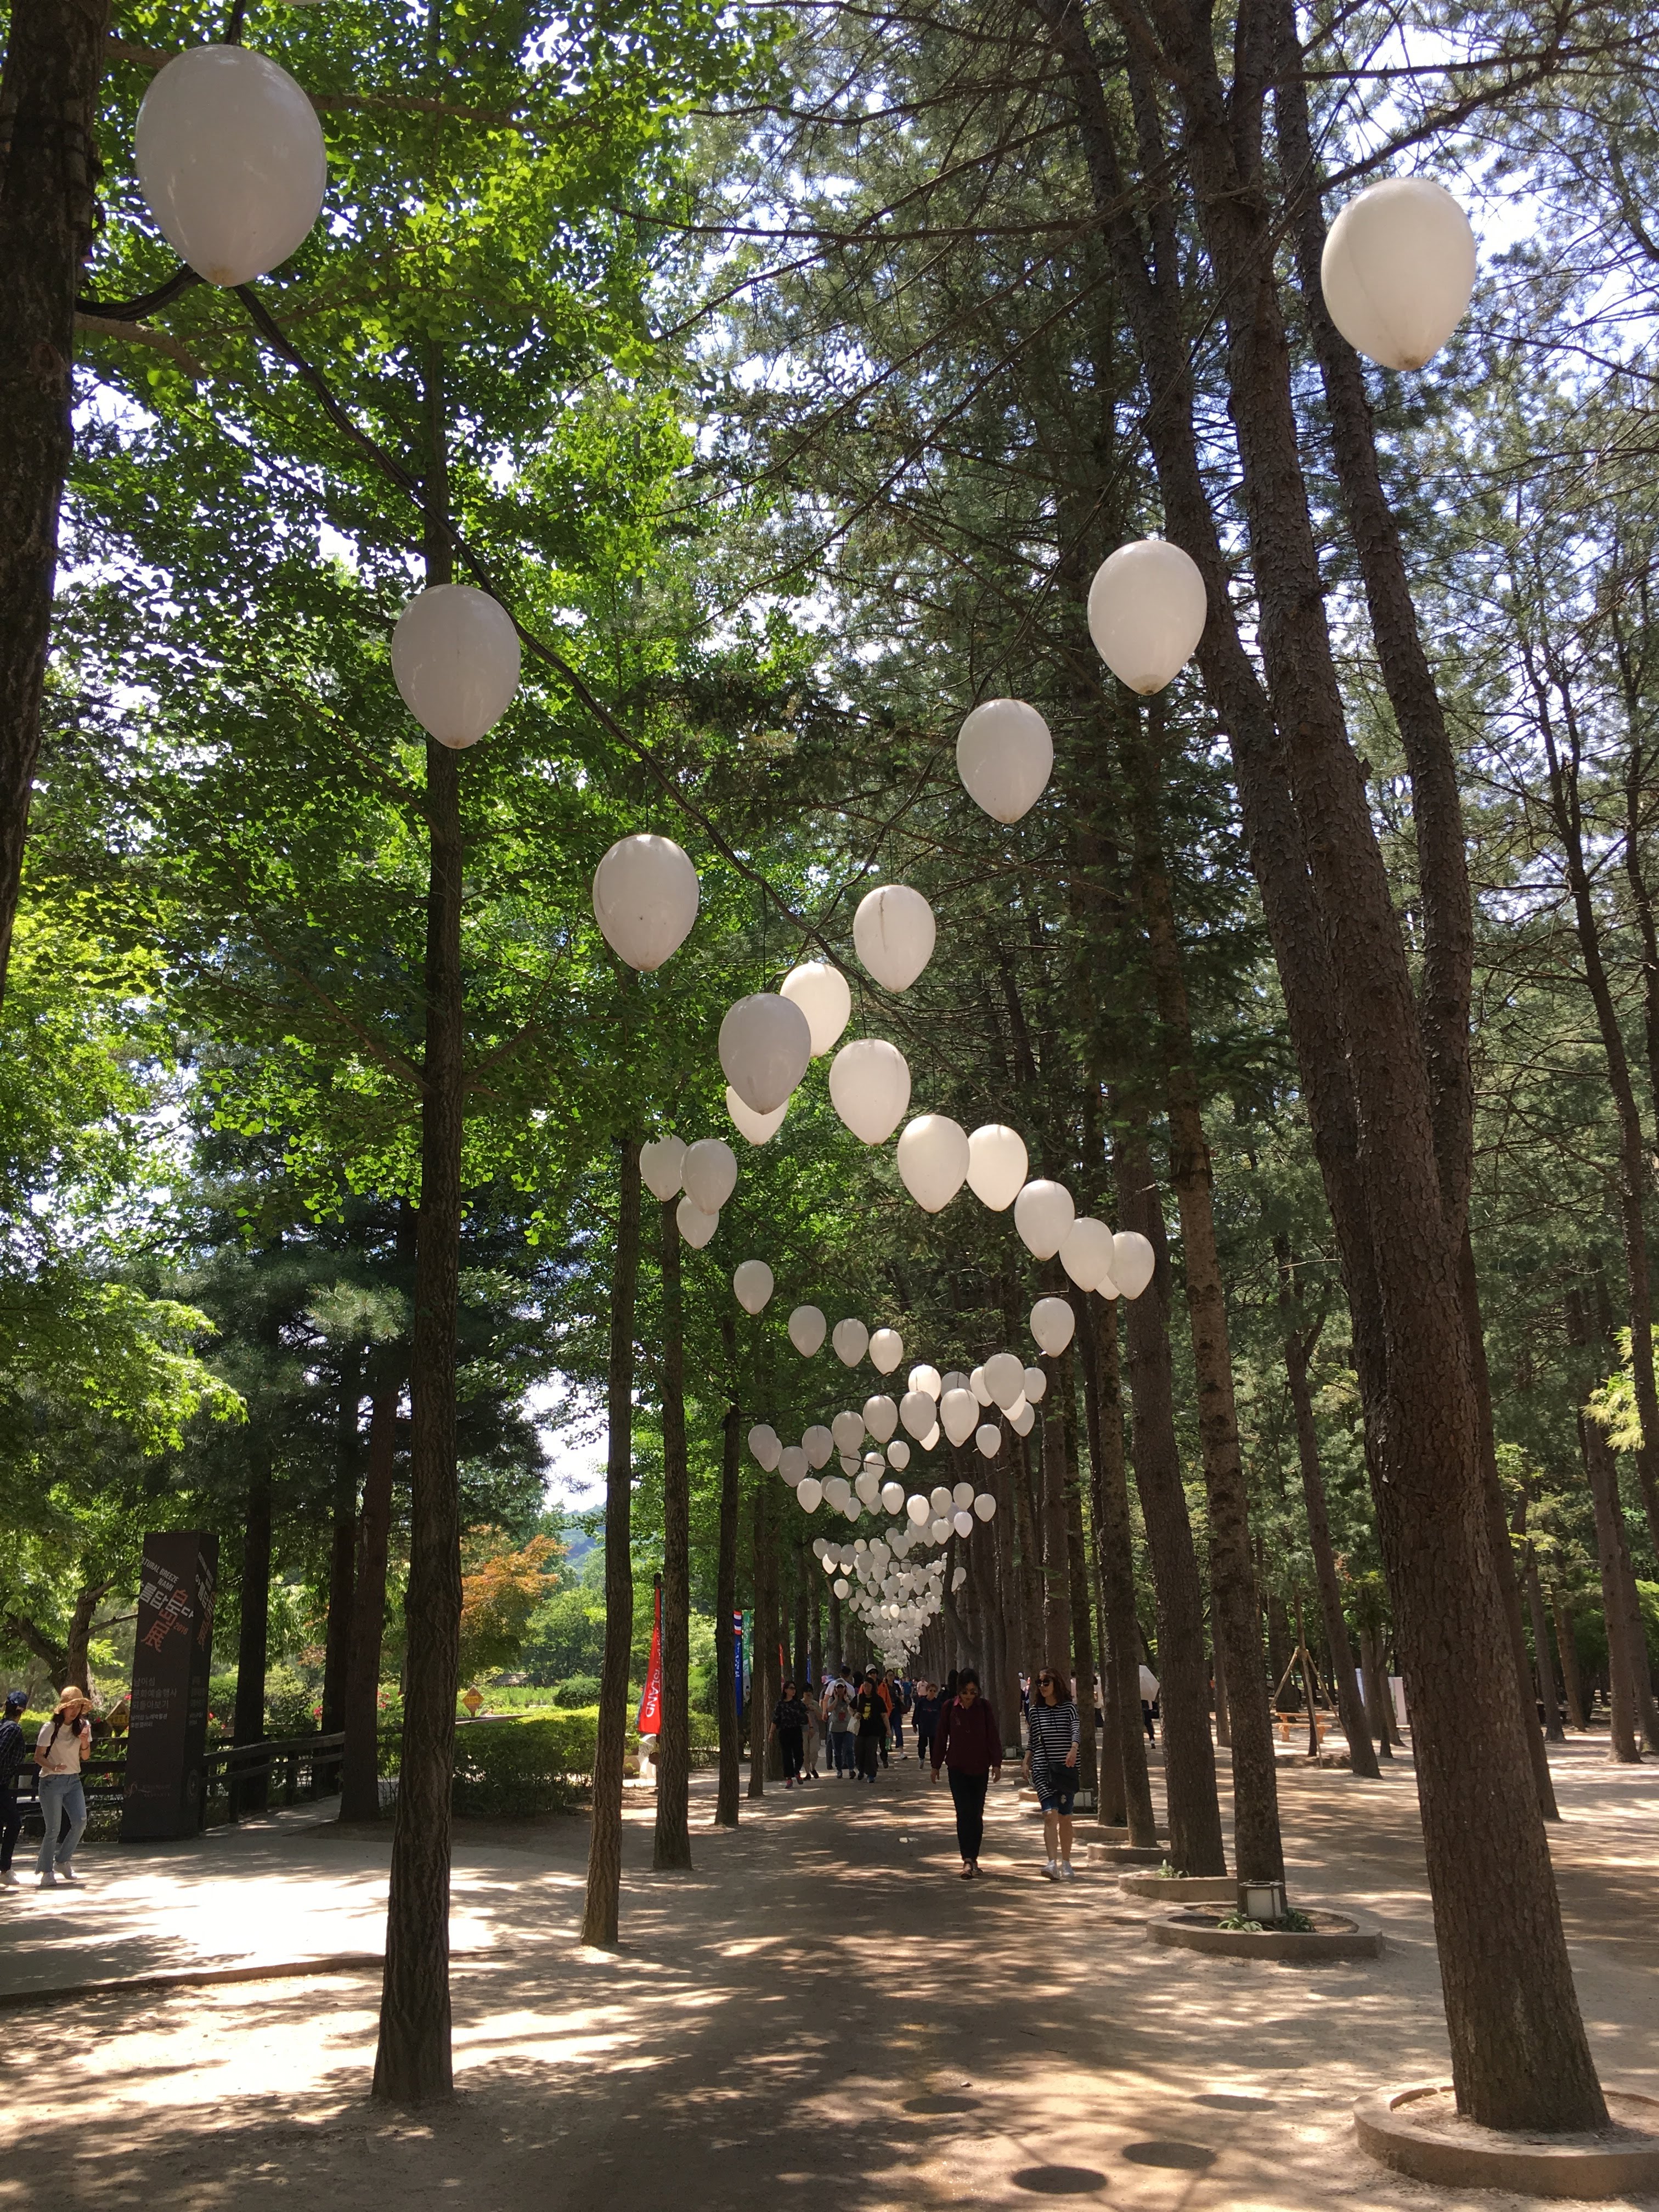
9:30 – 11:00AM – Travel time from our guesthouse to Gapyeong station
11:20 – 3:00PM – Nami Island + lunch
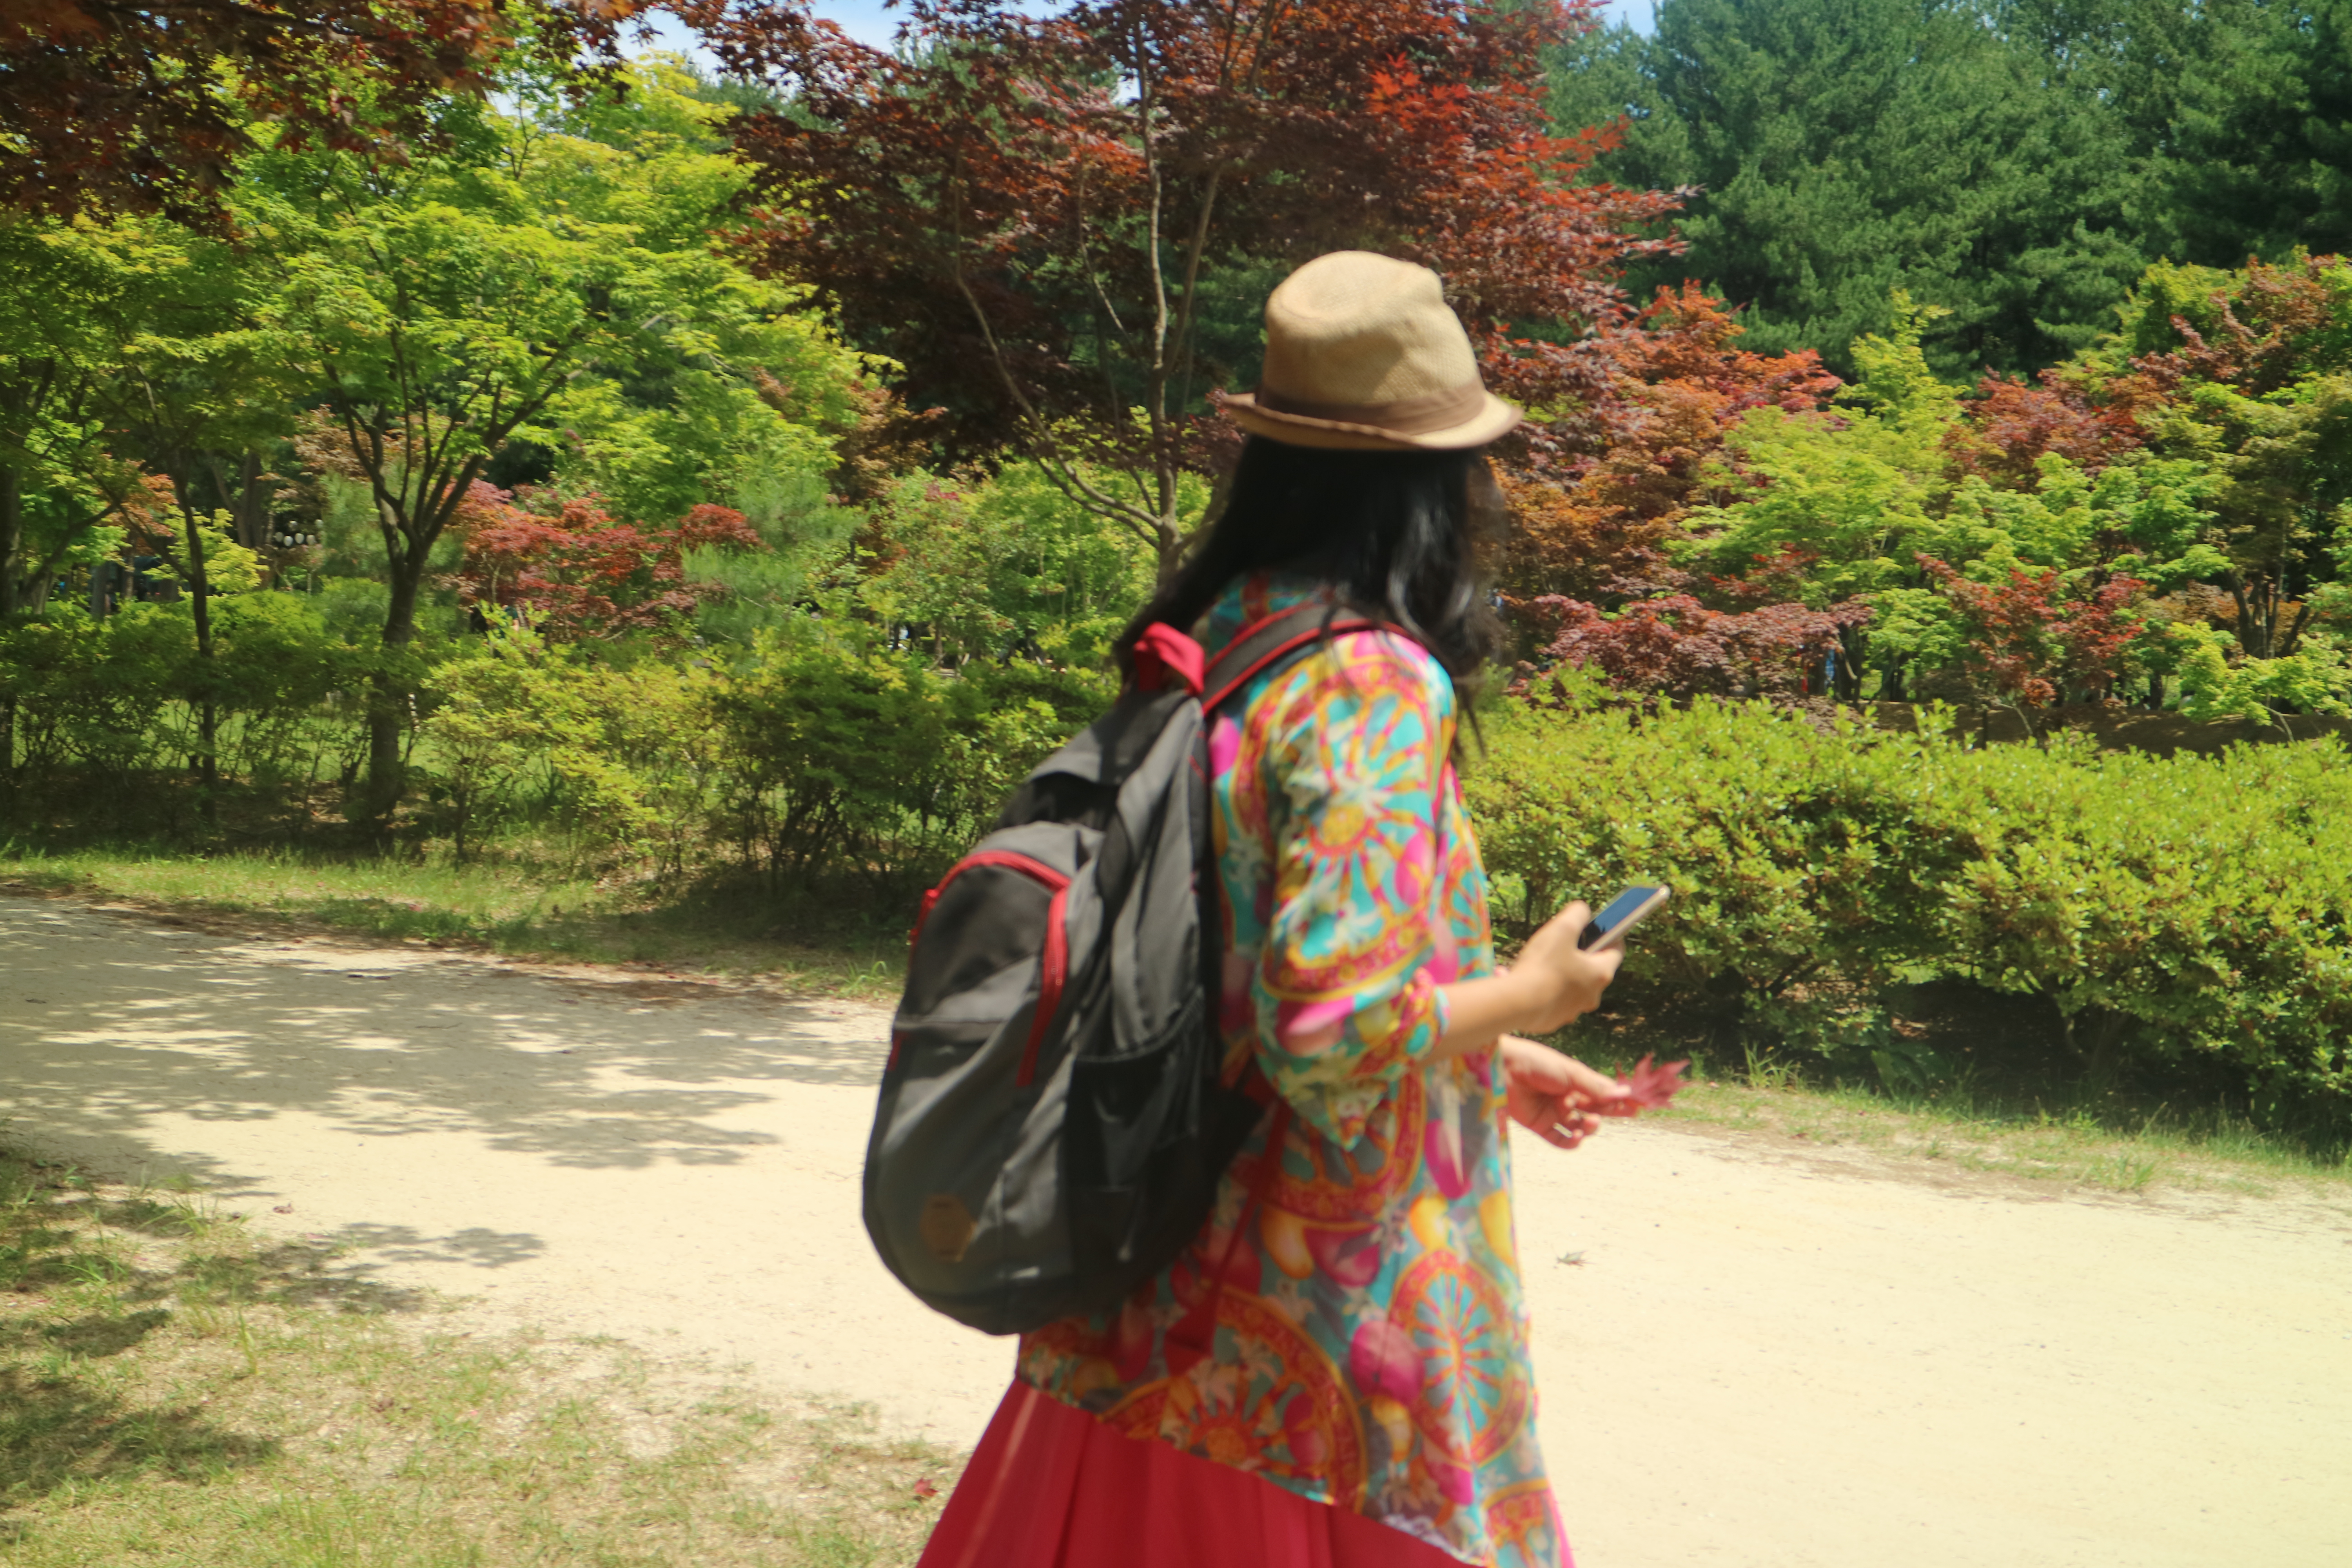
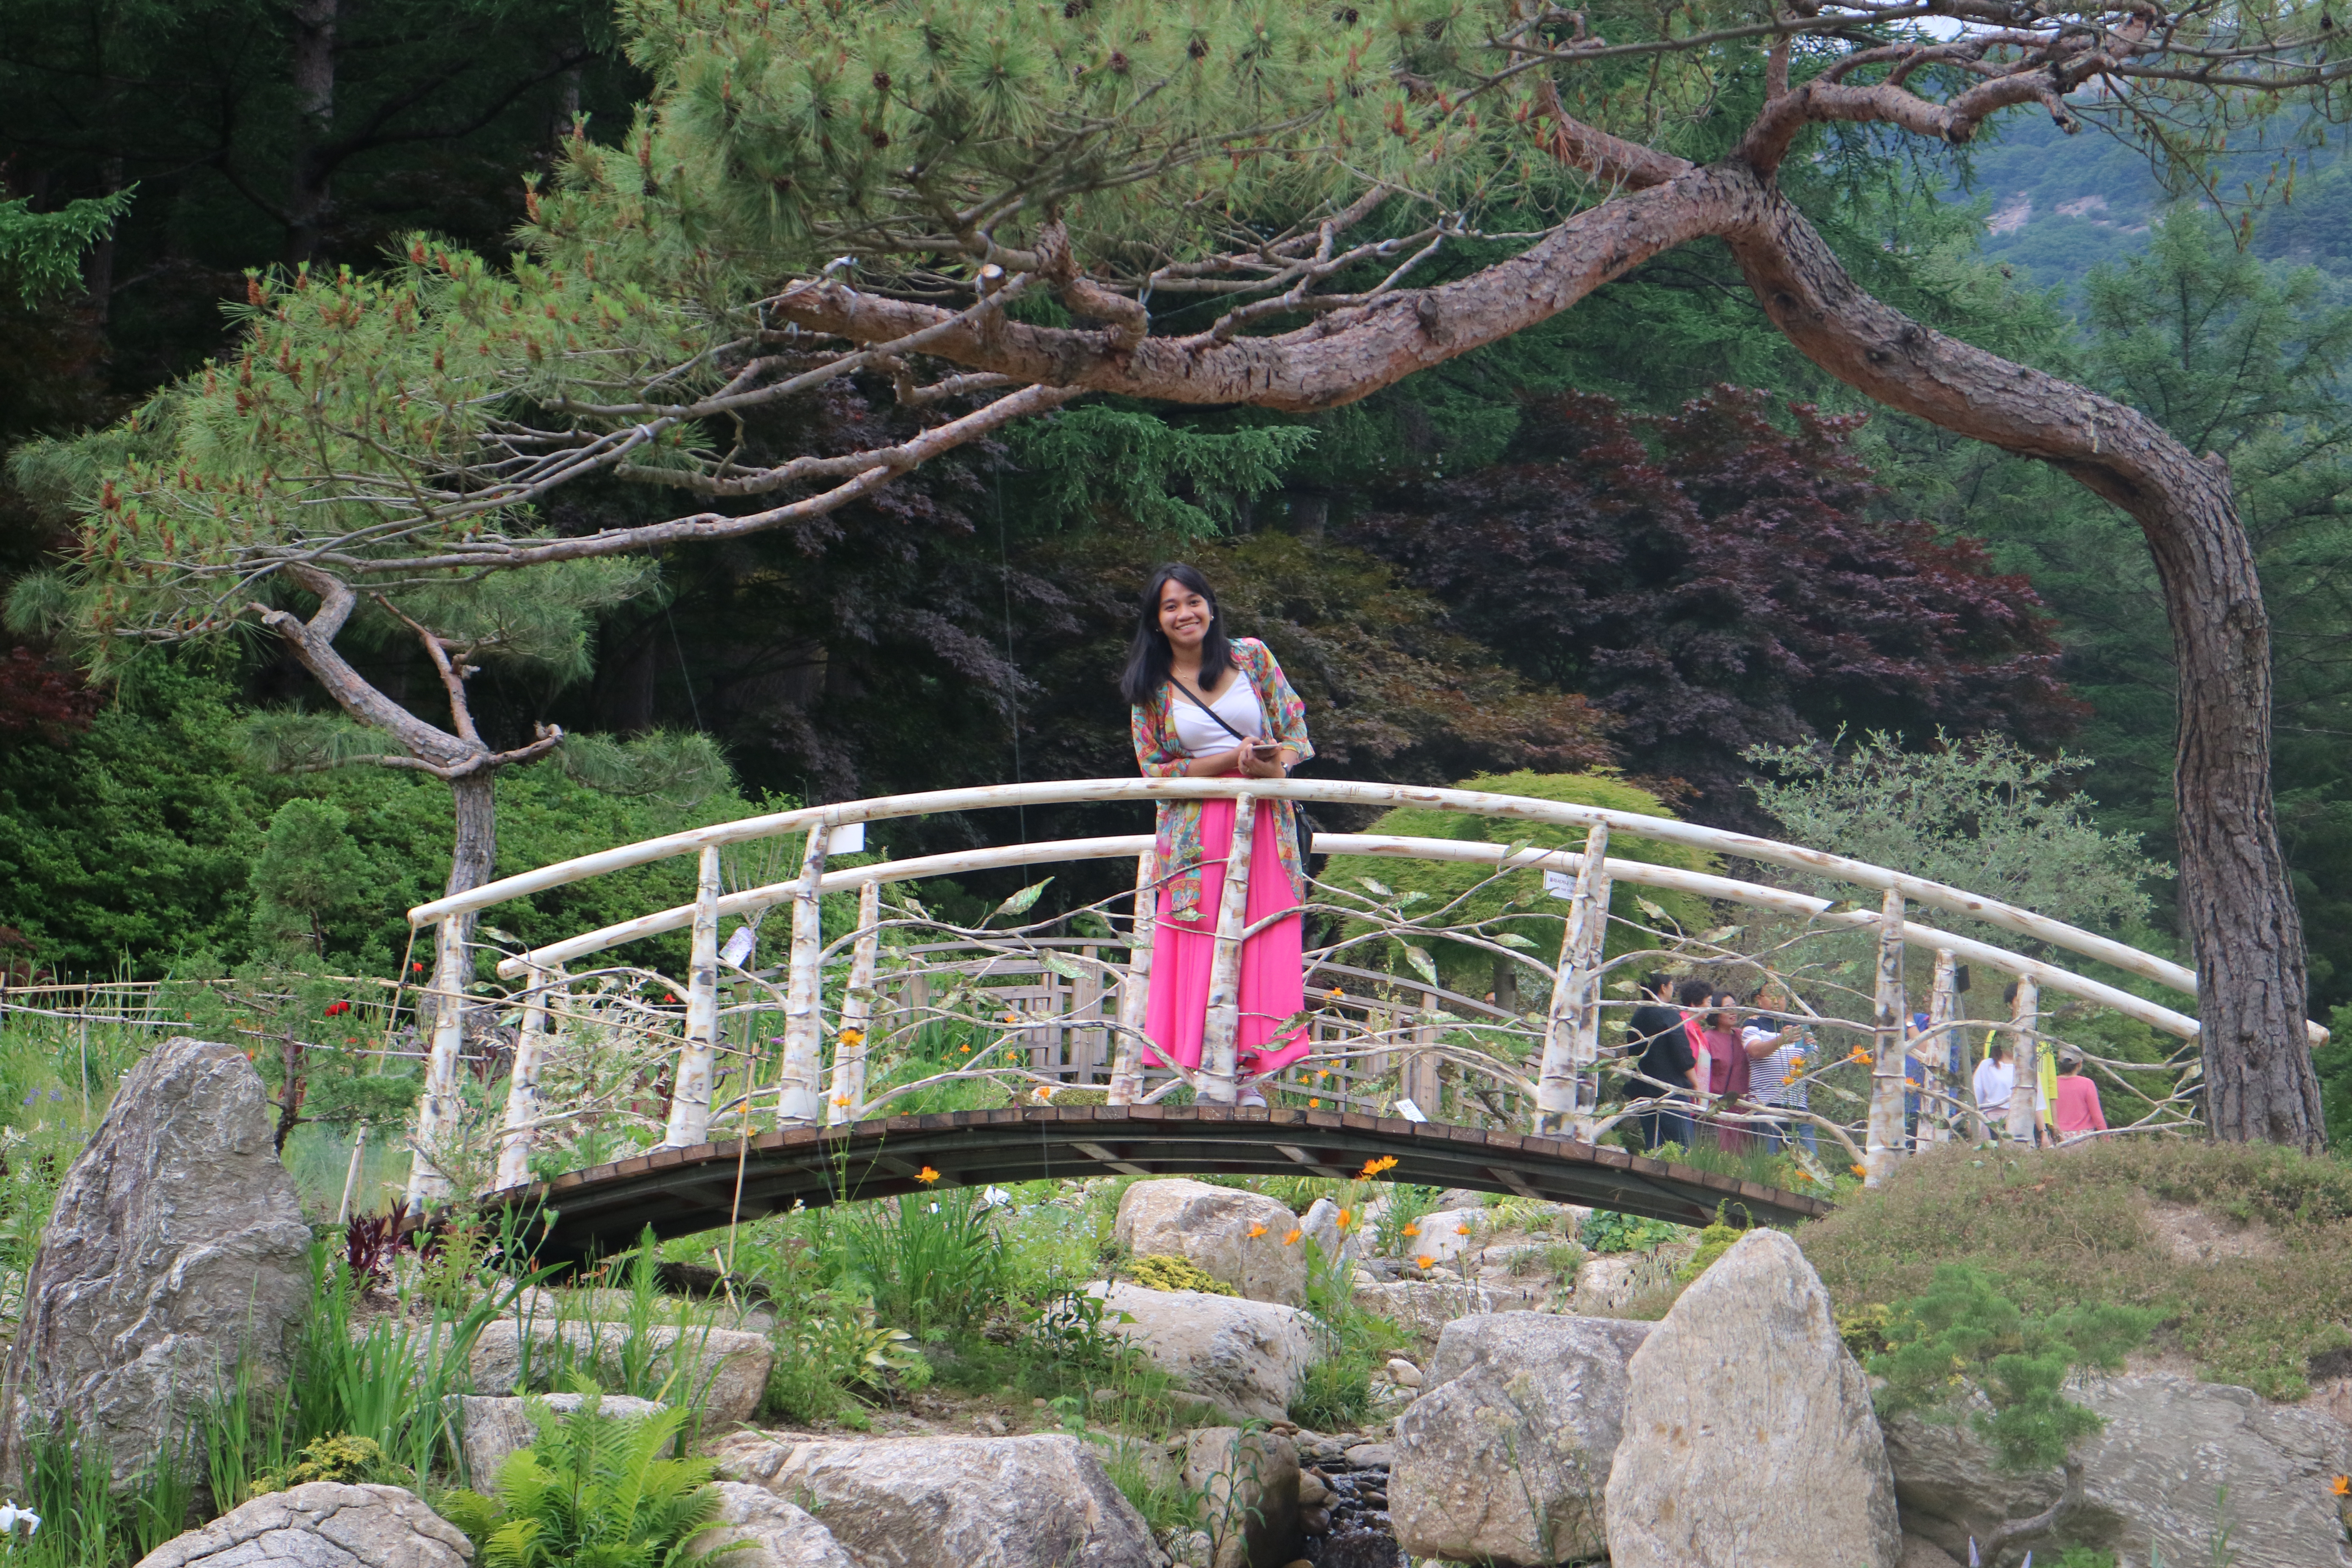
3:30 – 6:30PM – Garden of the morning calm
7:00PM – 9:00 PM – Dinner + travel back to the house
10:00PM – Sleep time
Day 4
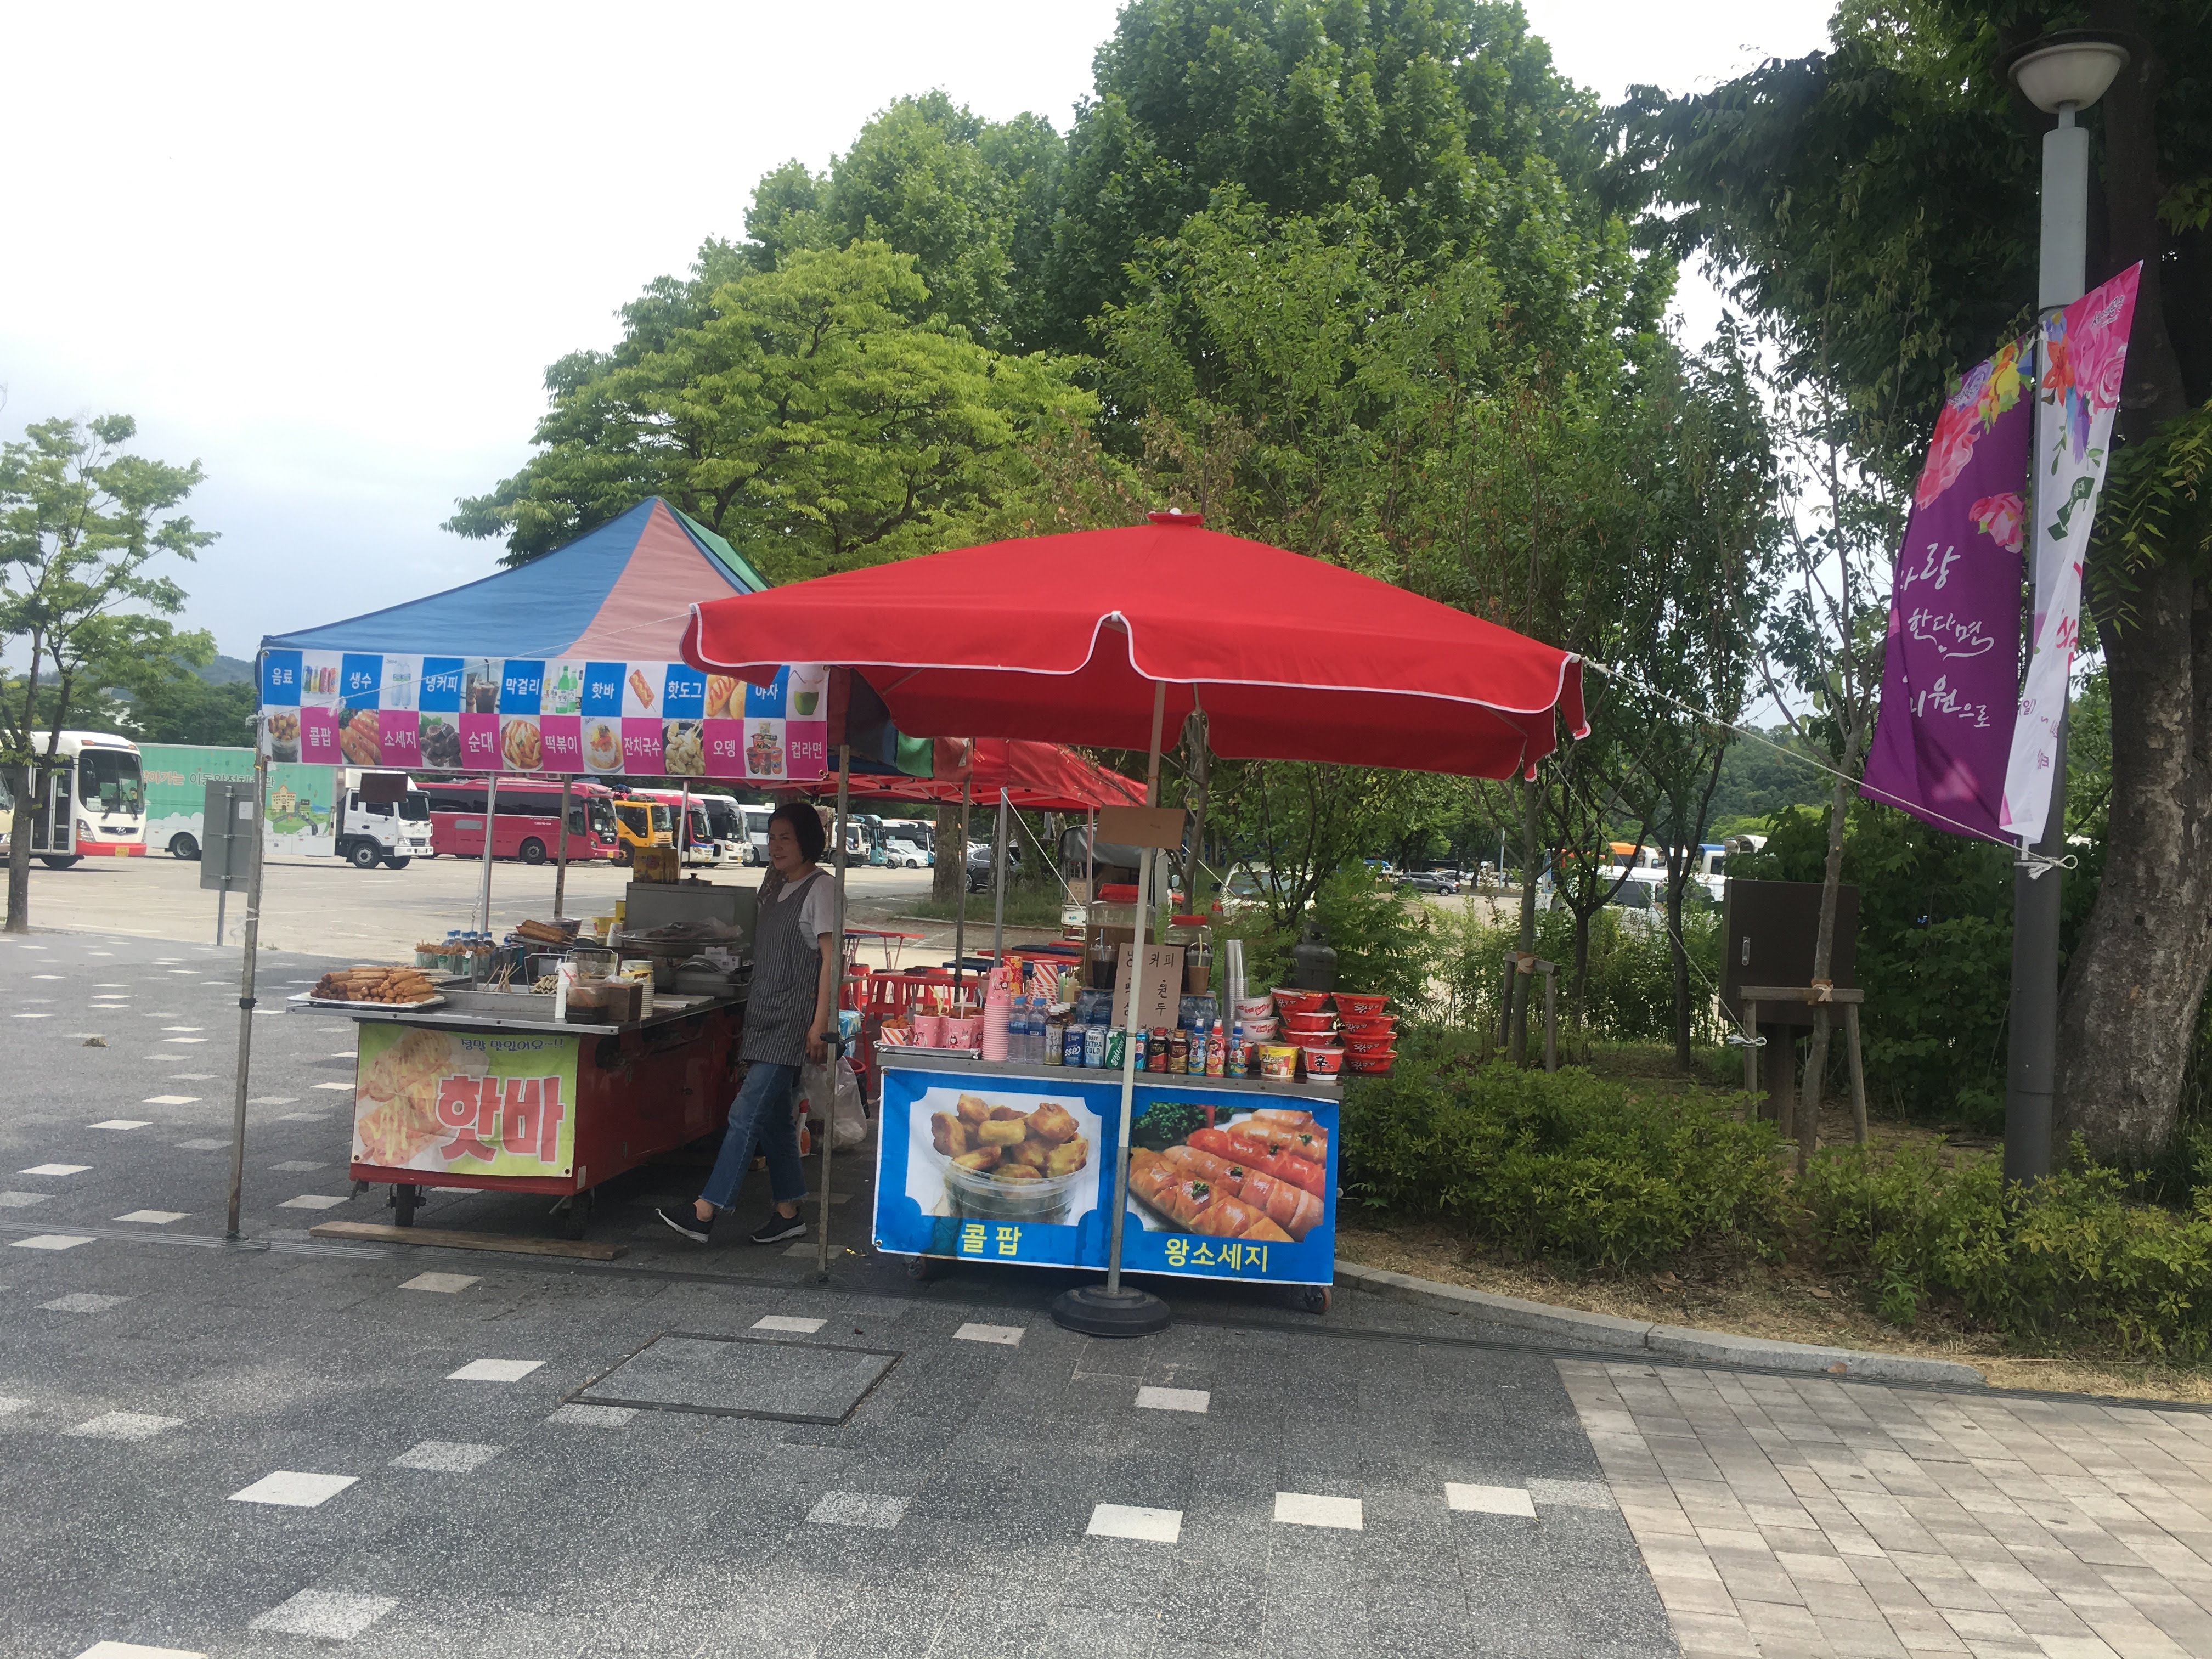
10:00 – 10:45 AM – Guesthouse to Seoul Grand Park
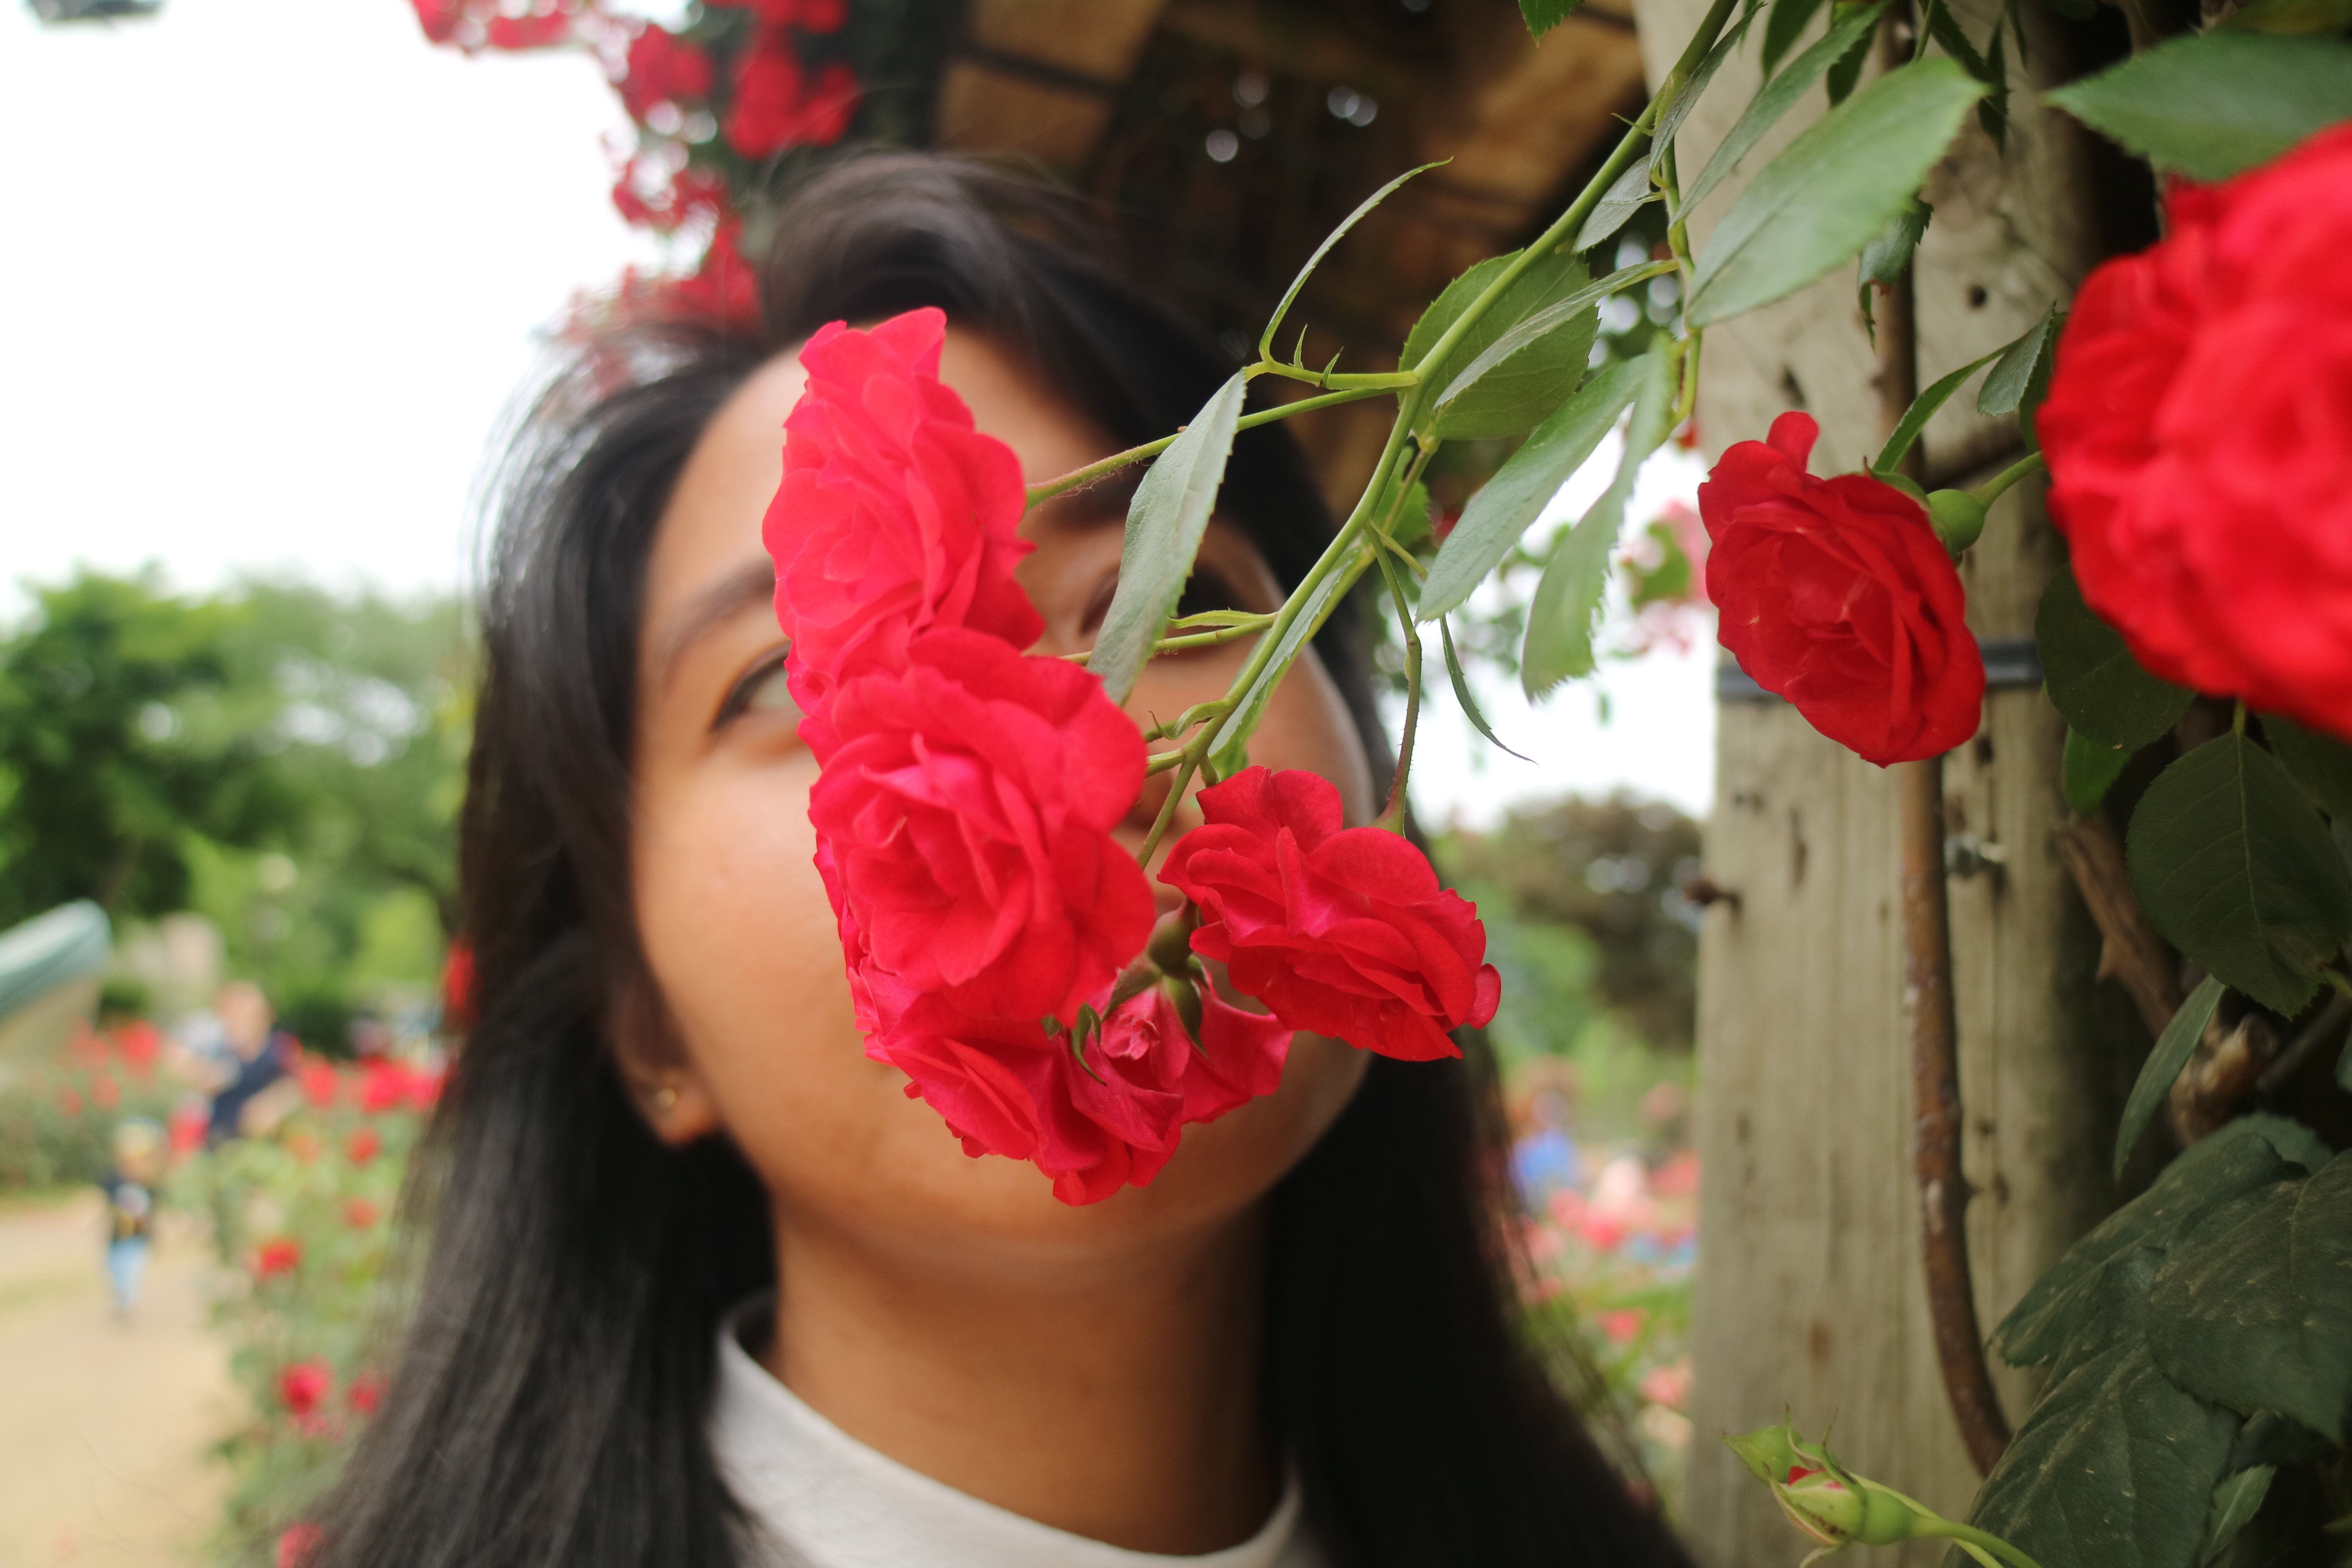
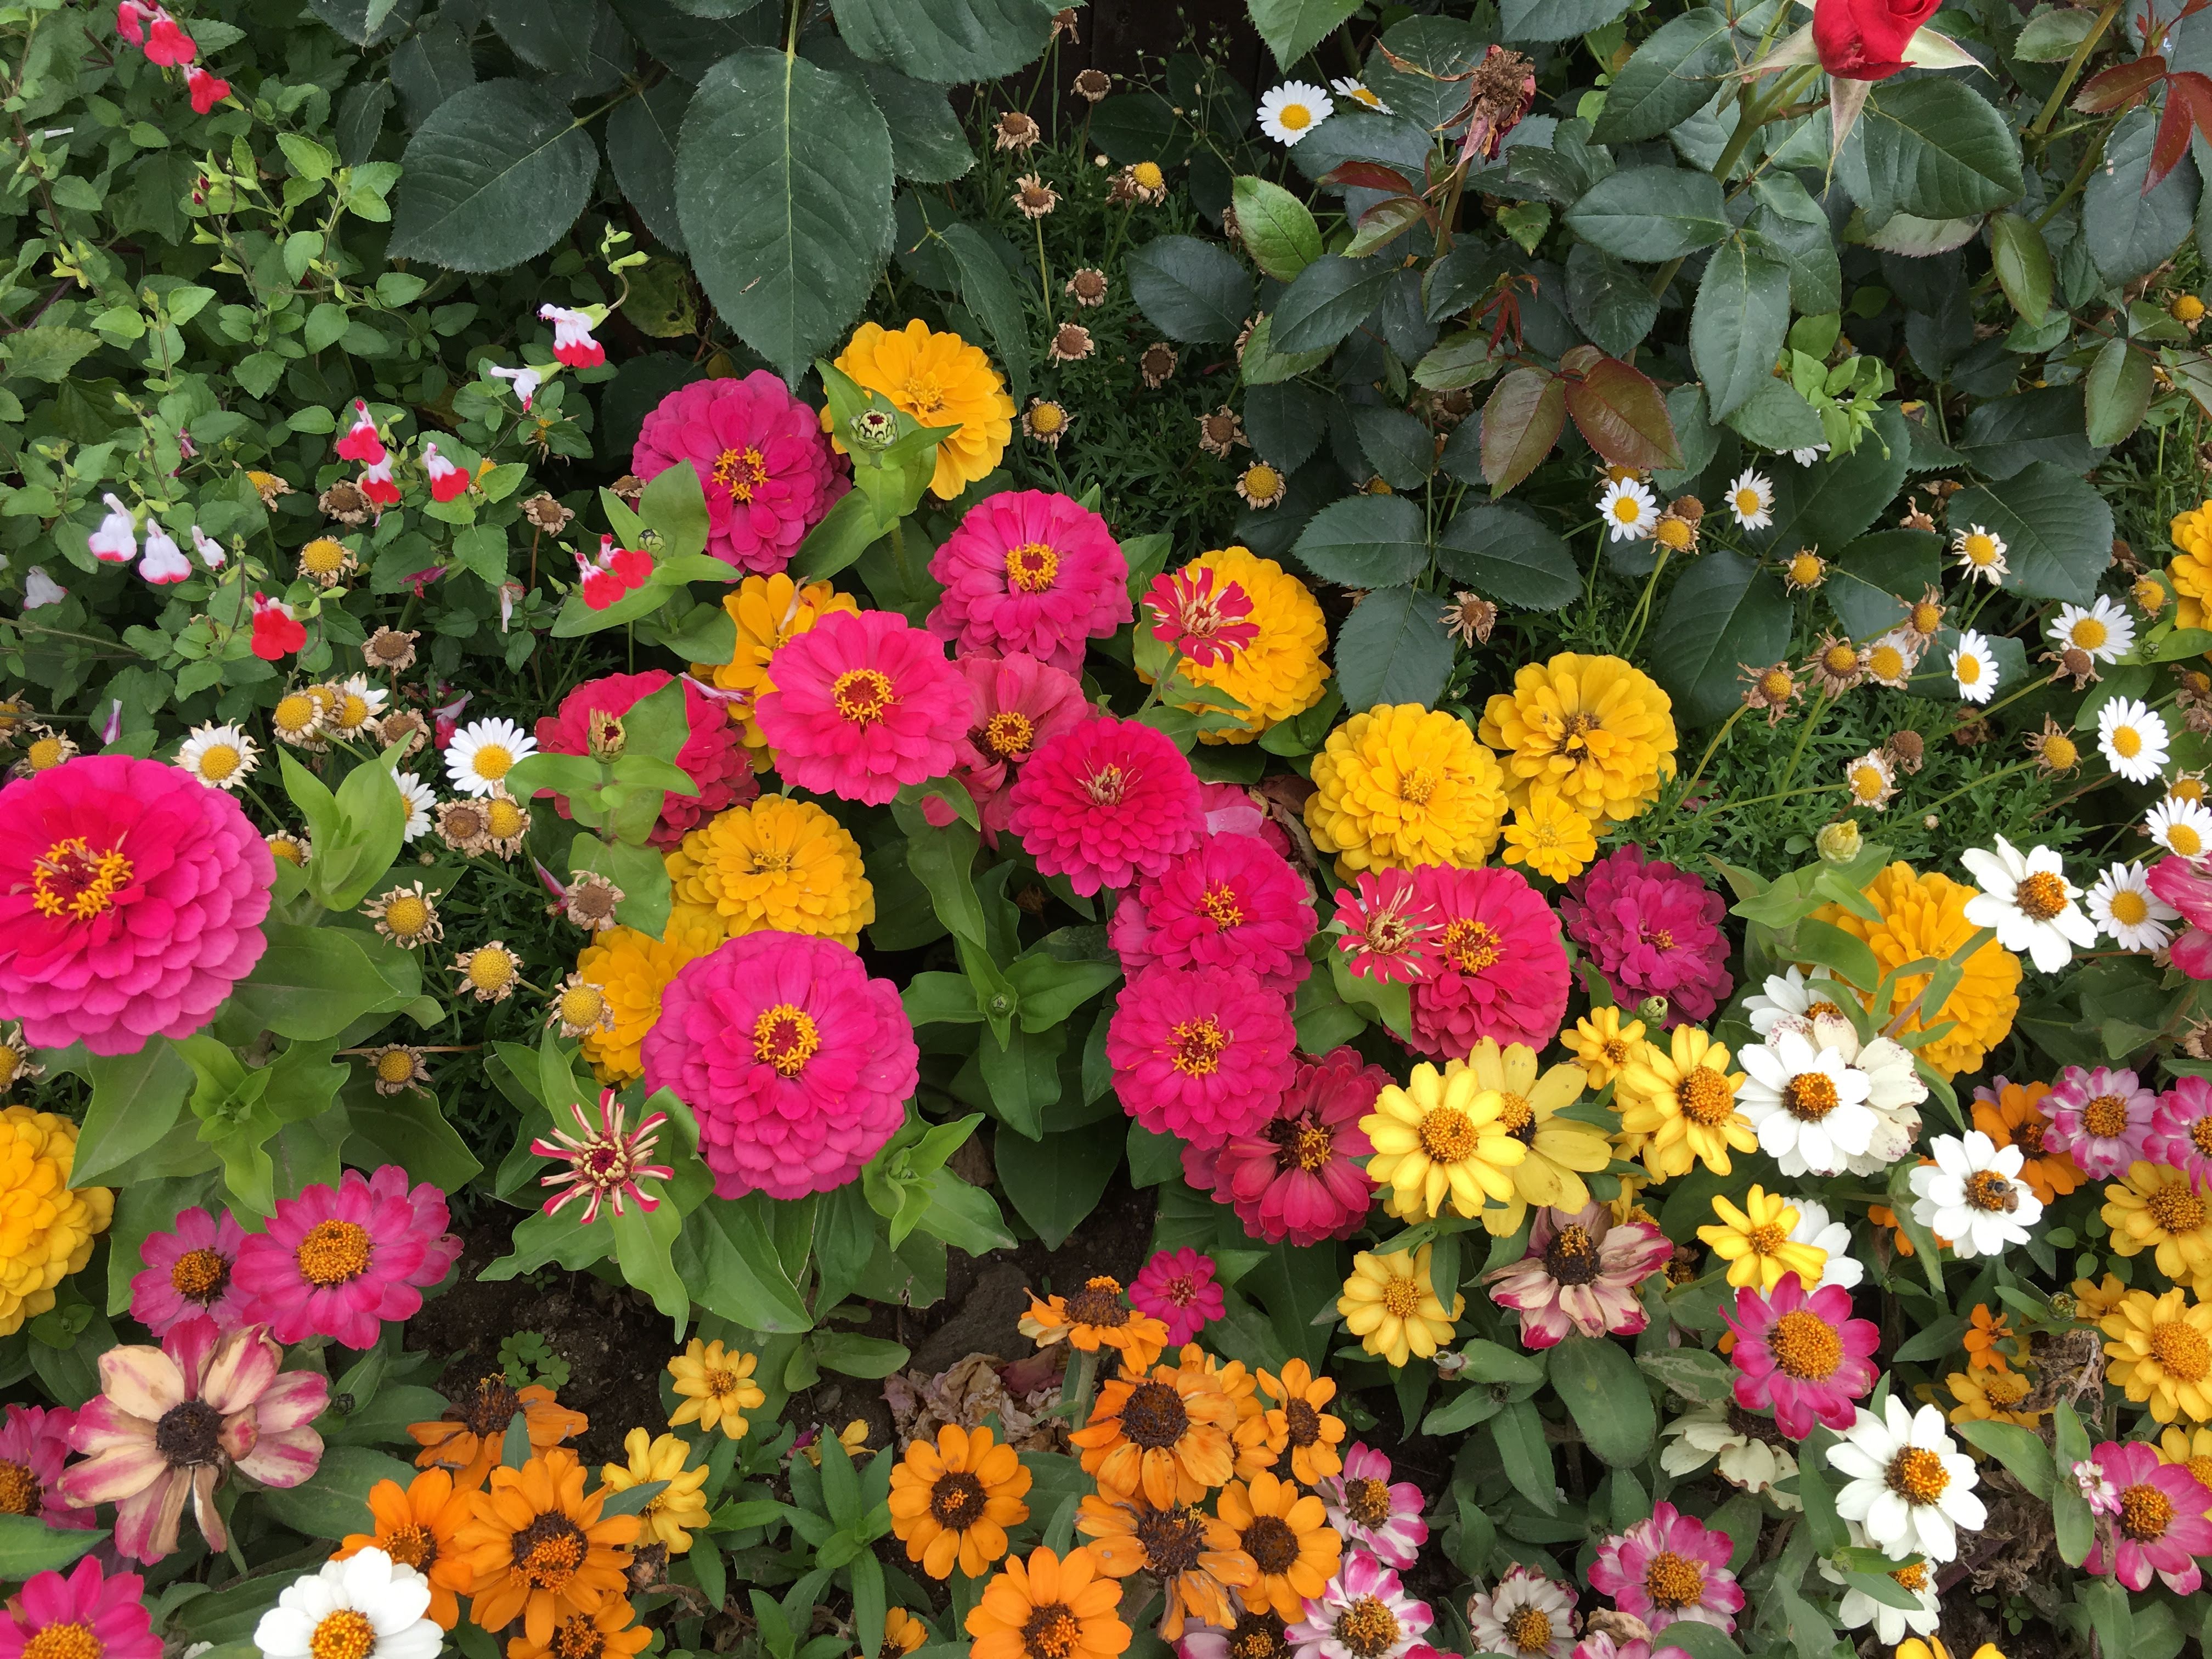
11:00 – 1:00 PM – Seoul Grand Park and Rose Garden+ lunch
1:20 – 2:20 PM – Seoul Grand Park to Yeoido Park
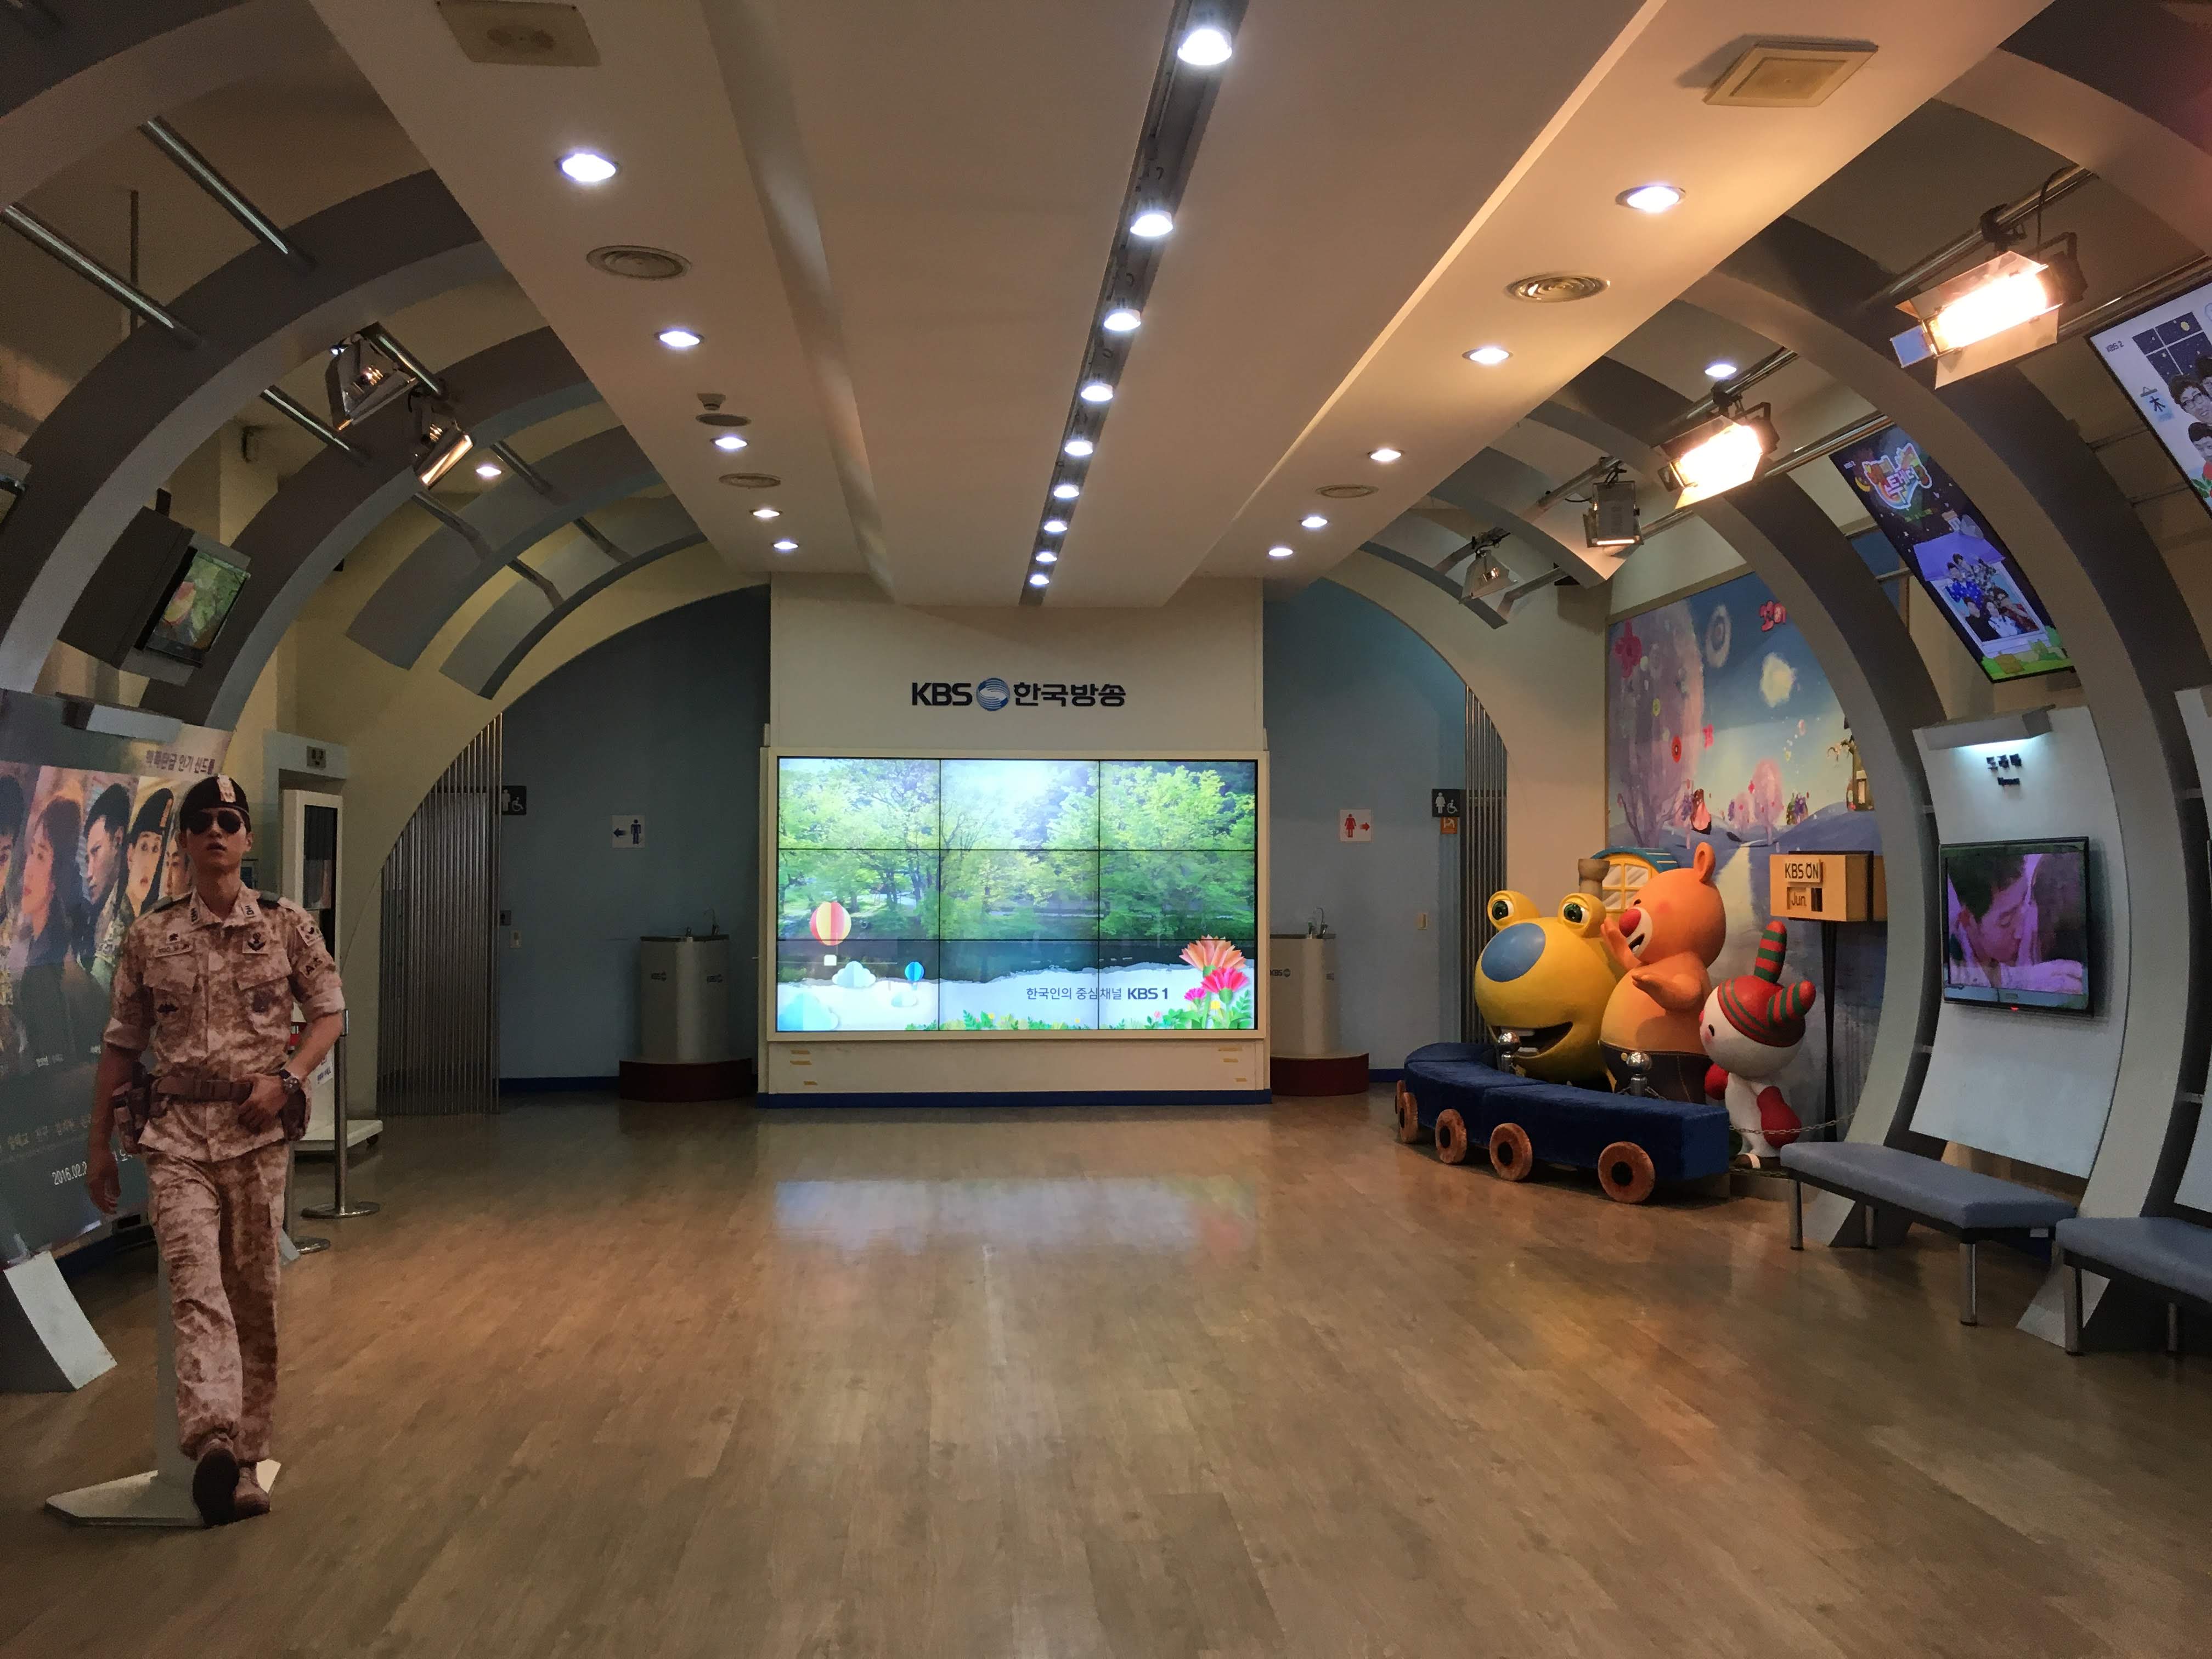
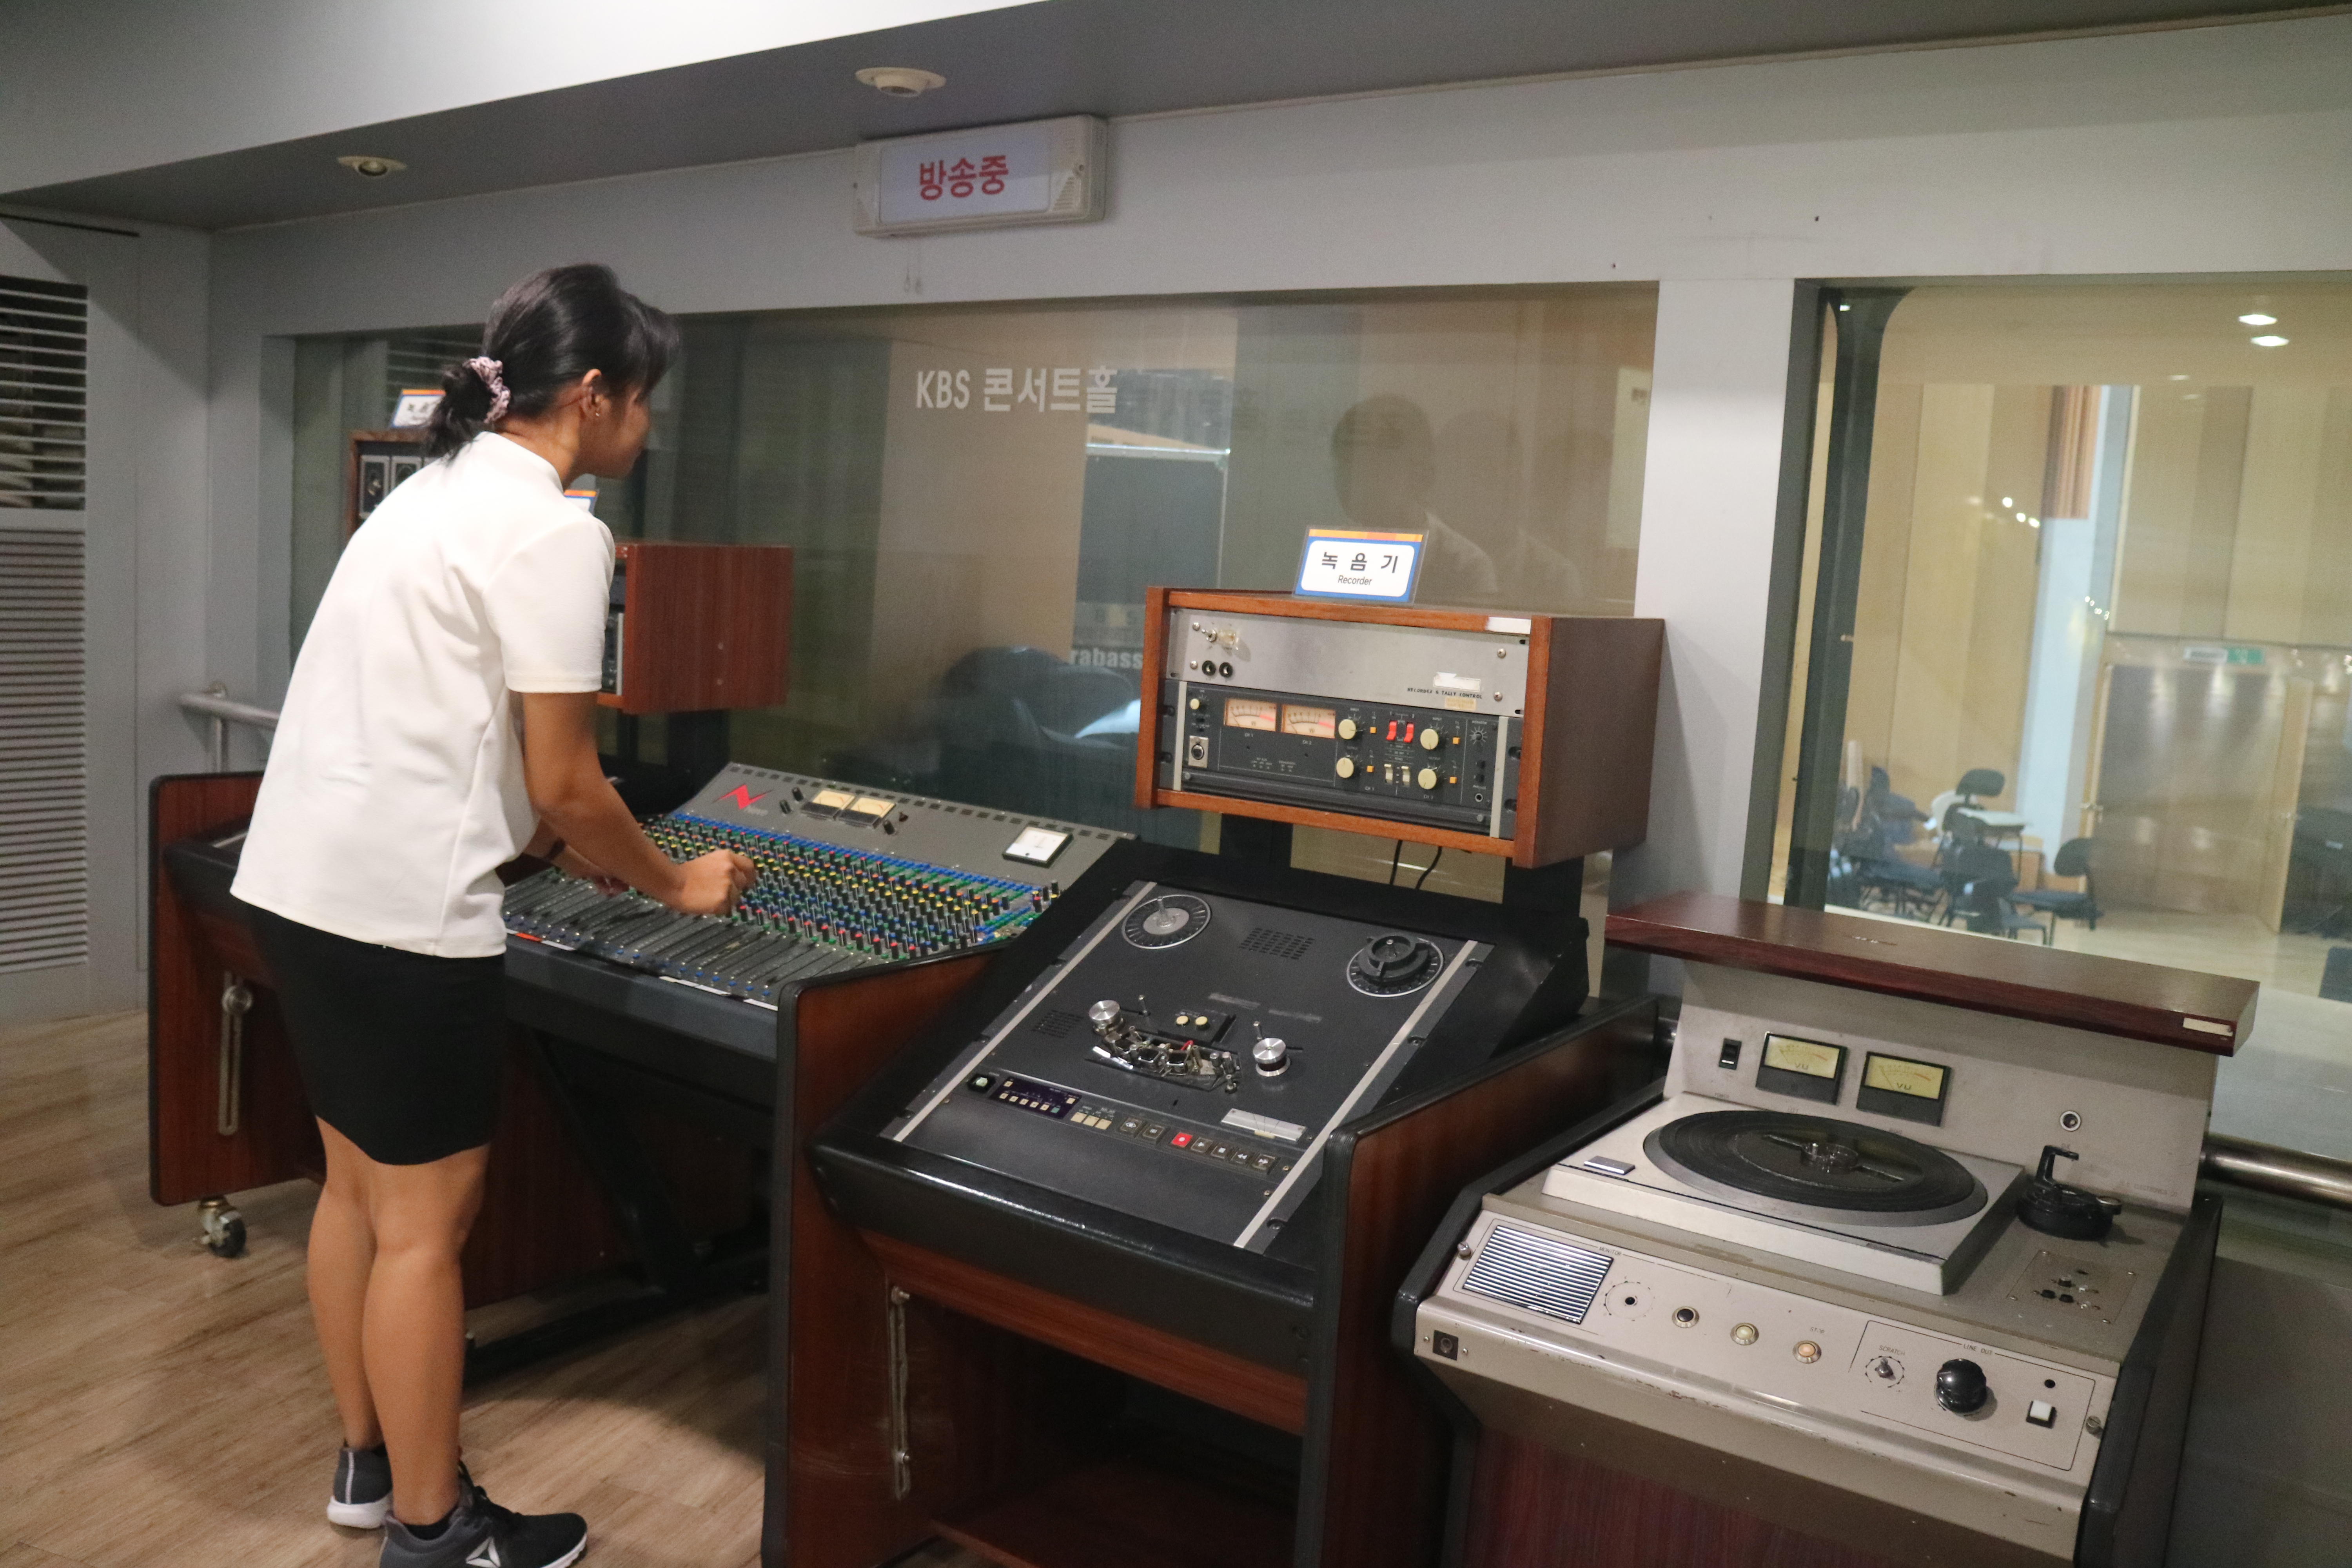
2:30 – 5:00 PM – Yeoido Park and KBS
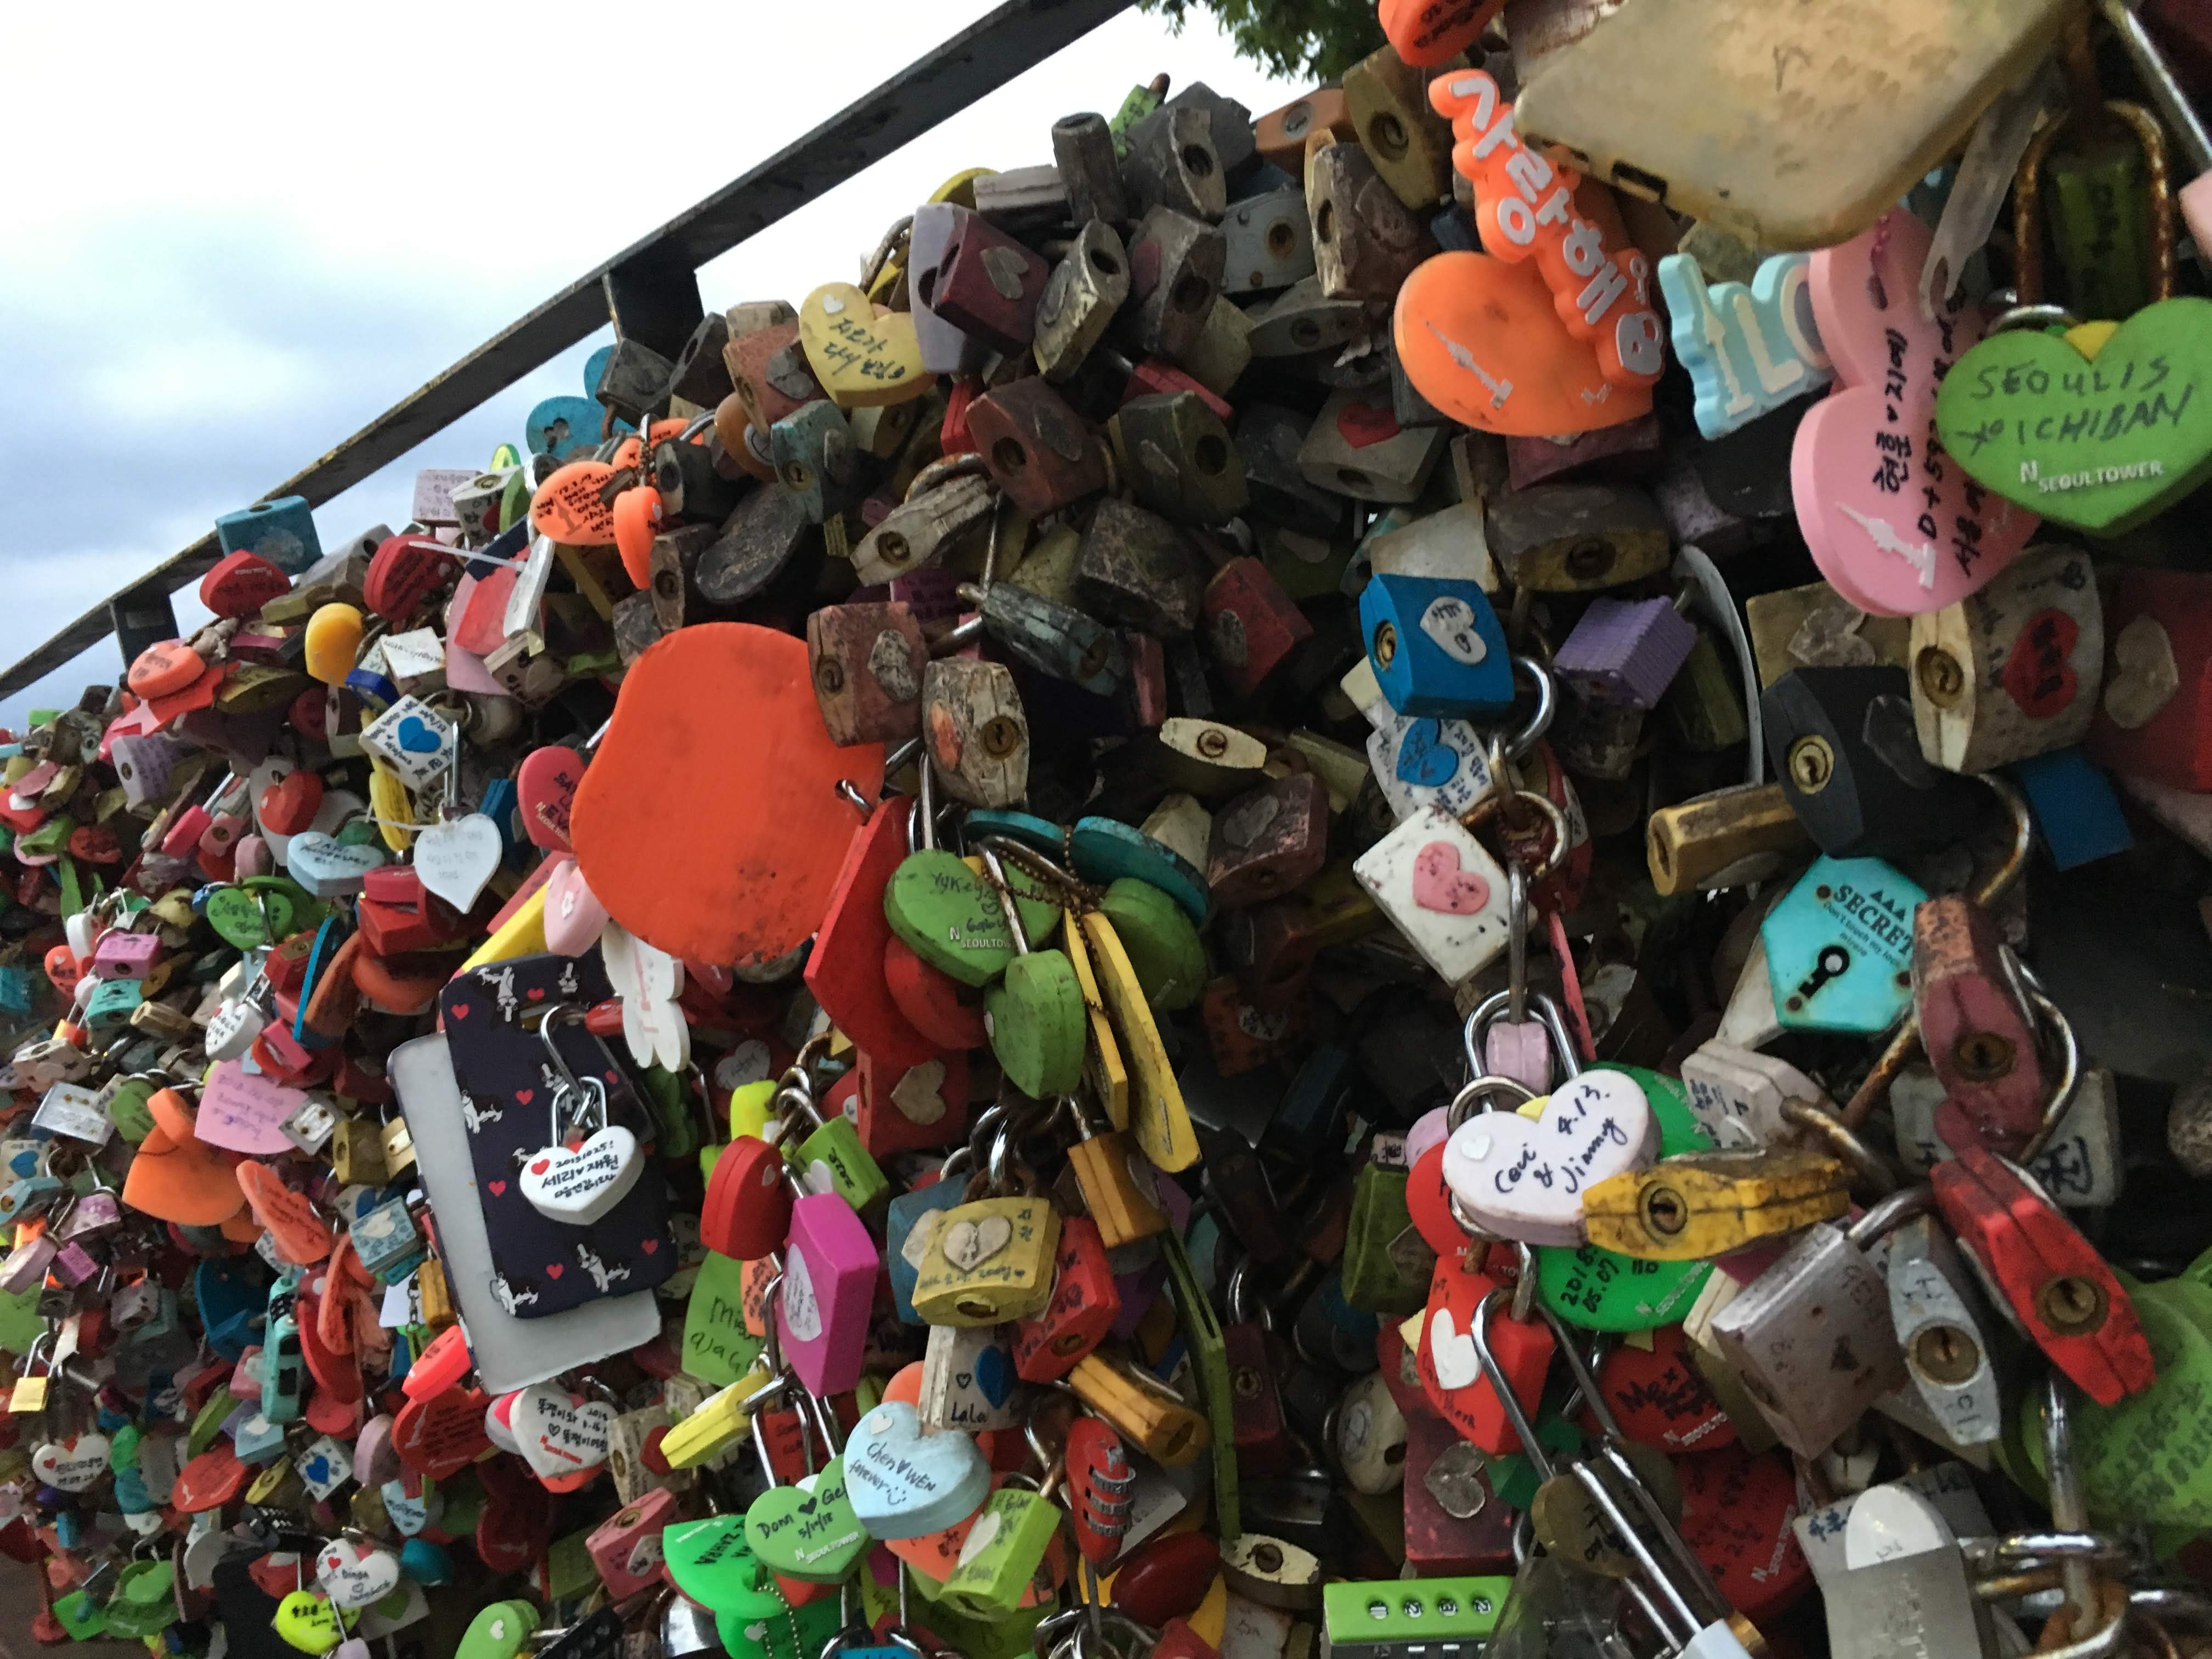
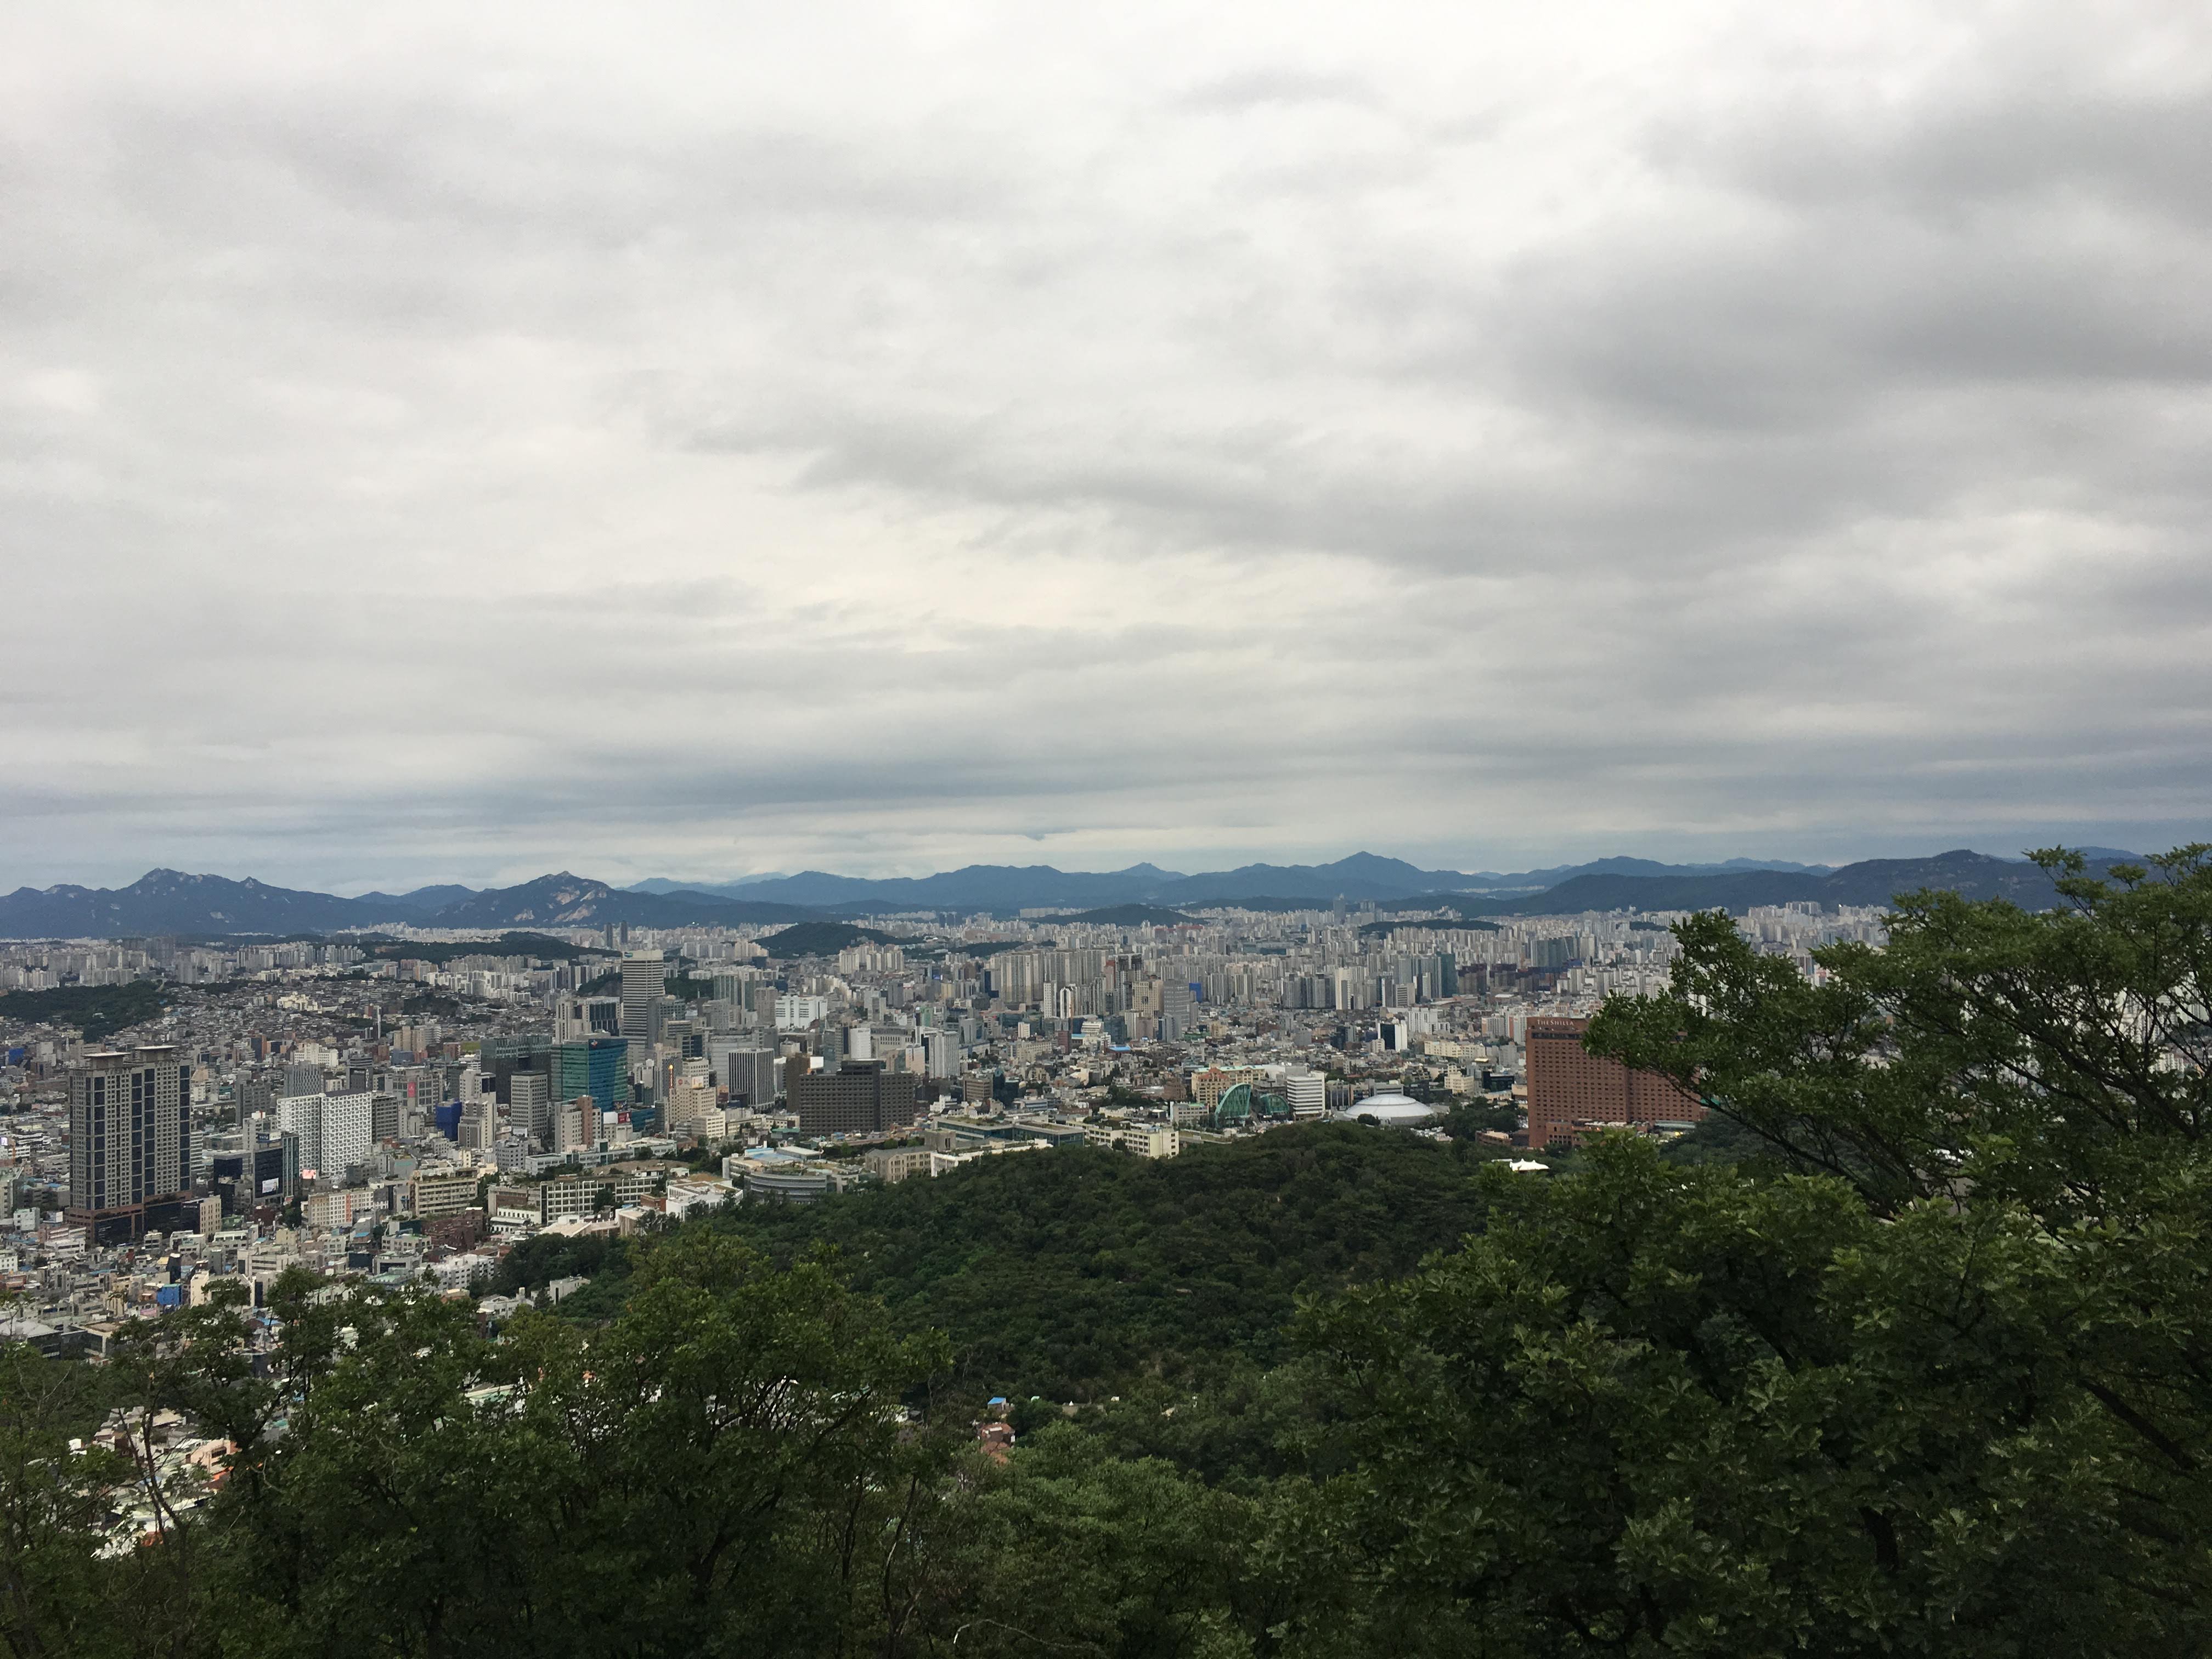
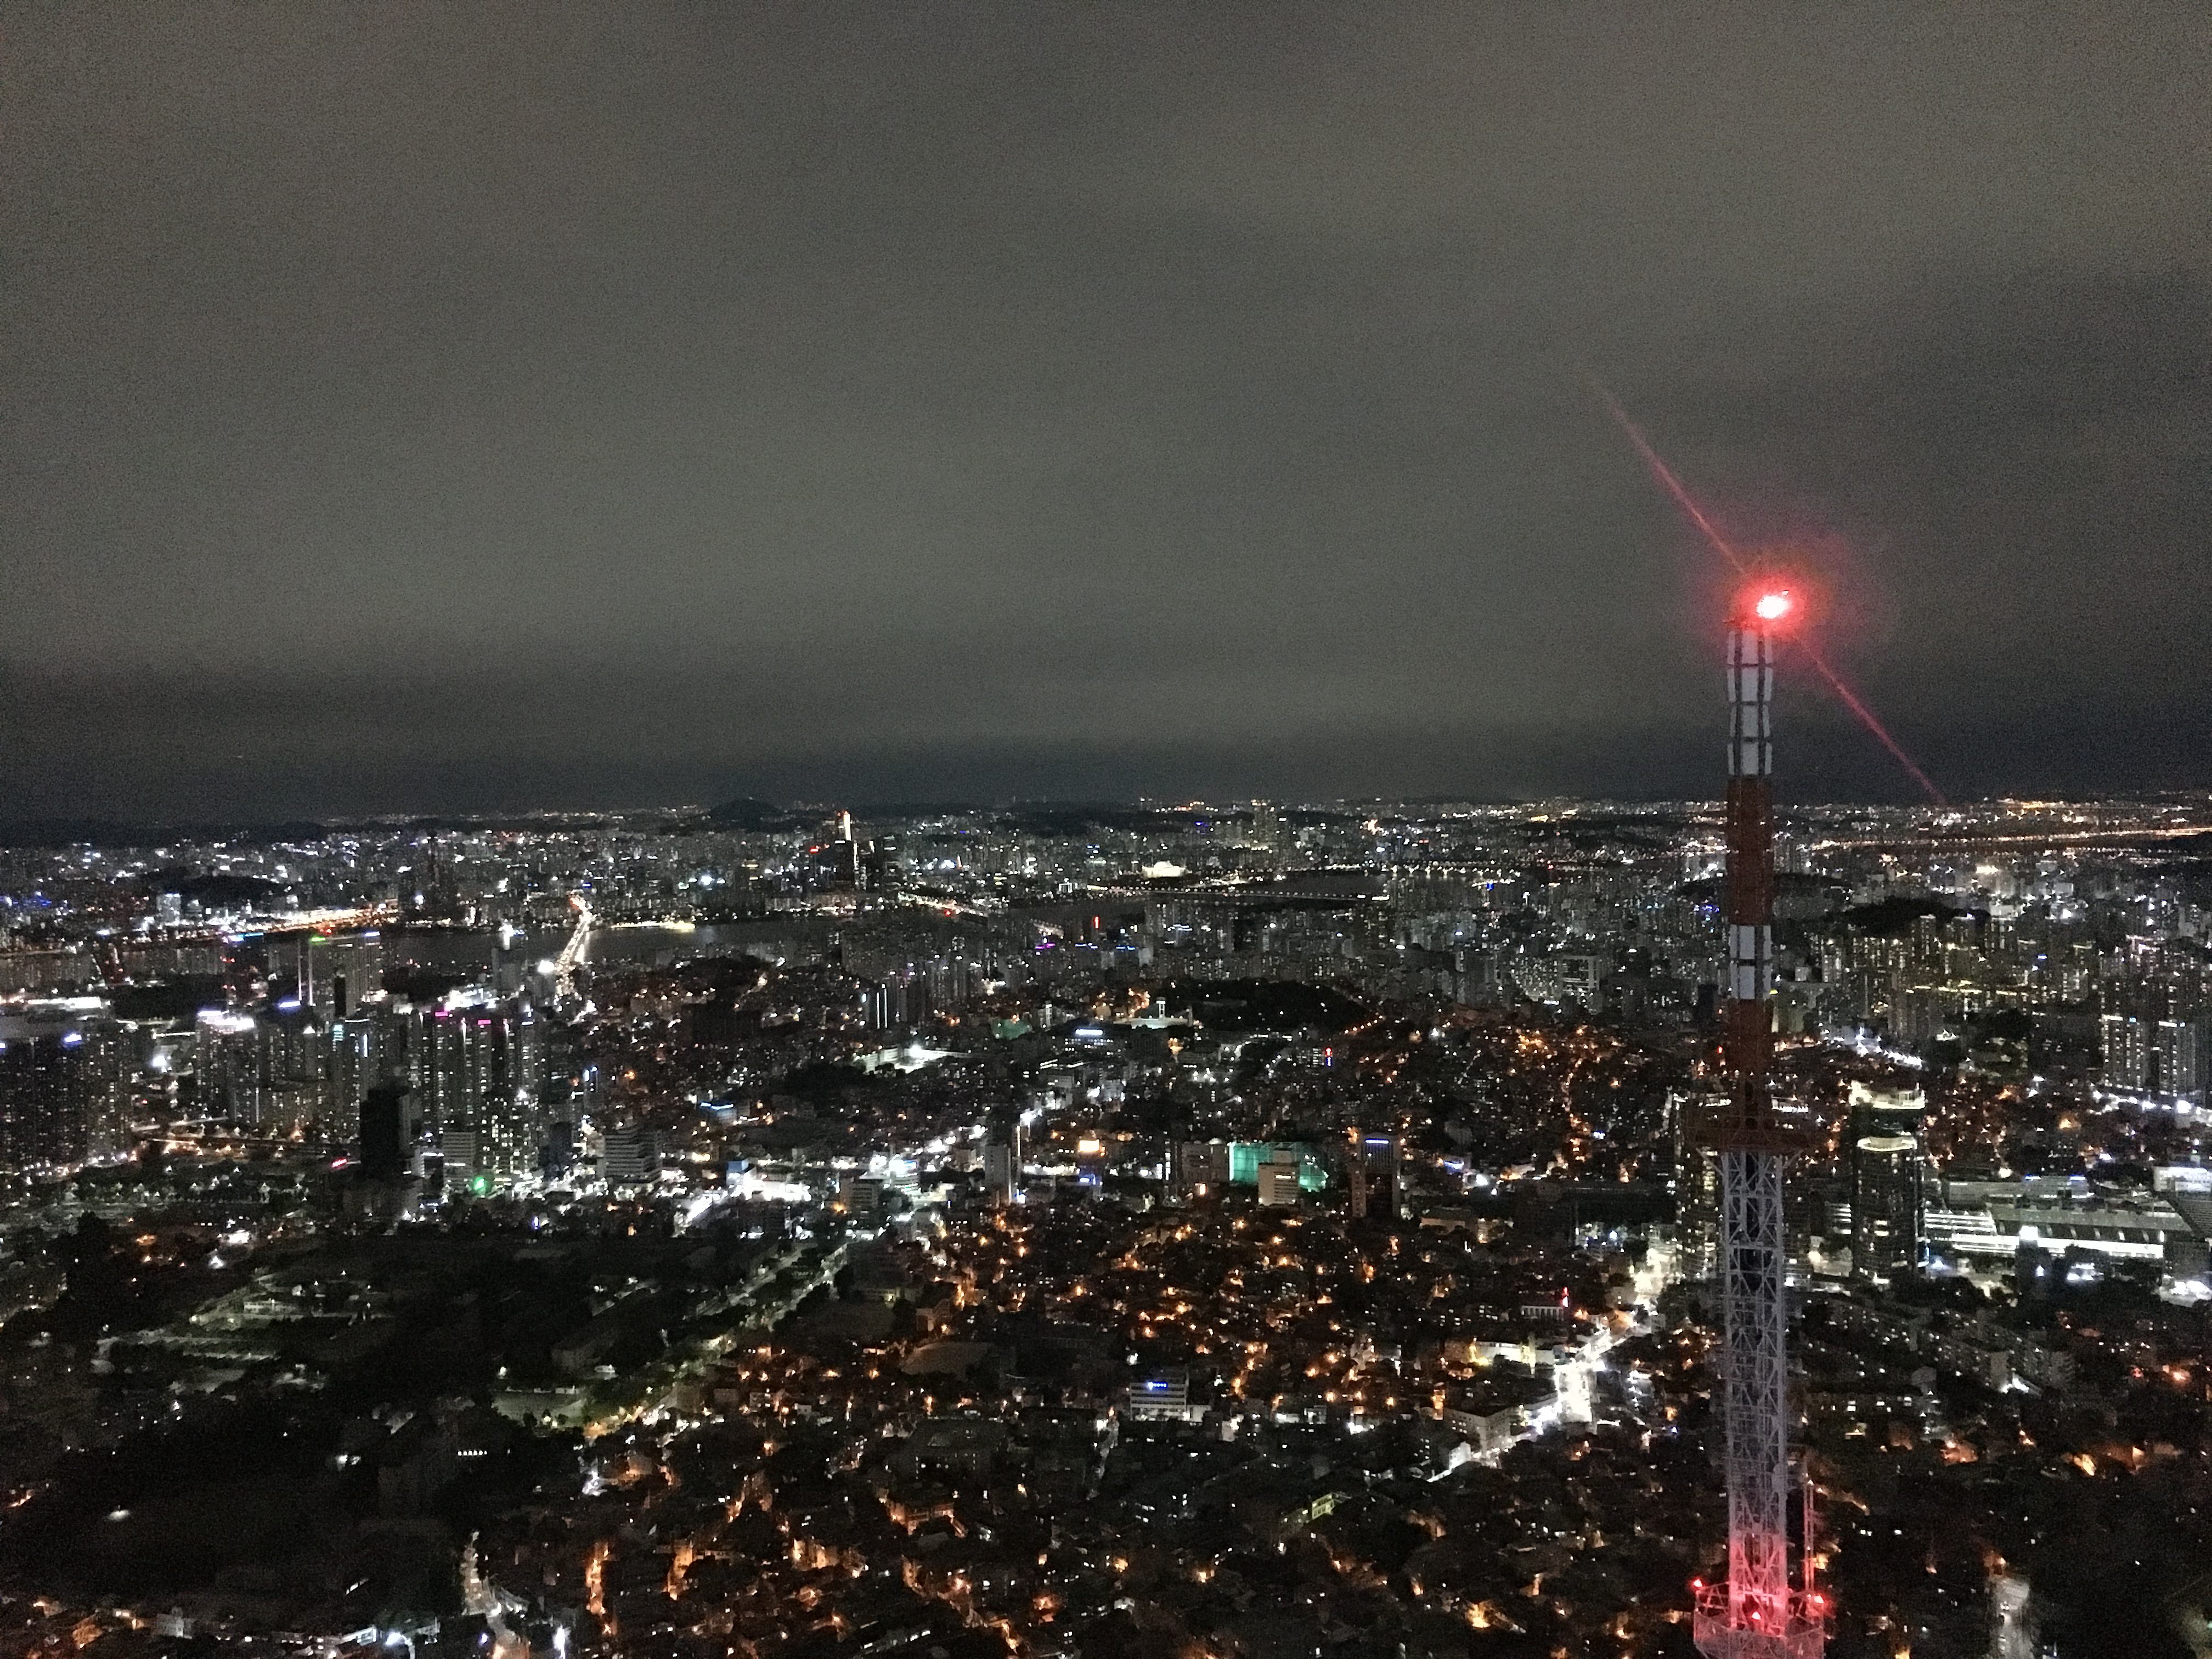
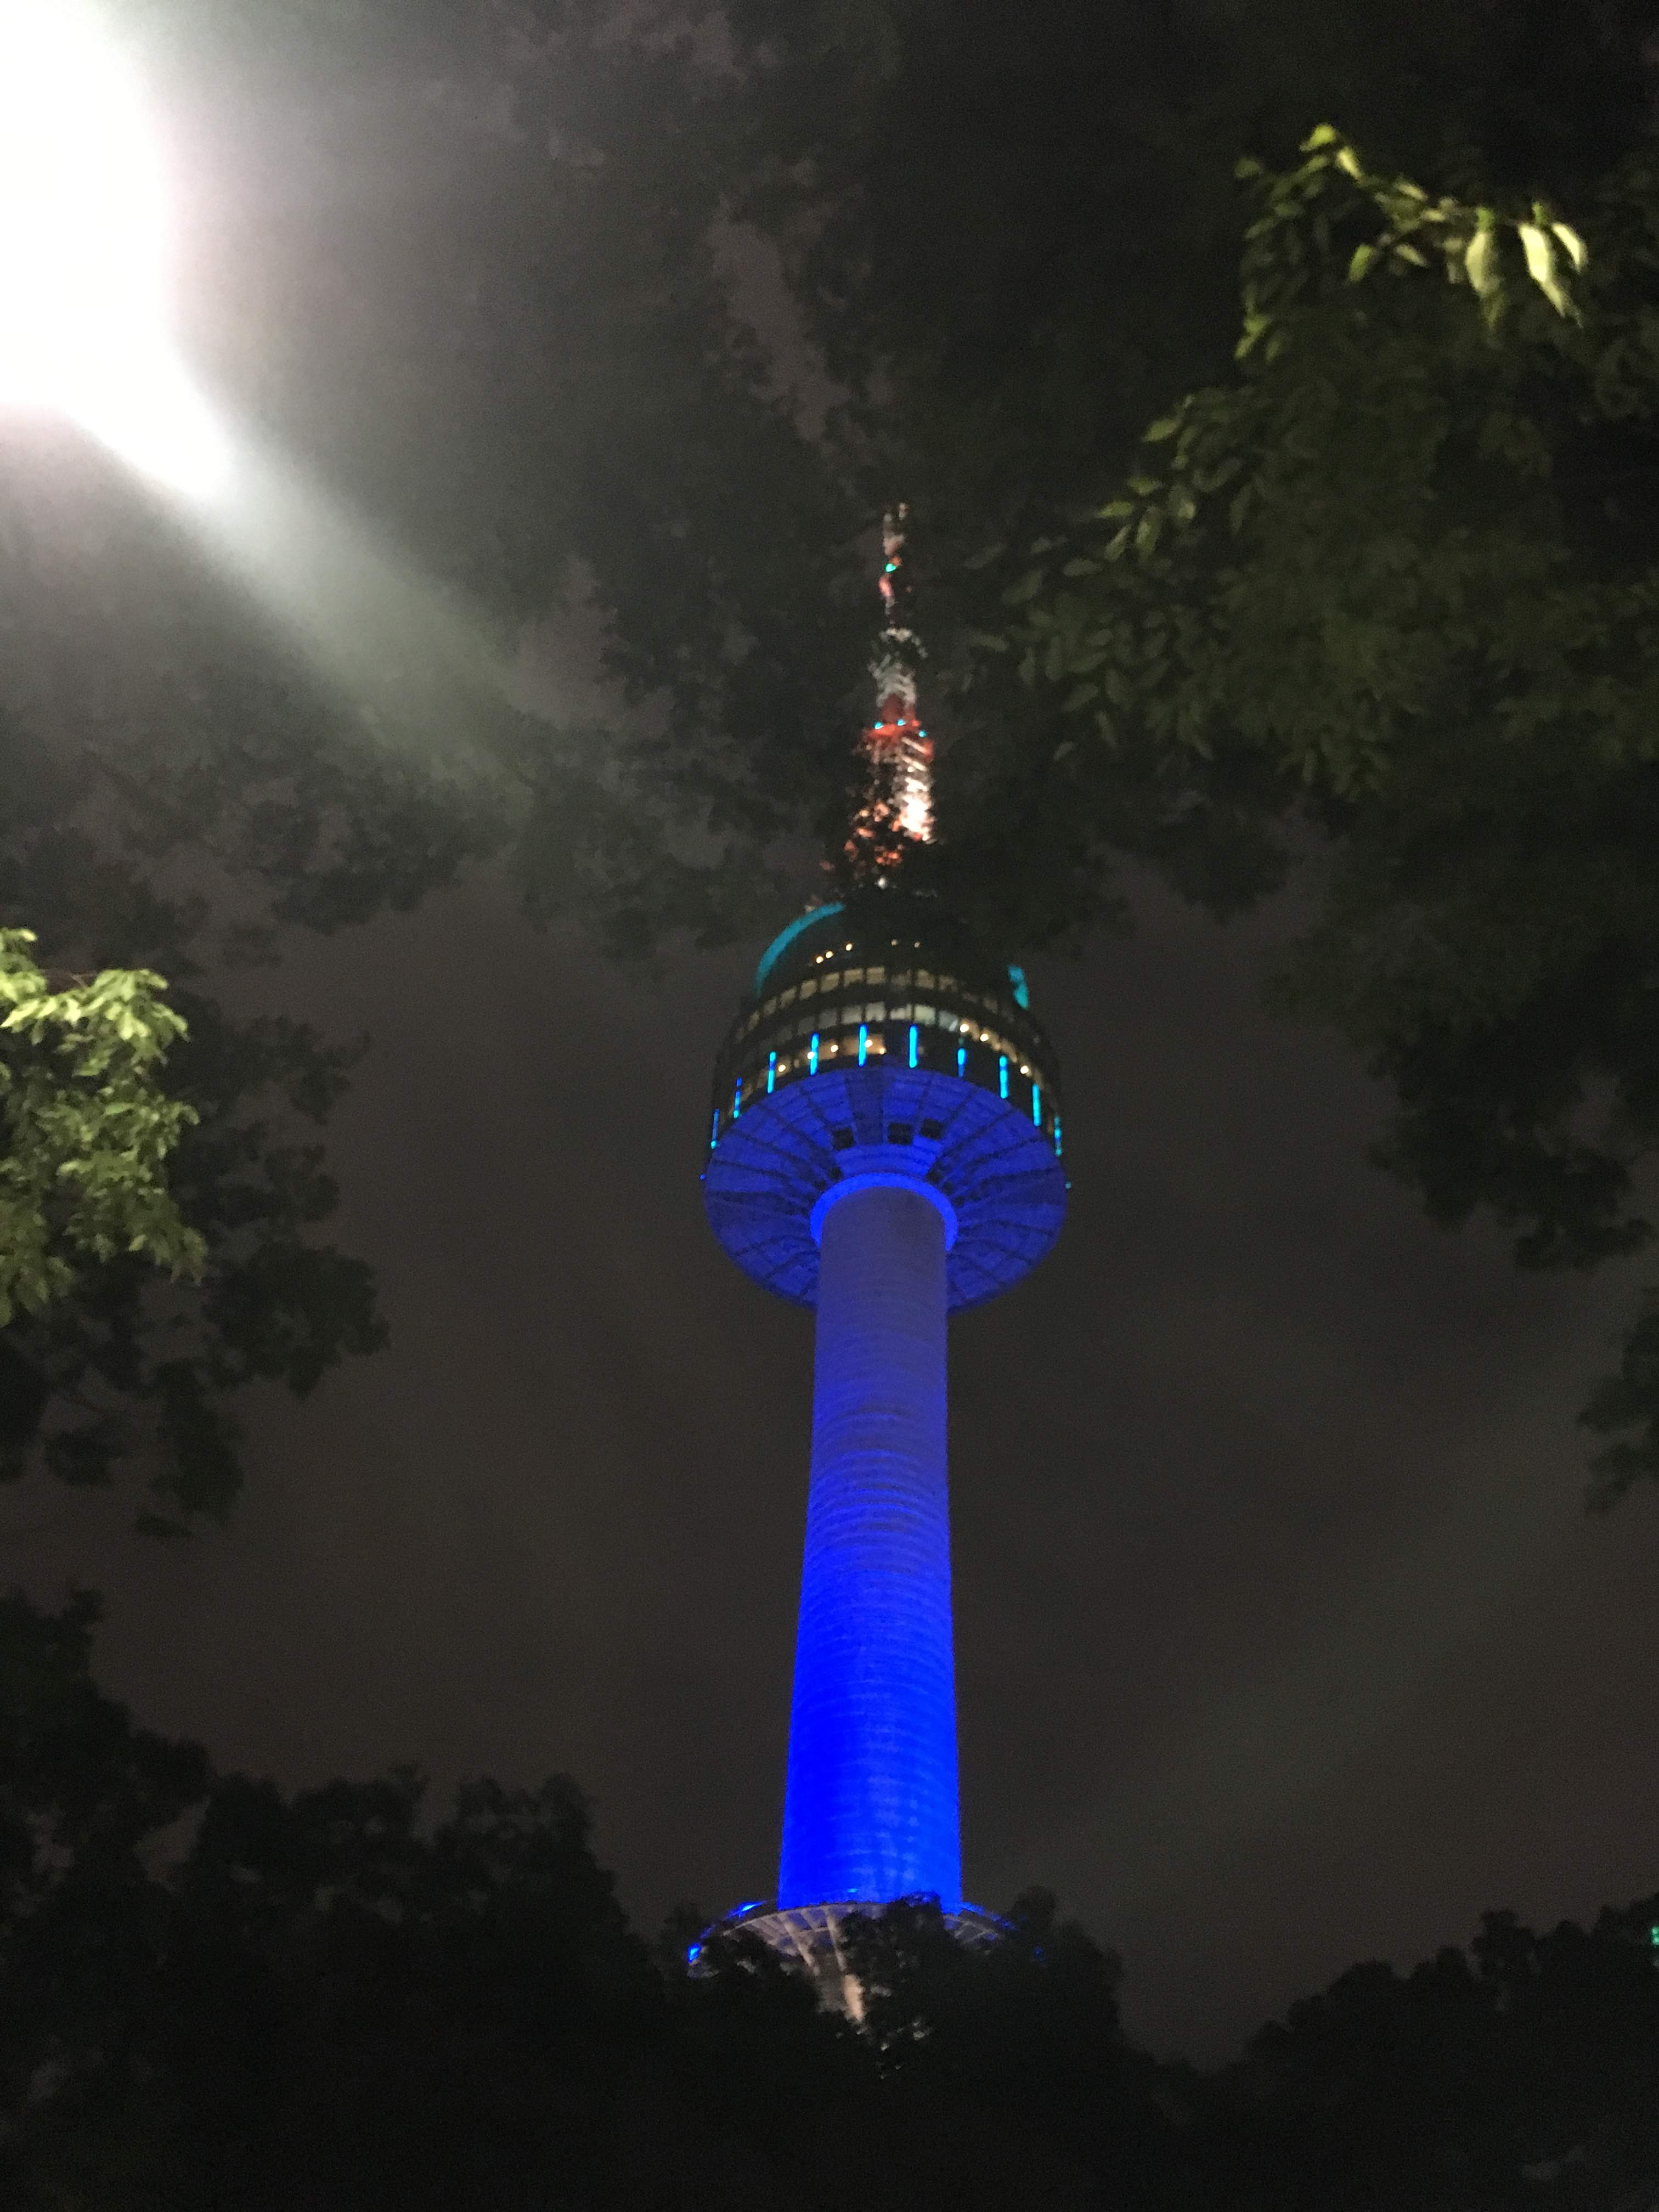
5:00 – 7:00 PM – Yeoido Park Station to N Seoul Tower
7:01 – 9:30 PM – N Seoul Tower, Observatory, Hello Kitty store + dinner
9:31 – 10:30 PM – Going back to guesthouse
11:00 PM – sleep time
Day 5
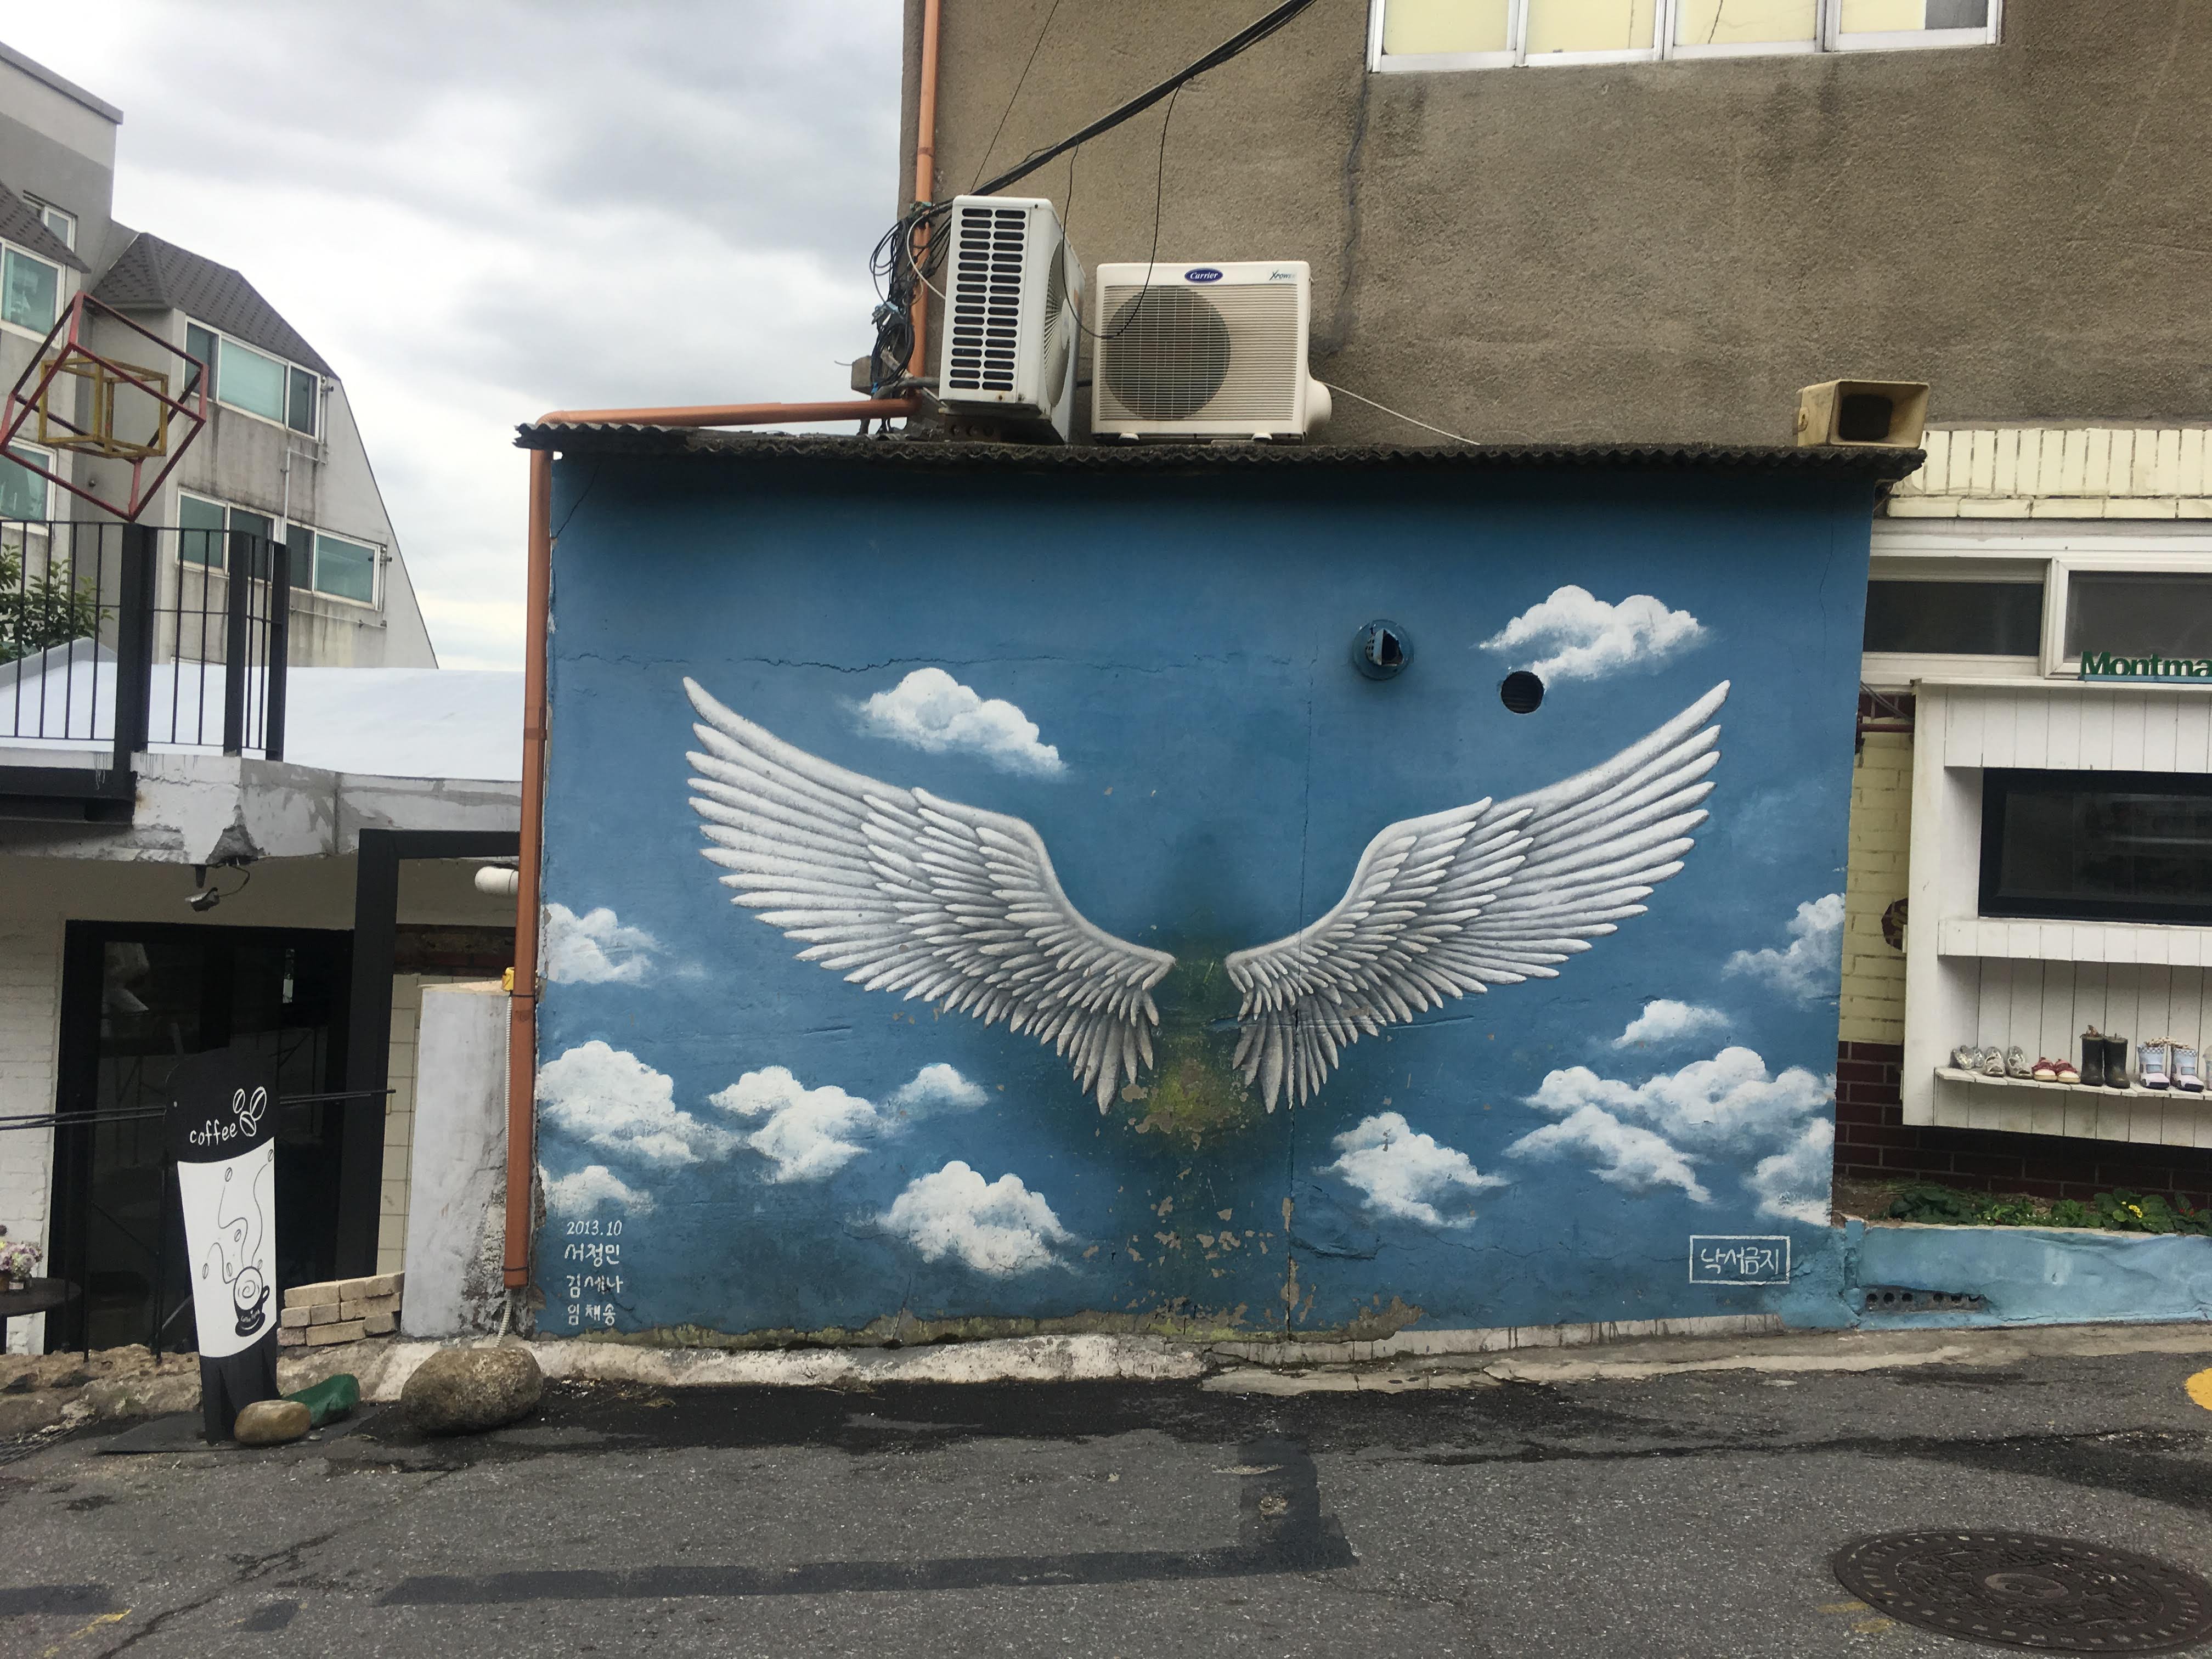
10:30 – 11:00 AM – Guesthouse to Ihwa-dong mural village
6:00 – 7:30 PM- Went back to guesthouse to leave the pasalubong + freshen-up
7:30 – 8:00 PM – Guesthouse to Myeongdong
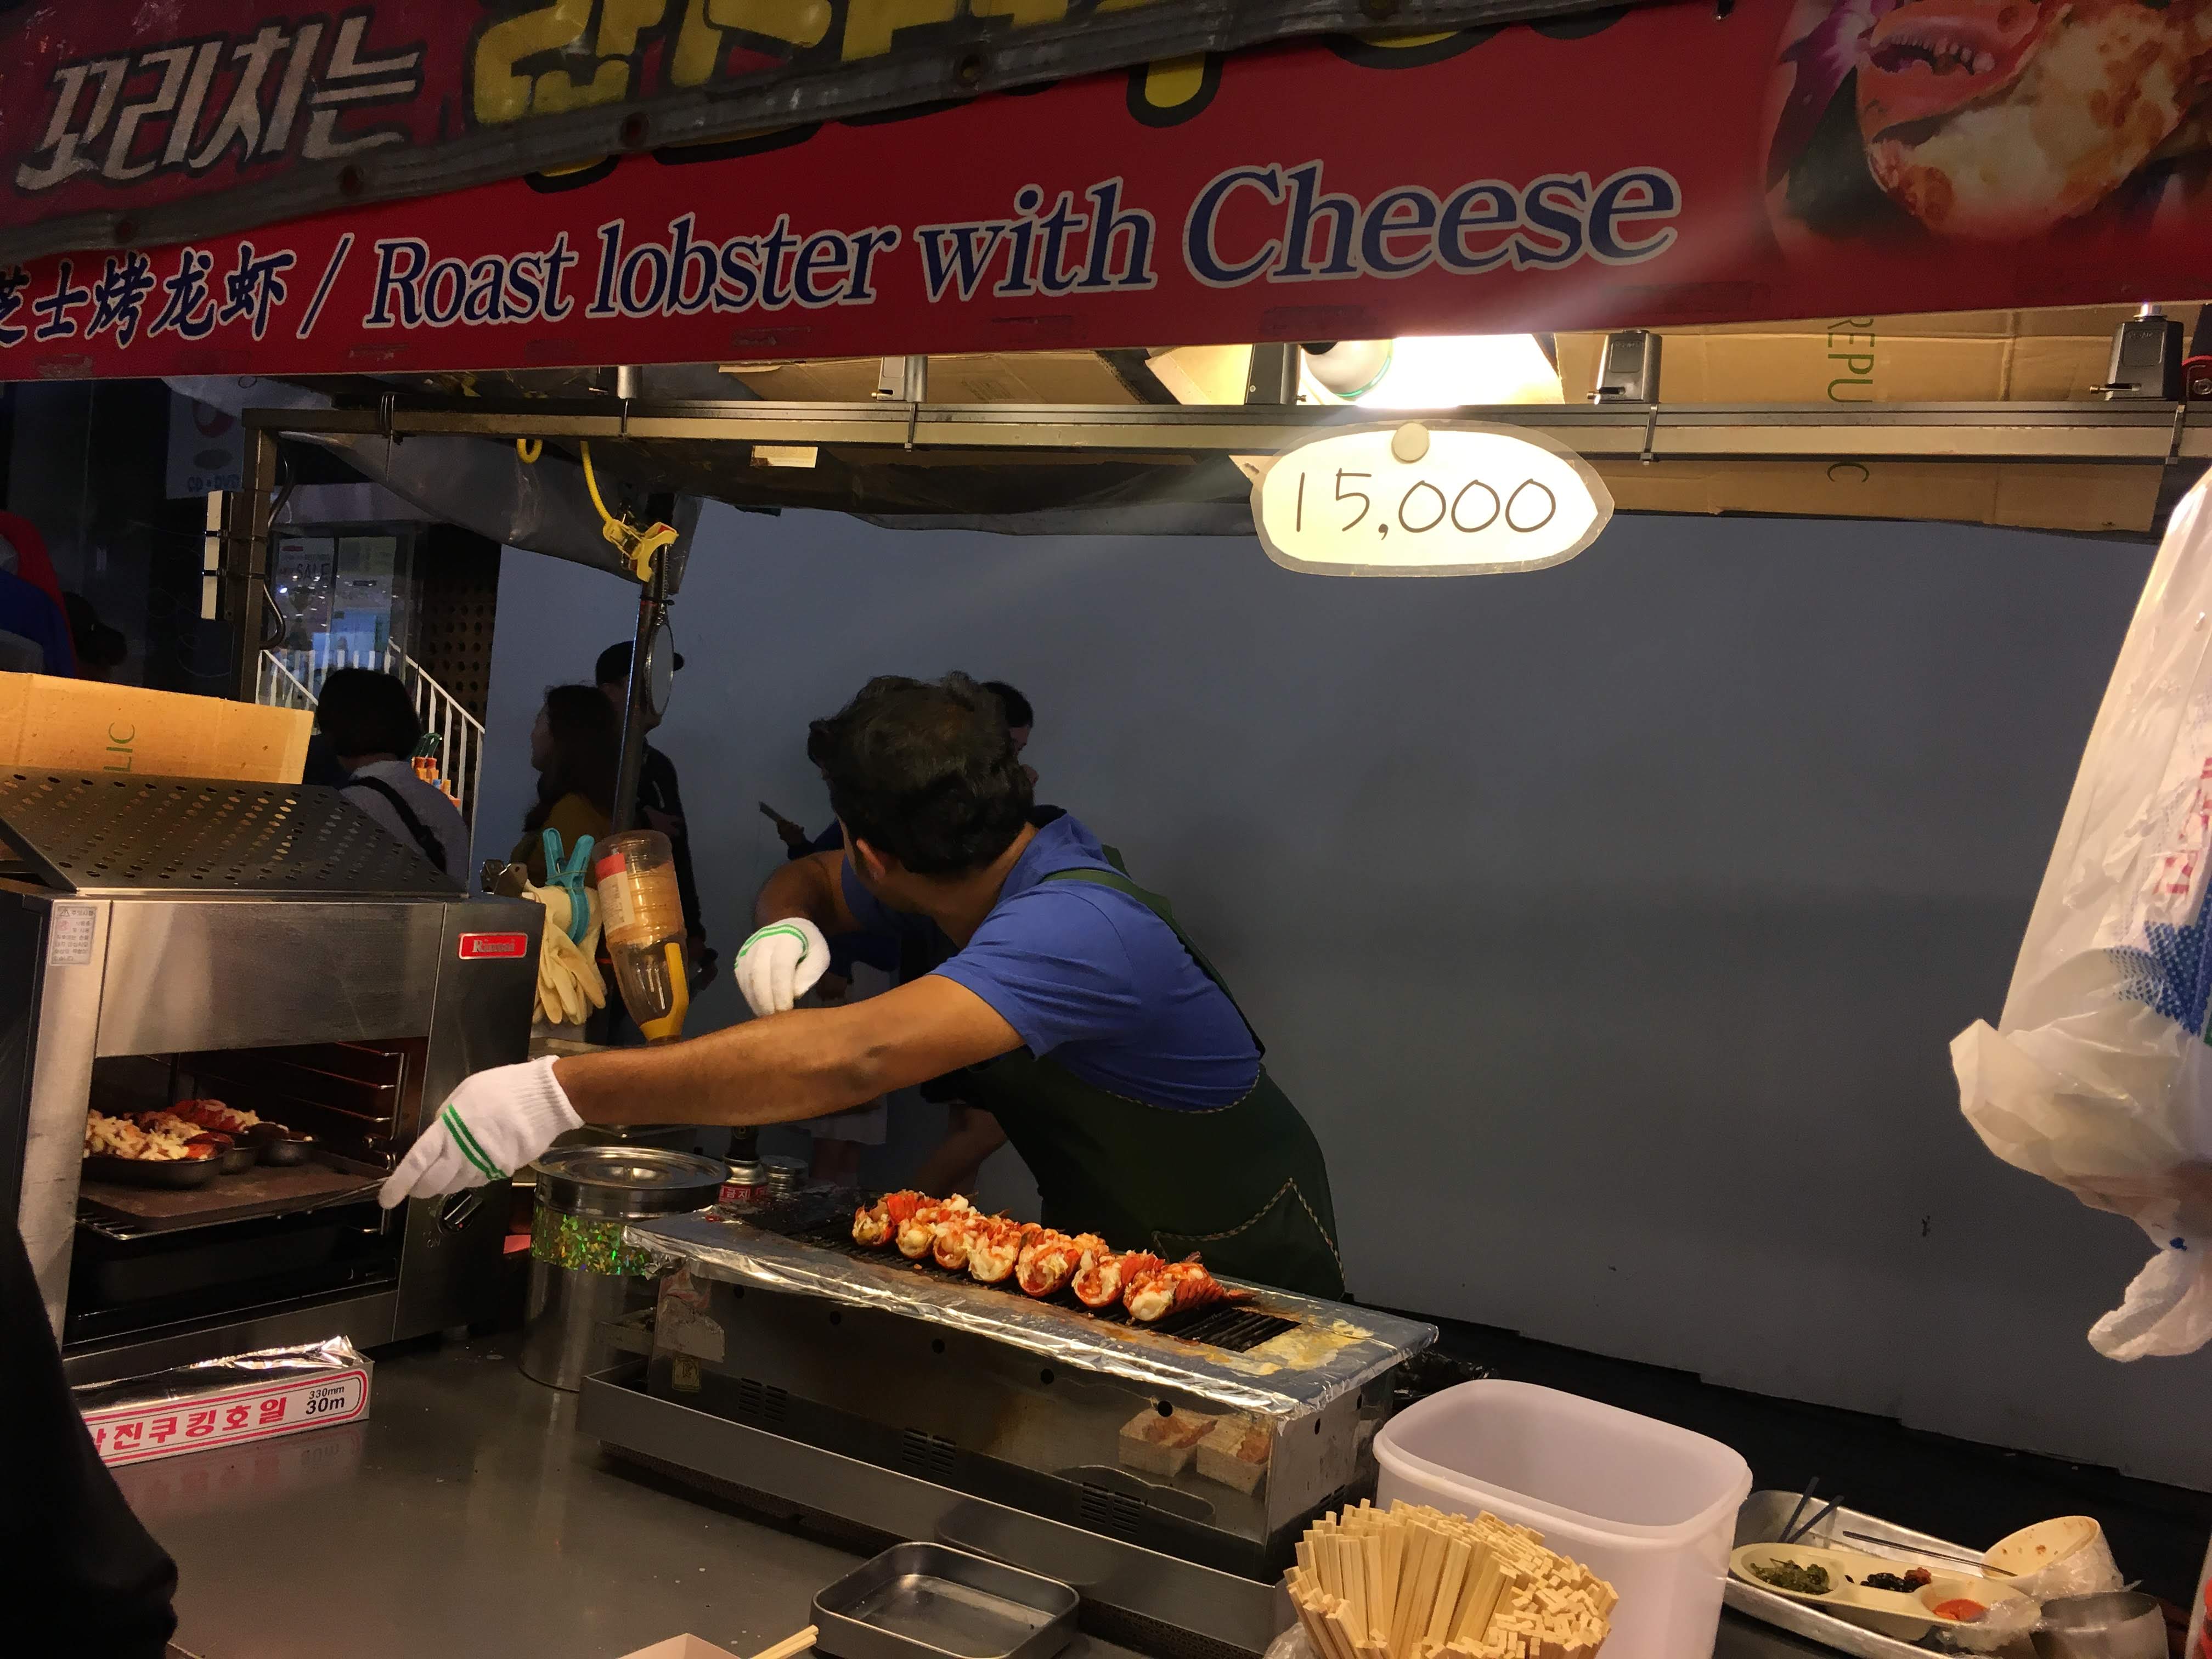
8:00 – 10:30 PM – Myeongdong night market
10:30 – 11:00 PM – Myeongdong to guesthouse
11:30 PM – sleep time
Day 6
9:30 – 10:00 AM – Guesthouse to Itaewon
10:00 – 11:00 AM – Around Itaewon
11:30 – 4:30 PM – Seoul, Gwangja, Myeongdong
4:40 – 5:10 PM – Going back to guesthouse
5:10 – 7:00 PM – Prep to go to Incheon airport
7:30 – 8:30 PM – dinner
9:00 – 11:30 PM – Guesthouse to Incheon airport
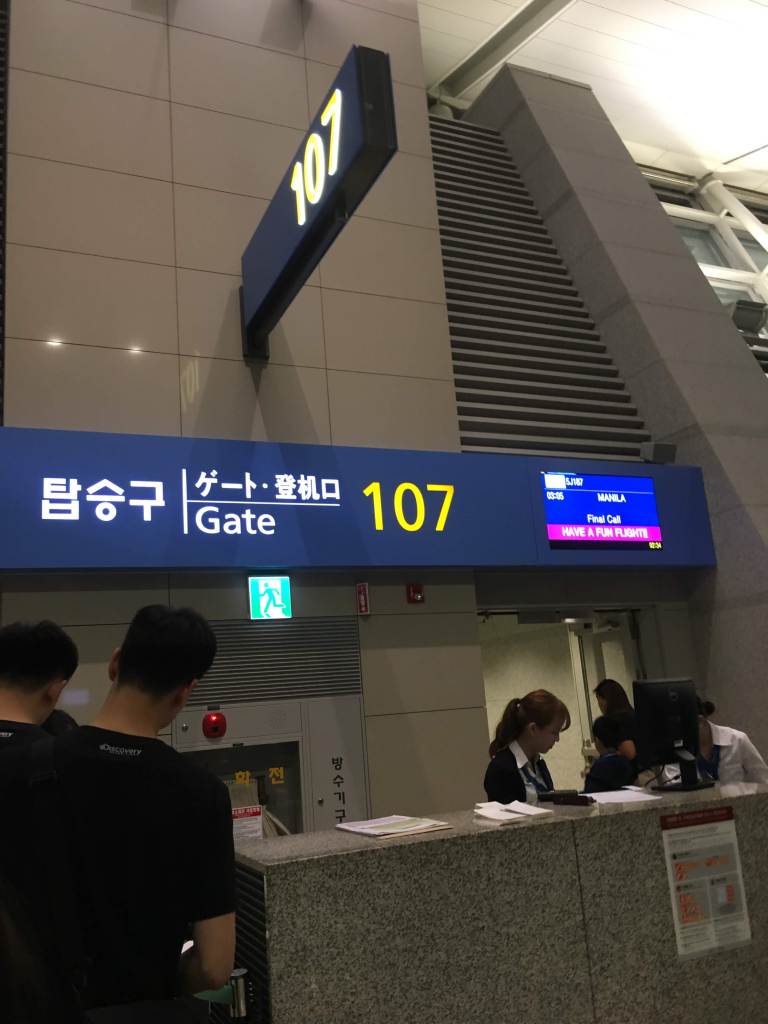
Day 7
3:05 – 6:05 AM – Incheon airport to NAIA
Up to this point where I have been to quite several places out of the Philippines, this was still the best travel I did! I think it was because of the cheap cost of the overall trip, my first travel out of the country, with one travel-responsible friend, the opportunity to go to an old palace I have seen from my favorite K drama (I am a big fan of historical places), good food and accommodation. It was my first time travel abroad and everything felt perfect!
It looks impossible now but why not? Creating goals is free, so dream the impossible. There’s no harm in dreaming, right? It can fuel you to give your best by looking in your list reminding you that you were not born rich so get up and work you ass off! LOL.
Europe tour
Switzerland
Spain
Italy
Amsterdam
Poland
Germany
Greece
Iceland
London
Asia tour
Vietnam
India
Cambodia
Thailand
Indonesia
Singapore
Hongkong
South America
Brazil
Uguay
Colombia
Ecuador
Argentina
Peru
Mexico
Africa
Morocco
Botswana
Zambia
Rwanda
Madagascar
Others:
Egypt
Australia
New Zealand
Alaska, USA
Grand Canyon, Arizona, USA
Alberta, Canada
It’s the perfect time to devise your travel bucket list for 2024. You may not cross everything or even one in your list but do not get disheartened and push yourself further. Believe in yourself. Work hard. You can do this! Happy traveling!